Summary
Dual-booting my Windows PC with Linux is a work requirement. However, the worst part of this distro hopping is GRUB, which is notoriously fragile in dual-boot environments. One way to fix this is to use rEFInd, but the original boot manager requires manual configuration. Fortunately, there’s a GUI version as well that makes dual-booting much easier than what it was with GRUB. What’s rEFInd GUI A graphical boot manager that fixes what GRUB keeps breaking rEFInd is a free and open-source boot manager that works on macOS, Windows, and Linux systems. It was designed to fix the issues that come with conventional bootloaders like GRUB, which has a few pain points in a dual-boot setup:
- It’s installed by the Linux distro, which makes it dependent on that specific installation.
- The menu source is a saved grub.cfg file generated by a command, and it can go stale over time.
- Adding or removing an OS often needs you to run the update-grub command manually.
- Windows detection relies on os-prober, which comes disabled by default on many distros.
- With multiple distros, each distro’s GRUB can fight over the EFI partition and boot order. rEFInd fixes these problems by working independently of the Linux distros:
- It’s installed independently of any operating system.
- It scans the disk at every boot to detect all available operating systems.
- It doesn’t require any manual update after uninstalling an OS.
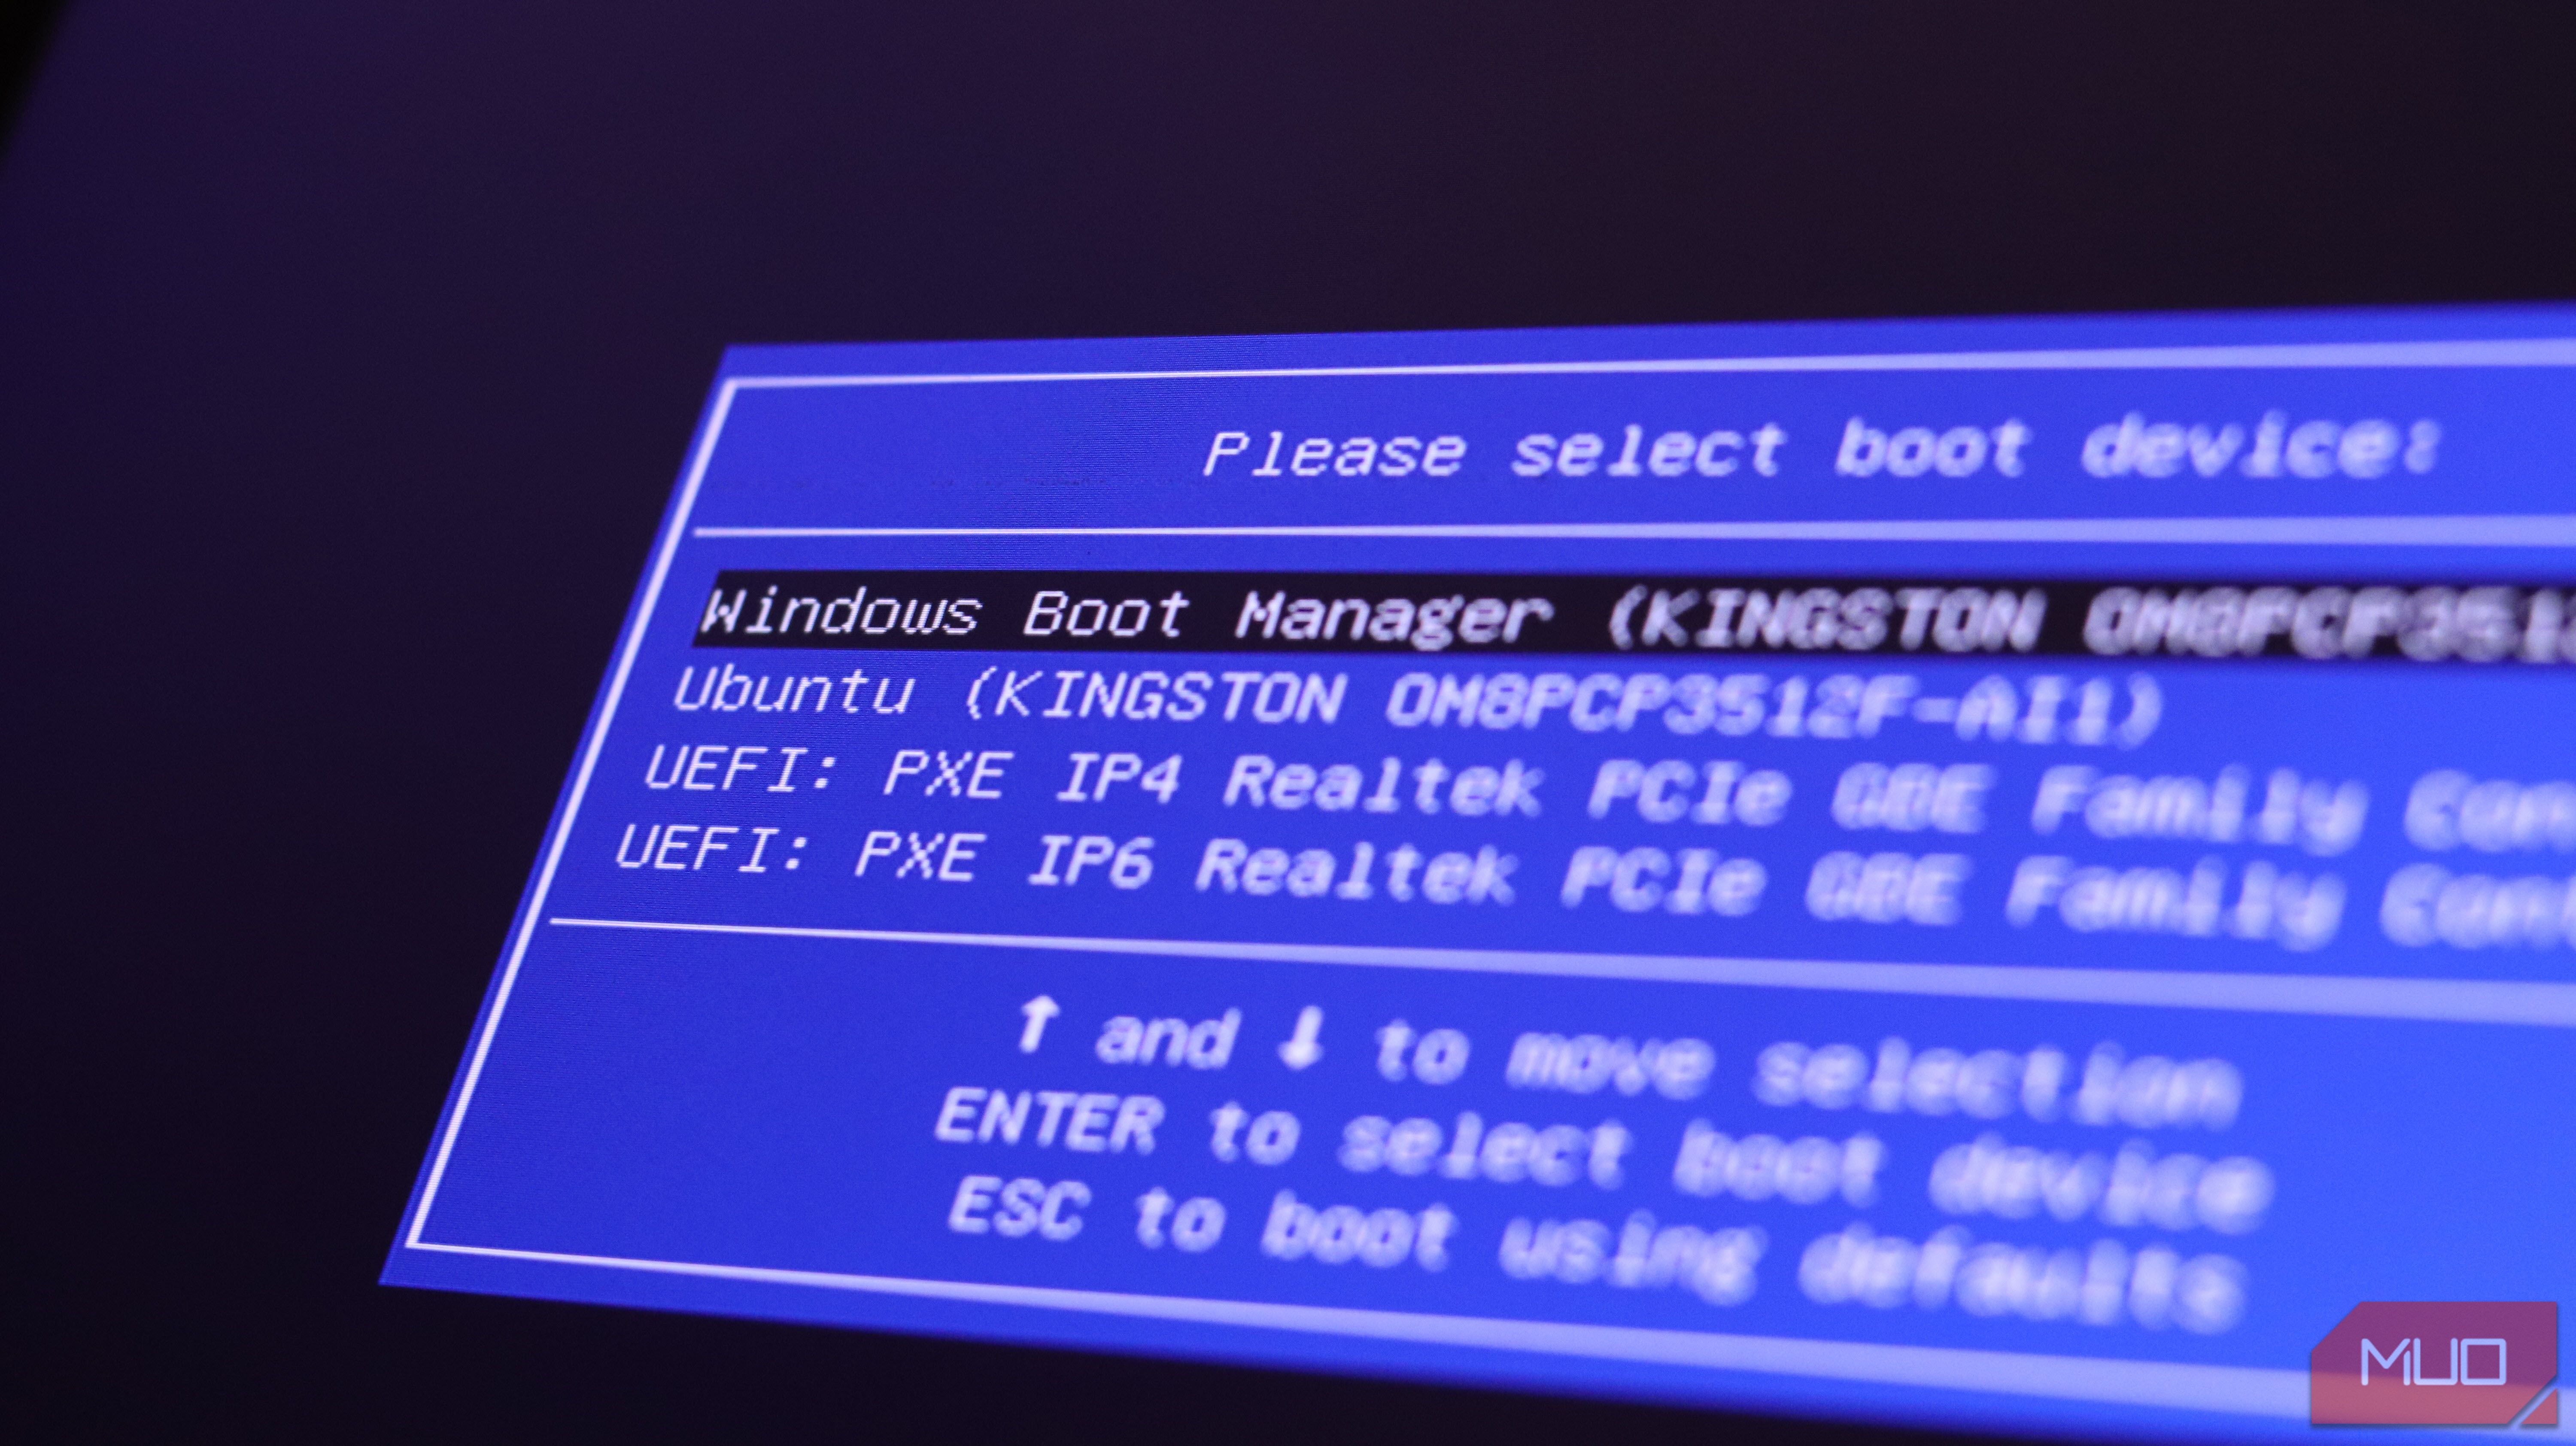
- One boot manager lists every installed operating system automatically. Despite these advantages, setting up rEFInd the traditional way involves editing config files, downloading themes manually, and tweaking boot entries by hand. That’s where rEFInd GUI comes in. It’s a graphical utility that wraps the entire setup into a point-and-click experience. It offers one-click installation, automatically generates the configuration files, and lets you customize with themes without touching a single config file. You can even preview how your boot screen will look before doing a reboot, which is supposed to reduce trial and error, but doesn’t work as expected. More on that later. Installing and customizing rEFInd Setting it up takes less time than dealing with GRUB To set up rEFInd, you need to download the rEFInd GUI from its GitHub releases page. Download the .exe setup file if you are using Windows, and then run the installer. On Linux, the project offers packages for Fedora, Arch, and Debian-based distros through a one-line install script. In the rEFInd Setup screen, click Install rEFInd and wait a few seconds for the app to set up the bootloader files in the EFI system partition. After that, click the Rescan OSes button, and it will populate the fields with all the operating systems installed on your PC. The tool scans every reachable EFI system partition, so even multi-disk setups with Windows and Linux on separate drives are detected correctly. The next step is optional, but it’s also what makes rEFInd GUI worth using over the command-line version. You can customize the look and feel of the bootloader directly from the current interface. Click Browse for the background and choose a wallpaper of your choice, and you can do this for individual OSes too. The OS Icons option lets you set specific icons to different operating systems so that you can tell them apart at a glance. You can also choose how long the system waits before it boots the default operating system, adjust your screen resolution, and pick a theme. Click the Theme dropdown and choose from multiple built-in themes. If you want variety, enable Rand Theme On and the boot manager will show a new theme each time you reboot. Once you’re happy with the look, click Install Config to apply the customization. Then click Preview to see how your boot screen will look before restarting. Testing the boot manager Making rEFInd the default boot option Booting from the rEFInd boot manager is similar to any dual-boot setup. Restart your PC and start pressing the appropriate key to enter the boot menu. The key varies by brand: F12 for Dell and Lenovo, F9 or Esc for HP, F8 or Esc for ASUS, F11 for MSI and Gigabyte, and F2 or F10 on some others. In the list, pick the rEFInd entry and hit Enter. From the rEFInd boot menu, choose your operating system to load. If you want to make rEFInd the default, restart your PC and enter the BIOS or UEFI setup using the same set of keys, but choose to enter the setup instead of selecting a boot device. In the Boot or Boot Priority tab, move rEFInd to the top of the list, then save the changes and exit. The next time you restart, your PC will show the rEFInd boot manager first, listing every installed operating system with their respective icons and backgrounds. rEFInd GUI has quirks Nothing deal-breaking rEFInd GUI has some rough edges that are worth knowing before you commit. In my testing, it doesn’t work properly if you have Secure Boot enabled, which is often the case when trying to dual-boot with Windows. You can get around this with tools like sbctl on Linux to sign the bootloader files yourself, but that adds extra steps. Second, the themes and backgrounds can take more than a few attempts to apply properly. Even when the app showed the theme and background working in the preview, my system booted with the default rEFInd background the first time. It needed multiple saves and config installs to get it looking right. Nothing is broken, but the visual customization isn’t as reliable as you’d expect from the GUI’s polish. More importantly, a major Windows update can shake the boot order. Windows has a habit of pushing its own boot manager back to the top of the priority list during feature updates. When that happens, you’ll need to go back into the BIOS and move rEFInd to the top again. It still beats GRUB Even with these quirks, rEFInd GUI is a clear upgrade from what GRUB offers in a dual-boot setup. GRUB ties itself to whichever distro installed it, which means a broken Linux install can take the entire boot menu with it. I’ve lost access to Windows more than once because of a botched GRUB update during distro hopping. rEFInd sits independently in the EFI partition, so no single OS owns it. If you set up a bootable USB with Ventoy and regularly try new distros, having a boot manager that doesn’t break every time you swap one out is worth the initial setup.