Summary
When I got my first 3D printer, a Bambu Lab A1 mini (and later, the P1S), I printed all the typical stuff: the benchy, the dragons, the Easter eggs. What I didn’t print was anything with smart settings. I left infil at defaults, generated supports automatically, and watched my AMS spit out what felt like an entire spool of waste every time I printed something in multiple colors.
The tricks below are mostly single settings changes in your slicer. Some of them can cut your filament use by 20–30% per print.
 A powerful and precise 3D printer with a huge build volume, the K2 Plus impresses—until its filament-switching system throws a wrench in the works.
Most prints are running infill that’s too high
Gyroid is your new default
The default in most slicers is around 15 - 20% with a grid pattern. That’s higher and less efficient than most prints truly need. For non-structural decorative prints, I’ve been able to drop infill to 10% without any visible issues. The patter of infill matters, too: gyroid provides better strength per gram than grid or lines because it has a curved structure that distributes the load more evenly. I checked this on a solid doorstop wedge file scaled up to fit the build plate. Using 15% grid came out to 94.17g of filament used, while the 10% gyroid dropped it to 87.73g, about a 7% reduction. THat’s not dramatic on a single print, but across 10 of them, that’s 64g that I can use for other projects. The savings are more pronounced on chunkier solid models than on thin-walled containers, where walls do most of the structural work anyway.
If you really want to make sure your print is strong while using gyroid infill, add a wall or two in the Wall loops in the Strength tab.
Grid supports are wasteful
Tree supports use a fraction of the material
Every once in a while, I’ll end up with a file I download from Makerworld or elsewhere that uses grid supports. They can be the default in many slicers, and they work, but they’re wasteful (and a pain to clean off your model). Tree supports branch only where geometry actually needs them instead of filling a solid column under every overhang. Tree supports can use 50%-70% less material than grid supports for comparable prints. OrcaSlicer and Bambu Studio both use tree supports natively, but check your preview carefully on complex geometry: tree supports can fail to generate on trickier models.
The best support structure is no support structure
A rotation can cut print time nearly in half
Before you add any support, though, check and see if you need it at all. I tested this in my slicer with a wall hook that loaded upright at first. Sliced standing up with supports, the model came in at 8.34g of filament and a print time of 36 minutes. I rotated it flat on its side, with supports off, and it dropped to 6.85g and 20 minutes. That’s an 18% filament reduction and 16 minutes saved with a simple rotation. Printing a dozen hooks for a garage or workshop wall and that’s 18g saved and over three hours of print time back. Most slicers have an auto-orient feature that’s worth checking out before you just use the default file settings. Most FDM printers can handle overhangs up to 45 degrees without support, too. Experiment and see what works best for you.
Multicolor purge waste goes somewhere useful if you tell it to
Flush into infill is off by default
If you print in multicolor on a Bambu Lab or any other single-nozzle 3D printer, you know about poop, the wasted purge material that collects out the back of your printer every time you do a color change. Those switches can add up to 10-20g of waste each, which can be more than the model itself. Bambu Studio has a setting called Flush into infill that redirects that purge material into your print’s internal structure rather than discarding it. Enabling this and reducing the flush multiplier from 1.0 to 0.9 can cut waste by more than 50% on multicolor prints. The outside of the print, in theory, shouldn’t see any of the flush material. Right-click your object in Bambu Studio, scroll to Flush options and enable Flush into Object. It’s off by default, so you’ll need to enable it on your own.
Batch printing saves more time than filament on single colors
Multicolor is where batching actually saves material
I tested this by printing five of those same wall hooks on one plate. I ended up using 33.85g of filament total in a span of one hour and 11 minutes. That’s 6.77 per hook, which is almost identical to the 6.85g from printing one alone, which makes sense. Each model takes what it takes in terms of filament. For single-color prints like this, batching saves more on time than filament, since the printer doesn’t have to travel and warm up between model prints. Five at a time would have taken one hour and 40 minutes.
The real savings occurs on multicolor prints, because the AMS switches less often per print, handling all the color switches for all models at the same layer height. That way you’re not getting the full purge cost per model. Load multiple copies in Bambu Studio and arranged them on the build plate. For functional household prints like chip clips or can covers, printing several at once is worth it for the time savings alone.
Vase mode cuts a print’s filament weight in half
One wall, no infill, dramatic savings
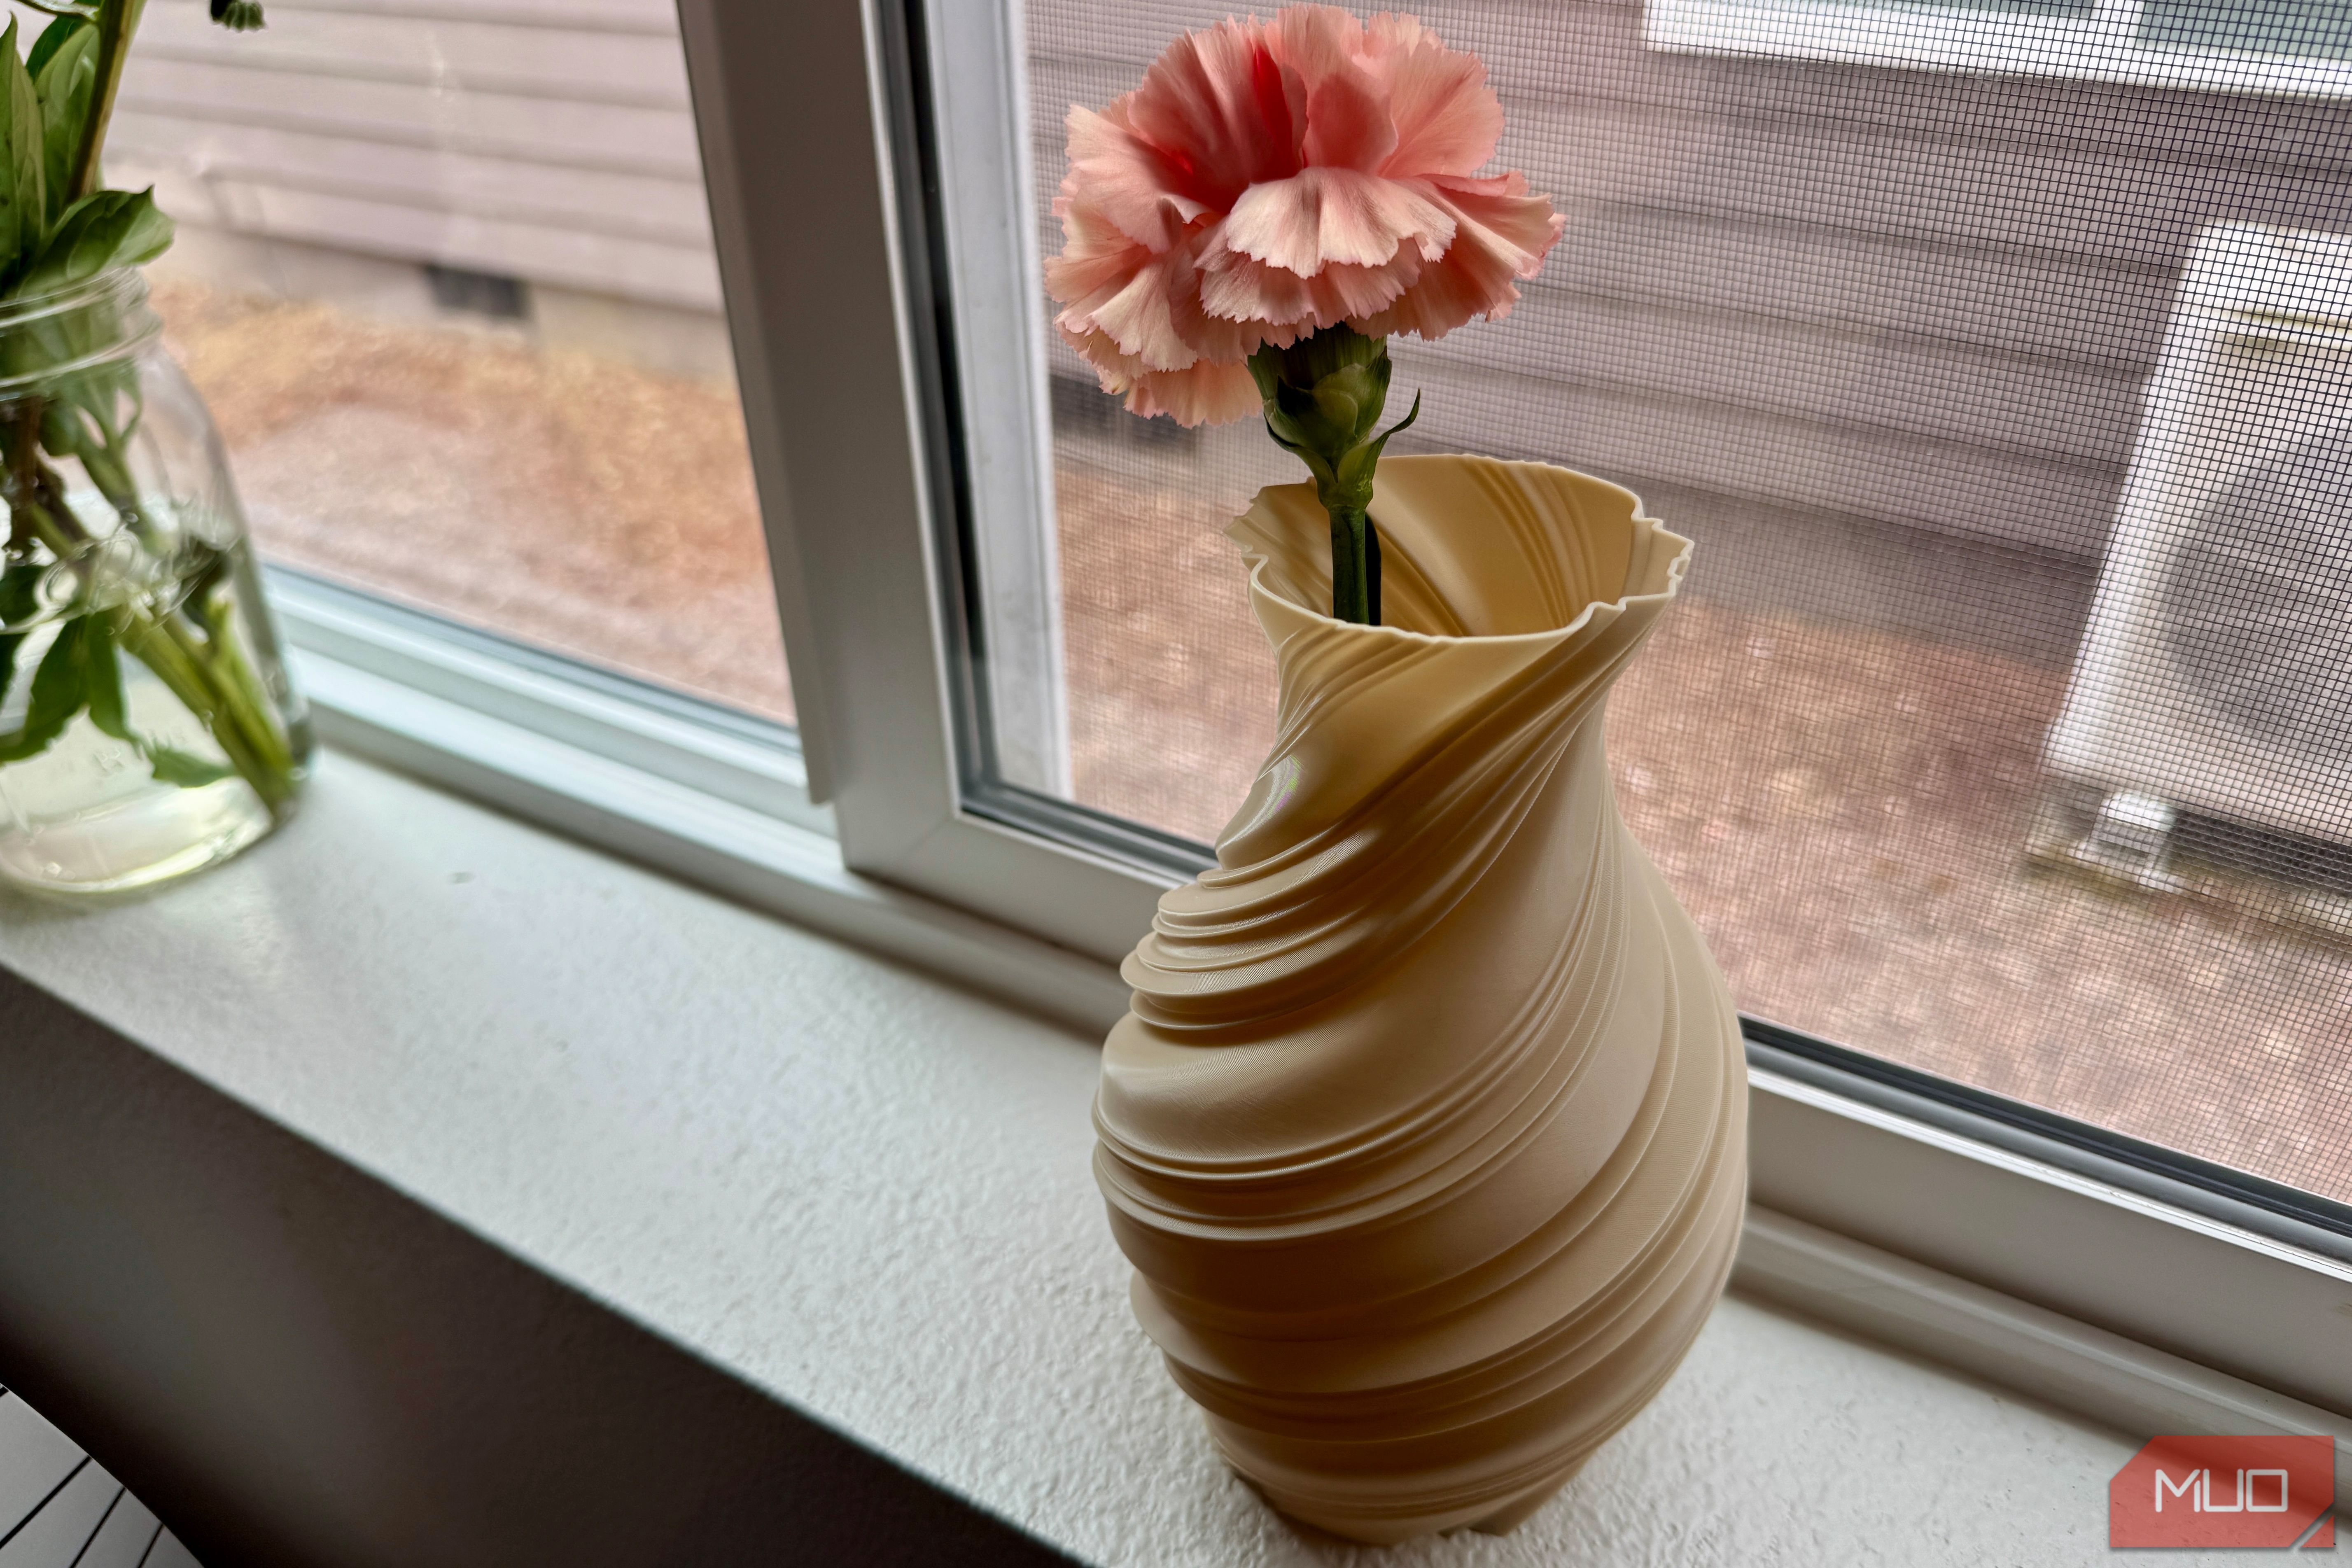
Vase mode is called Spiral vase in Bambu Studio and it prints a model as a single continuous outer wall with no infill and no top layer. For cups, vases, and decorative containers, it looks great and uses a fraction of the material. I tested my slicer on the same vase model at similar heights. The spiral vase mode version came in at 67.50g and 3h31m, while a sturdy multi-wall version of the same vase at a slightly shorter 175mm height used 137.35g and 5h31m. That’s roughly half the filament and two hours less print time for a vase that’s only 5mm taller in vase mode. It looks lovely, as well.
This only works on models with one continuous outer shell, meaning that anything with internal geometry or holes won’t work. You can search for “vase mode compatible” on Makerworld to be sure it’ll work in this mode.
Wet filament fails prints before they start
Drying is maintenance, not optional
Filaments like PETG, nylon and TPU are hygroscopic, meaning they absorb moisture from the air. Your models will end up with bubbles, strings, and poor layer adhesion. Wet filament can cause anything from poor surface quality to complete print failure, and you know you hate a failed 6-hour print for the time and filament waste alone. You can grab a dedicated filament dryer for around 50 that will run a spool at low heat for four to six hours. Play is usually fine at 45˚C, while PETG wants 55-65˚C for drying. For materials prone to moisture, you can also get an airtight dry box with a dessicant to keep it dry while storing.
The bigger picture
Most of this comes down to not accepting slicer defaults without checking. The Bambu Labs community already knows that defaults aren’t always in your interest, but the settings in Bambu Studio are more capable than you might realize. If you’re just getting into 3D printing, learning what makes a good functional print is worth doing before going deep on tuning. Once your waste is under control, you’ll find you can print far more practical things without guilt about how much ended up in the waste can.
A powerful and precise 3D printer with a huge build volume, the K2 Plus impresses—until its filament-switching system throws a wrench in the works.
Most prints are running infill that’s too high
Gyroid is your new default
The default in most slicers is around 15 - 20% with a grid pattern. That’s higher and less efficient than most prints truly need. For non-structural decorative prints, I’ve been able to drop infill to 10% without any visible issues. The patter of infill matters, too: gyroid provides better strength per gram than grid or lines because it has a curved structure that distributes the load more evenly. I checked this on a solid doorstop wedge file scaled up to fit the build plate. Using 15% grid came out to 94.17g of filament used, while the 10% gyroid dropped it to 87.73g, about a 7% reduction. THat’s not dramatic on a single print, but across 10 of them, that’s 64g that I can use for other projects. The savings are more pronounced on chunkier solid models than on thin-walled containers, where walls do most of the structural work anyway.
If you really want to make sure your print is strong while using gyroid infill, add a wall or two in the Wall loops in the Strength tab.
Grid supports are wasteful
Tree supports use a fraction of the material
Every once in a while, I’ll end up with a file I download from Makerworld or elsewhere that uses grid supports. They can be the default in many slicers, and they work, but they’re wasteful (and a pain to clean off your model). Tree supports branch only where geometry actually needs them instead of filling a solid column under every overhang. Tree supports can use 50%-70% less material than grid supports for comparable prints. OrcaSlicer and Bambu Studio both use tree supports natively, but check your preview carefully on complex geometry: tree supports can fail to generate on trickier models.
The best support structure is no support structure
A rotation can cut print time nearly in half
Before you add any support, though, check and see if you need it at all. I tested this in my slicer with a wall hook that loaded upright at first. Sliced standing up with supports, the model came in at 8.34g of filament and a print time of 36 minutes. I rotated it flat on its side, with supports off, and it dropped to 6.85g and 20 minutes. That’s an 18% filament reduction and 16 minutes saved with a simple rotation. Printing a dozen hooks for a garage or workshop wall and that’s 18g saved and over three hours of print time back. Most slicers have an auto-orient feature that’s worth checking out before you just use the default file settings. Most FDM printers can handle overhangs up to 45 degrees without support, too. Experiment and see what works best for you.
Multicolor purge waste goes somewhere useful if you tell it to
Flush into infill is off by default
If you print in multicolor on a Bambu Lab or any other single-nozzle 3D printer, you know about poop, the wasted purge material that collects out the back of your printer every time you do a color change. Those switches can add up to 10-20g of waste each, which can be more than the model itself. Bambu Studio has a setting called Flush into infill that redirects that purge material into your print’s internal structure rather than discarding it. Enabling this and reducing the flush multiplier from 1.0 to 0.9 can cut waste by more than 50% on multicolor prints. The outside of the print, in theory, shouldn’t see any of the flush material. Right-click your object in Bambu Studio, scroll to Flush options and enable Flush into Object. It’s off by default, so you’ll need to enable it on your own.
Batch printing saves more time than filament on single colors
Multicolor is where batching actually saves material
I tested this by printing five of those same wall hooks on one plate. I ended up using 33.85g of filament total in a span of one hour and 11 minutes. That’s 6.77 per hook, which is almost identical to the 6.85g from printing one alone, which makes sense. Each model takes what it takes in terms of filament. For single-color prints like this, batching saves more on time than filament, since the printer doesn’t have to travel and warm up between model prints. Five at a time would have taken one hour and 40 minutes.
The real savings occurs on multicolor prints, because the AMS switches less often per print, handling all the color switches for all models at the same layer height. That way you’re not getting the full purge cost per model. Load multiple copies in Bambu Studio and arranged them on the build plate. For functional household prints like chip clips or can covers, printing several at once is worth it for the time savings alone.
Vase mode cuts a print’s filament weight in half
One wall, no infill, dramatic savings
Vase mode is called Spiral vase in Bambu Studio and it prints a model as a single continuous outer wall with no infill and no top layer. For cups, vases, and decorative containers, it looks great and uses a fraction of the material. I tested my slicer on the same vase model at similar heights. The spiral vase mode version came in at 67.50g and 3h31m, while a sturdy multi-wall version of the same vase at a slightly shorter 175mm height used 137.35g and 5h31m. That’s roughly half the filament and two hours less print time for a vase that’s only 5mm taller in vase mode. It looks lovely, as well.
This only works on models with one continuous outer shell, meaning that anything with internal geometry or holes won’t work. You can search for “vase mode compatible” on Makerworld to be sure it’ll work in this mode.
Wet filament fails prints before they start
Drying is maintenance, not optional
Filaments like PETG, nylon and TPU are hygroscopic, meaning they absorb moisture from the air. Your models will end up with bubbles, strings, and poor layer adhesion. Wet filament can cause anything from poor surface quality to complete print failure, and you know you hate a failed 6-hour print for the time and filament waste alone. You can grab a dedicated filament dryer for around 50 that will run a spool at low heat for four to six hours. Play is usually fine at 45˚C, while PETG wants 55-65˚C for drying. For materials prone to moisture, you can also get an airtight dry box with a dessicant to keep it dry while storing.
The bigger picture
Most of this comes down to not accepting slicer defaults without checking. The Bambu Labs community already knows that defaults aren’t always in your interest, but the settings in Bambu Studio are more capable than you might realize. If you’re just getting into 3D printing, learning what makes a good functional print is worth doing before going deep on tuning. Once your waste is under control, you’ll find you can print far more practical things without guilt about how much ended up in the waste can.
 Bambu Lab P1S
- Brand
- Bambu Lab
- Build Volume
- 256 x 256 x 256mm
- Connectivity
- Wi-Fi (and Bluetooth for setup)
- Heated Build Plate
- Yes A superb beginner-friendly enclosed printer with outstanding software for your smartphone or desktop. Combined with the AMS (Automatic Materials System), the P1S can produce stunning multicolor prints: up to four filaments can be stored in a single AMS, and up to 4 AMS units can be combined for 16 filament printing. However, you should be aware the multicolor prints produce a lot of waste, and to mitigate that, you’ll need to print either in multiples or print additional “waste” objects to soak up the purged filament.