Summary
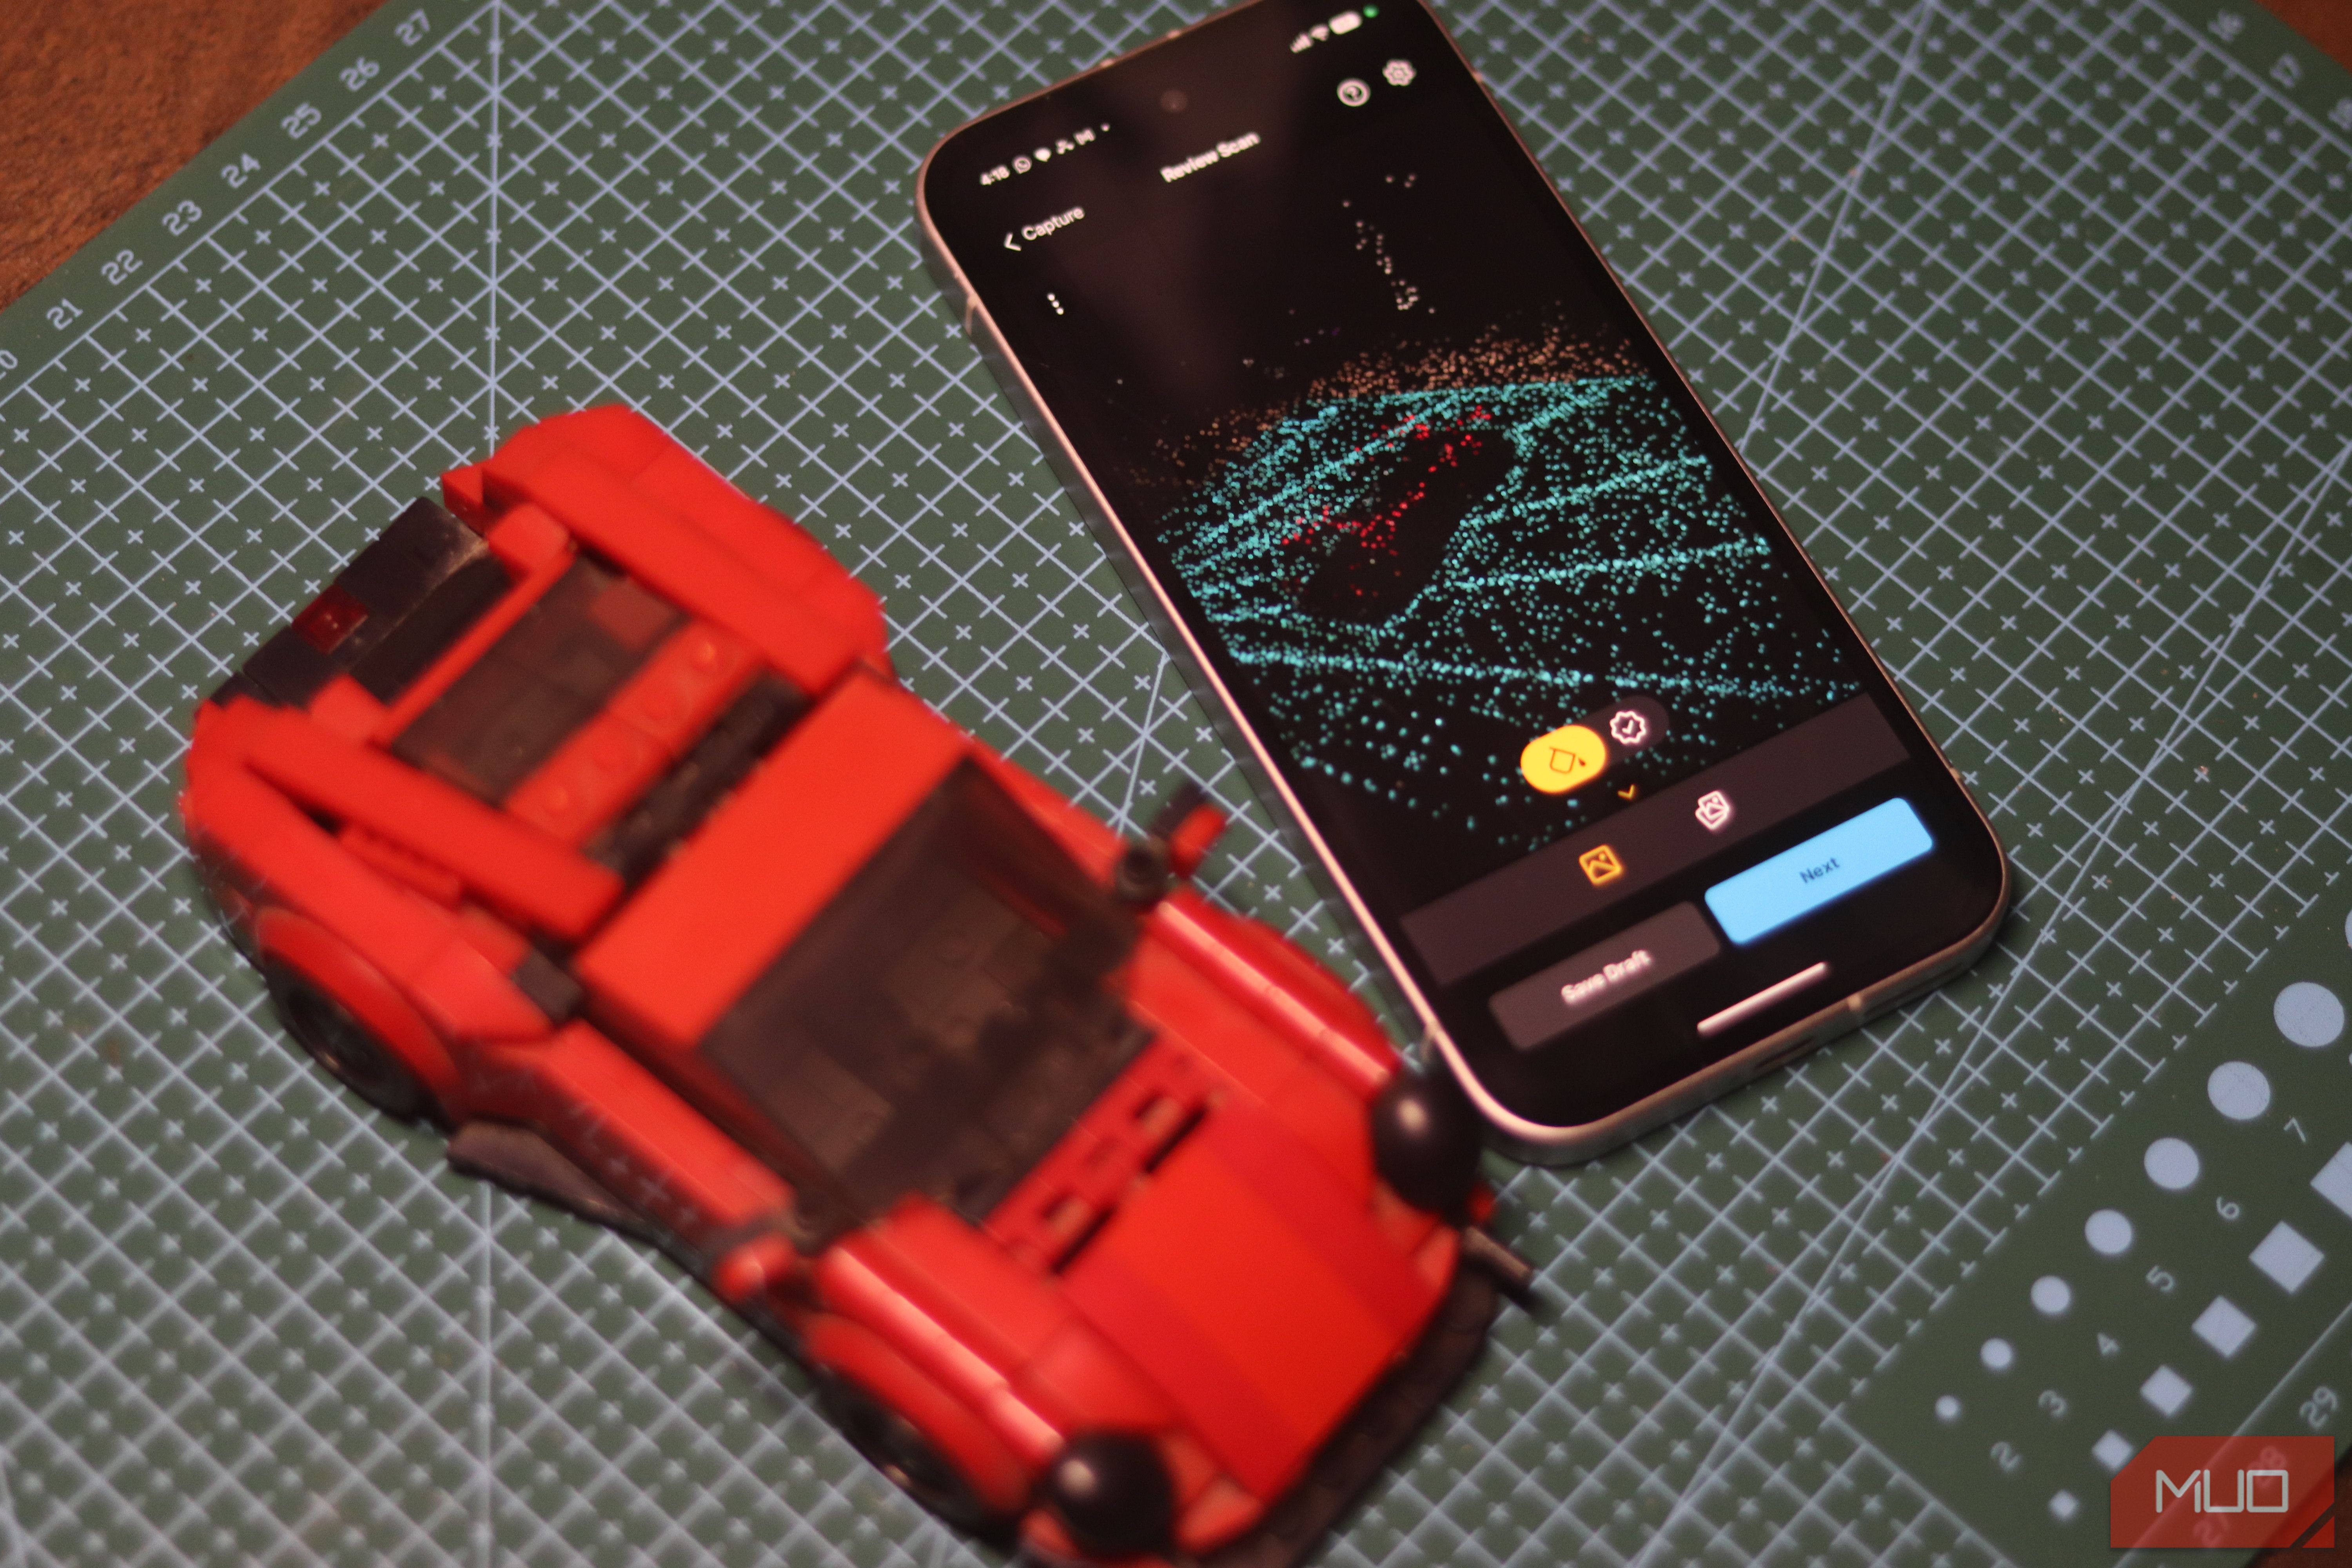
Knowing how to model a part in CAD or 3D design software is one thing, but no matter how skilled you are, if you’re working with a particularly complex part, it can take a lot of time and effort, even if Claude is helping you make 3D parts. The alternative is to 3D scan whatever it is you need to design and work from that. However, 3D scanners can be costly. So if you don’t want to drop $2000 on a laser scanner or dedicated LiDAR rig, your phone’s cameras might just do the trick. Turn photos into 3D models RealityScan makes photogrammetry surprisingly simple Epic Games’ RealityScan is a free app built on photogrammetry tech from Capturing Reality. It lets you walk around an object with your phone’s camera and get a usable 3D mesh out the other end. It’s not good enough to replace a dedicated scanner, but for hobbyists, tinkerers, and anyone who just wants to duplicate a broken part or a favorite figurine, it can be shockingly capable. As you’d expect, RealityScan doesn’t use depth sensors or structured light the way some iPhone scanning apps do. Instead, it relies purely on photogrammetry and stitches together up to 300 overlapping photos and calculates depth and geometry from the parallax between them. You open the app, start circling your object while snapping images, and the app shows you a live point cloud with color-coded feedback. Green patches mean you’ve got decent coverage; red or yellow means you need more angles. Once you’re satisfied, the images get sent to the cloud for processing, where Capturing Reality’s servers do the actual computational heavy lifting and give you a finished mesh in a few minutes. A good scan starts before you tap capture The right photos make all the difference The trick to a good scan is entirely about capture discipline, not app settings, as RealityScan gives you zero manual control over the reconstruction process. It’s best to shoot indoors under soft, even lighting rather than harsh sunlight, because harsh shadows and blown-out highlights confuse the photogrammetry algorithm and create warped geometry on one side of the model. If you’re 3D printing for household repair, getting this right is crucial. Circle the object at multiple heights, eye level, from above, and from below, so you’re not leaving gaps in coverage, and take extra photos around fine details like text, logos, or edges. Reflective or transparent surfaces can be especially hard to work with. Glass, chrome, and glossy plastic will often just disappear from the reconstructed mesh because light bouncing off them scrambles the depth calculations, so if you’re scanning something like a glass vase, a light dusting of matte scanning spray or even talcum powder can go a long way. From your phone to the printer Export, jump a few hoops, slice, and start printing Once you get a workable 3D mesh, you’ll have to jump through a few hoops to get it in a format you can work with. RealityScan doesn’t hand you an STL file you can send to a slicer or edit in a CAD program directly. Finished scans get pushed to a Sketchfab account (the free tier allows 10 uploads a month), and from there you download the model in formats meant for AR/VR use like GLB, GLTF, or USDZ. The workaround is to download the GLTF file, unzip it, and open it in MeshLab, a free and open-source 3D tool. When importing, make sure to load the model in a single layer; otherwise, MeshLab treats the mesh and texture as two separate objects that can be a pain to merge. Once it’s loaded correctly, you can export an STL to work in CAD or send to your slicer. Every scan needs a little cleanup Fix rough edges before printing Raw photogrammetry meshes almost always need some sort of cleanup before they’re ready to print. Scans often include a chunk of whatever surface the object was sitting on, so a simple plane cut in MeshLab or Blender to slice away the base is usually necessary. You’ll also often see a slightly wobbly surface when you strip away the color texture, since the underlying geometry is less precise than the photorealistic texture makes it look. Running a smoothing filter and checking for non-manifold edges will usually fix this up in a few clicks and save you a failed print. For small, well-lit objects with simple geometry, this pipeline gets you pretty close to a clean, ready-to-print file with just a few minutes of touch-up work. Manage your expectations Great for many objects, not all of them The RealityScan app was made to quickly scan assets and import them into an AR/VR implementation or 3D scene so that designers won’t have to spend hours modeling individual assets. So while the scanned assets might look okay, they might have noticeably low-resolution underlying geometry once the texture is stripped away. And that can cause problems when you’re trying to 3D print said model. It’s important to set realistic expectations here: simple, matte, geometrically straightforward objects like figurines or toys scan well and can print with genuinely good details. Complex subjects like human faces or cars with lots of glass can be rougher. It’s simple, straightforward, but has clear limits you need to operate within.