Summary
When I first attempted to build with Docker, it was pretty overwhelming. As it was my first time encountering containers, images, volumes, ports, Compose files, and a terminal full of commands, I wondered whether I needed to be a developer to use it.
However, once I got my head around the principles behind Docker and started using it to install and run several self-hosted applications, I realized I was using the same handful of terminal commands to achieve the same results. Learn these seven, and Docker will feel far less intimidating.
docker pull
The command to download an image
I was initially confused by this Docker terminology, as an “image” in this context is essentially a packaged version of an application that Docker can use to create a container. These can be downloaded from a registry using:
docker pull nginx
This command downloads the Nginx image to your computer. While you haven’t started things rolling yet, you will have all the ingredients necessary to create a container. Docker will sometimes download a missing image automatically, so docker pull isn’t always required. However, it’s important to understand the relationship between images and containers, and the pull command makes this much clearer.
docker run
The command that turns an image into a container
Once you have your image, you can use it to create a container using:
docker run nginx
A typical example might look like this:
docker run -d —name myserver -p 8080:80 nginx
While this certainly looks more complicated, it makes more sense when broken down: -d runs the container in the background; —name gives it an easy-to-remember name, and -p connects a port on your computer to the port inside the container.
It helped me to think of an image as the blueprint, and the container as the running result of that blueprint. By simplifying things in this way, Docker became easier to understand.
docker ps
The command to show what’s running
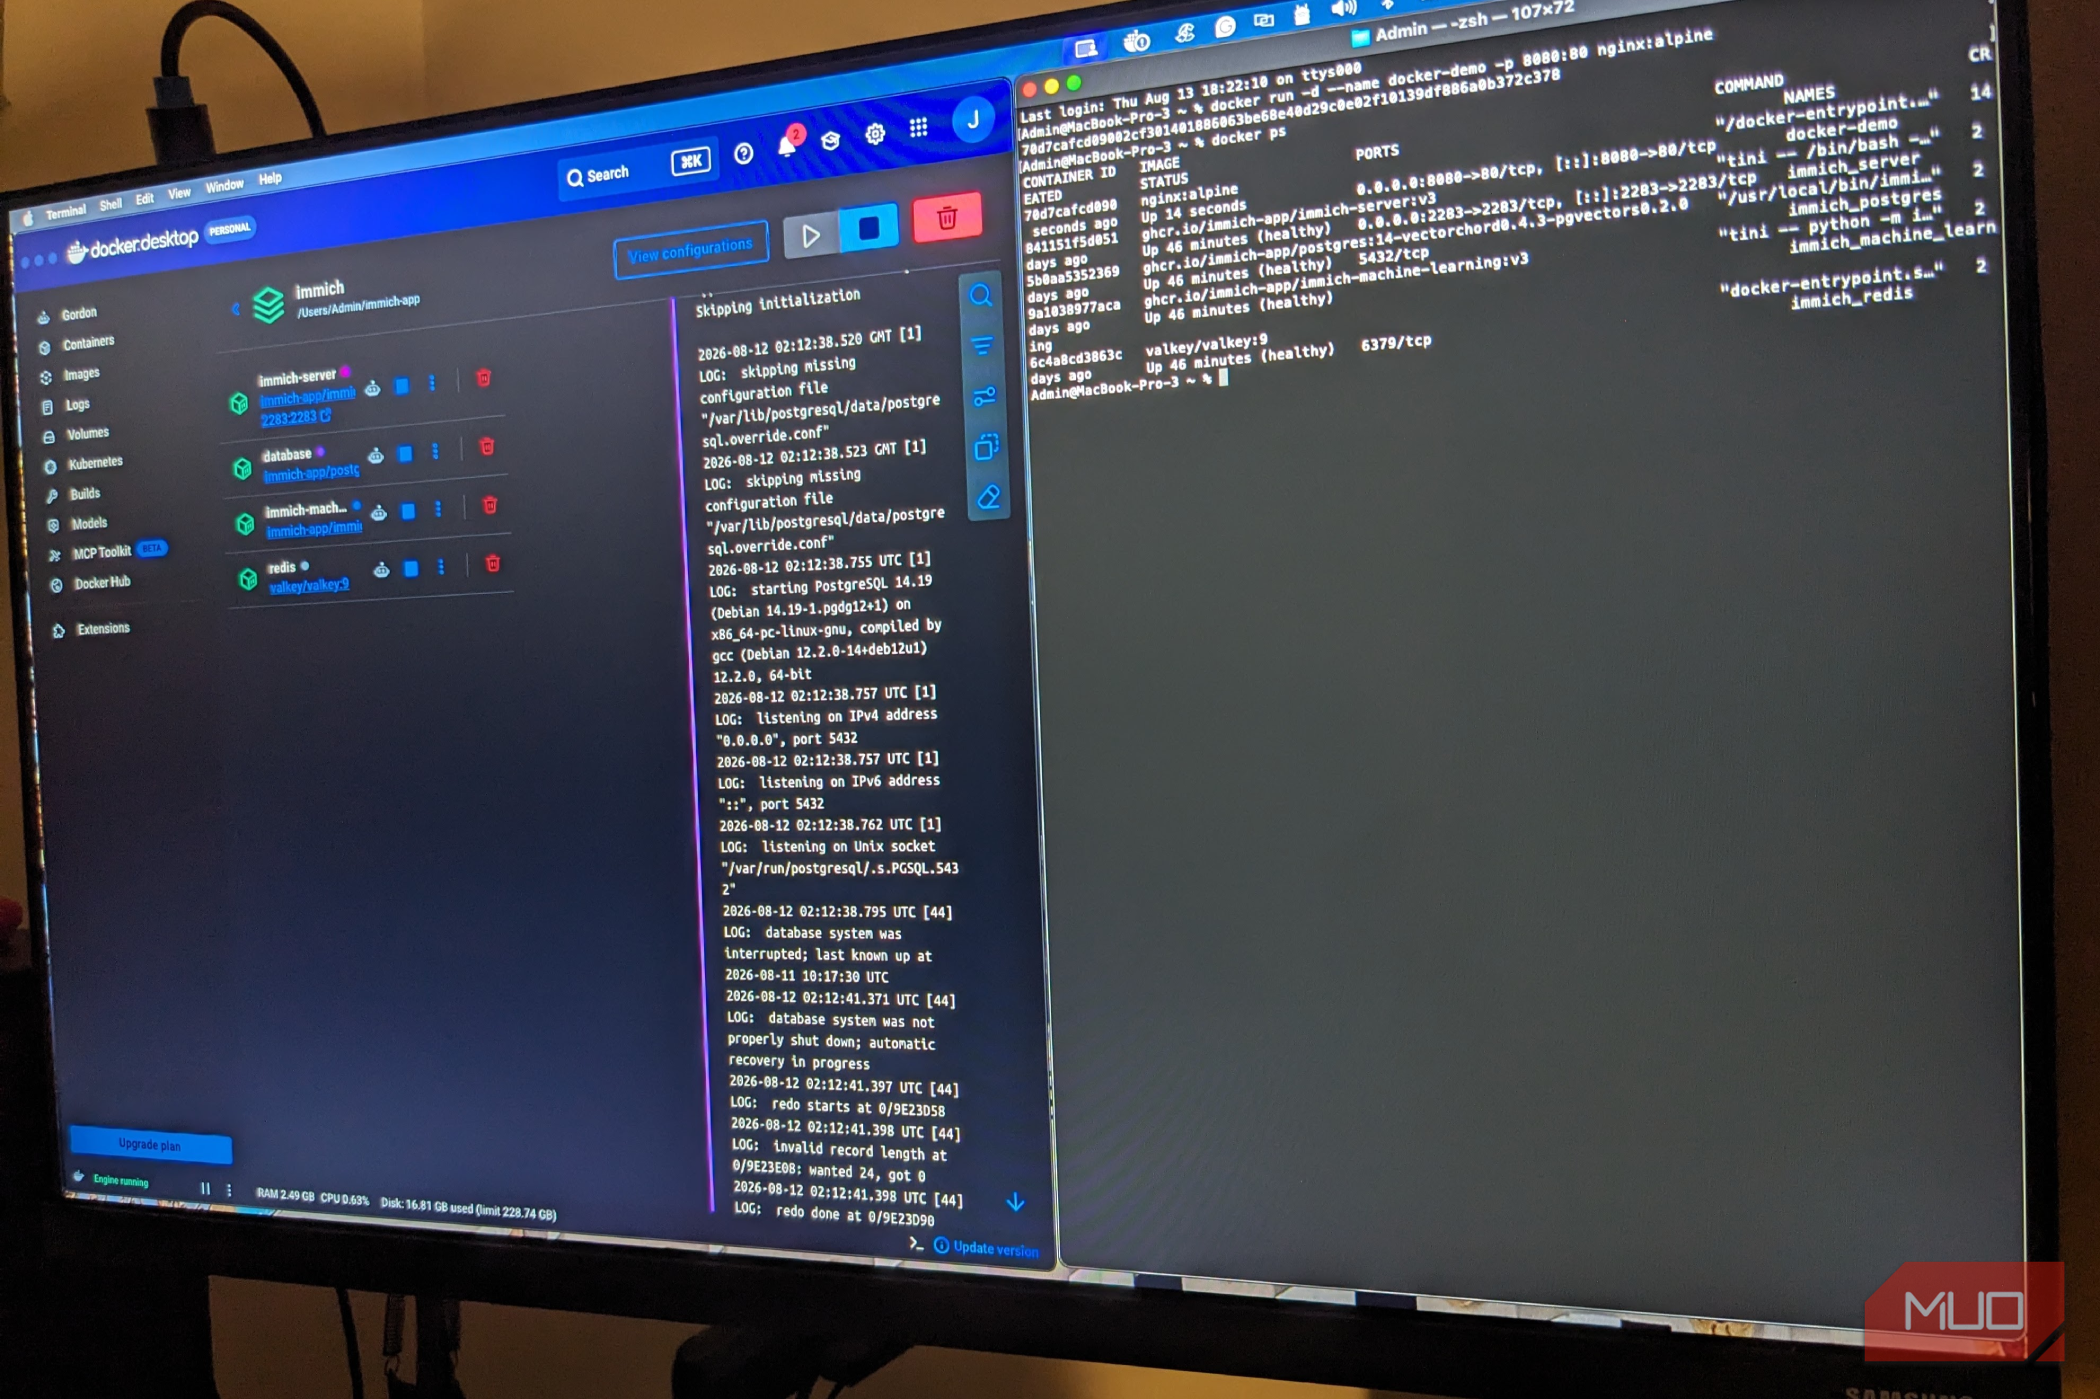
This was one of the most useful commands, as I often found myself wondering what’s happening inside Docker. Start with:
docker ps
This command displays all your currently running containers, along with useful information such as their names, status, images, and ports.
A version that I frequently use is docker ps -a
. The -a part tells Docker to show all containers, including those that have stopped. It can be important to distinguish these, as a container hasn’t necessarily disappeared if it doesn’t show under docker ps; it may simply have stopped.
docker logs
The command that helps you find problems
Even after creating several applications, I still run into issues using Docker, and this command has been one of the most useful:
docker logs myserver
Docker then displays the output generated by the container, revealing issues such as startup errors, configuration problems, connection failures, and other useful clues about what went wrong.
Another helpful variant is docker logs -f myserver
, as the -f allows you to follow the output in real time as it is generated. Whenever I find myself looking at a browser window and wondering why things are not working, looking at the logs often shows me the answer.
In these examples, myserver is a placeholder for your container’s name. Replace it with the name of the container you are working with. If you don’t know the container’s name, run docker ps and look at the NAMES column.
docker exec
The command that lets you get inside a container
If you check the logs and are still baffled at the cause of your issues, it helps to inspect what’s happening inside the container itself, and this is where docker exec
comes in. For example:
docker exec -it myserver sh
The -i and -t make the session interactive, while -sh launches the shell. It sounds complicated, but you’re basically just asking it to open a terminal inside the container. From there, you can inspect files and run commands, just as you would in a normal terminal.
docker stop
The command to shut down a container
Once you are finished with a container, don’t delete it; simply stop it, using:
docker stop myserver
By doing so, you shut down the running container, but it stays on your system. This comes in handy when I am experimenting with Docker and don’t need the application running. I can easily start the container running again, without having to go through the motions of recreating it.
However, if you do want to remove a container completely, use the final command…
docker rm
The command to remove a container
If you’re sure you don’t need a container anymore, you can remove it using:
docker rm myserver
If the container is still running, you’ll likely have to stop it first, using docker stop myserver
. Your container is then removed, but the image remains. Understanding how these elements are separate removed much of the initial confusion surrounding Docker.
You don’t need to be a Docker expert
The biggest lesson I learned from using Docker is that you don’t need to memorize lots of different commands; you just need to understand what they do. The basic workflow is straightforward: You obtain an image, use it to create a container, check whether the container is running, troubleshoot it as needed, and eventually stop or remove it.
These seven commands are enough to get you started, and the rest you’ll learn on the fly as you inevitably make mistakes, investigate problems, and clean up after yourself. This is how Docker stopped looking intimidating to me, as I took it one step at a time and focused only on the few commands I actually needed.
- OS
- Linux, Windows, macOS
- Individual pricing
- Free (Personal)
- Key highlights
- OS-level virtualization, immutable infrastructure, rapid deployment, container isolation
- Platforms
- Docker Desktop, Docker Engine, Docker Swarm
- Developer(s)
- Docker, Inc. Docker is a platform that packages software into lightweight, isolated units called containers. It bundles application code, libraries, and dependencies together, ensuring software runs identically on any machine. By sharing the host operating system, Docker eliminates compatibility issues, speeds up deployment times, and maximizes server efficiency compared to traditional virtual machines.