Summary
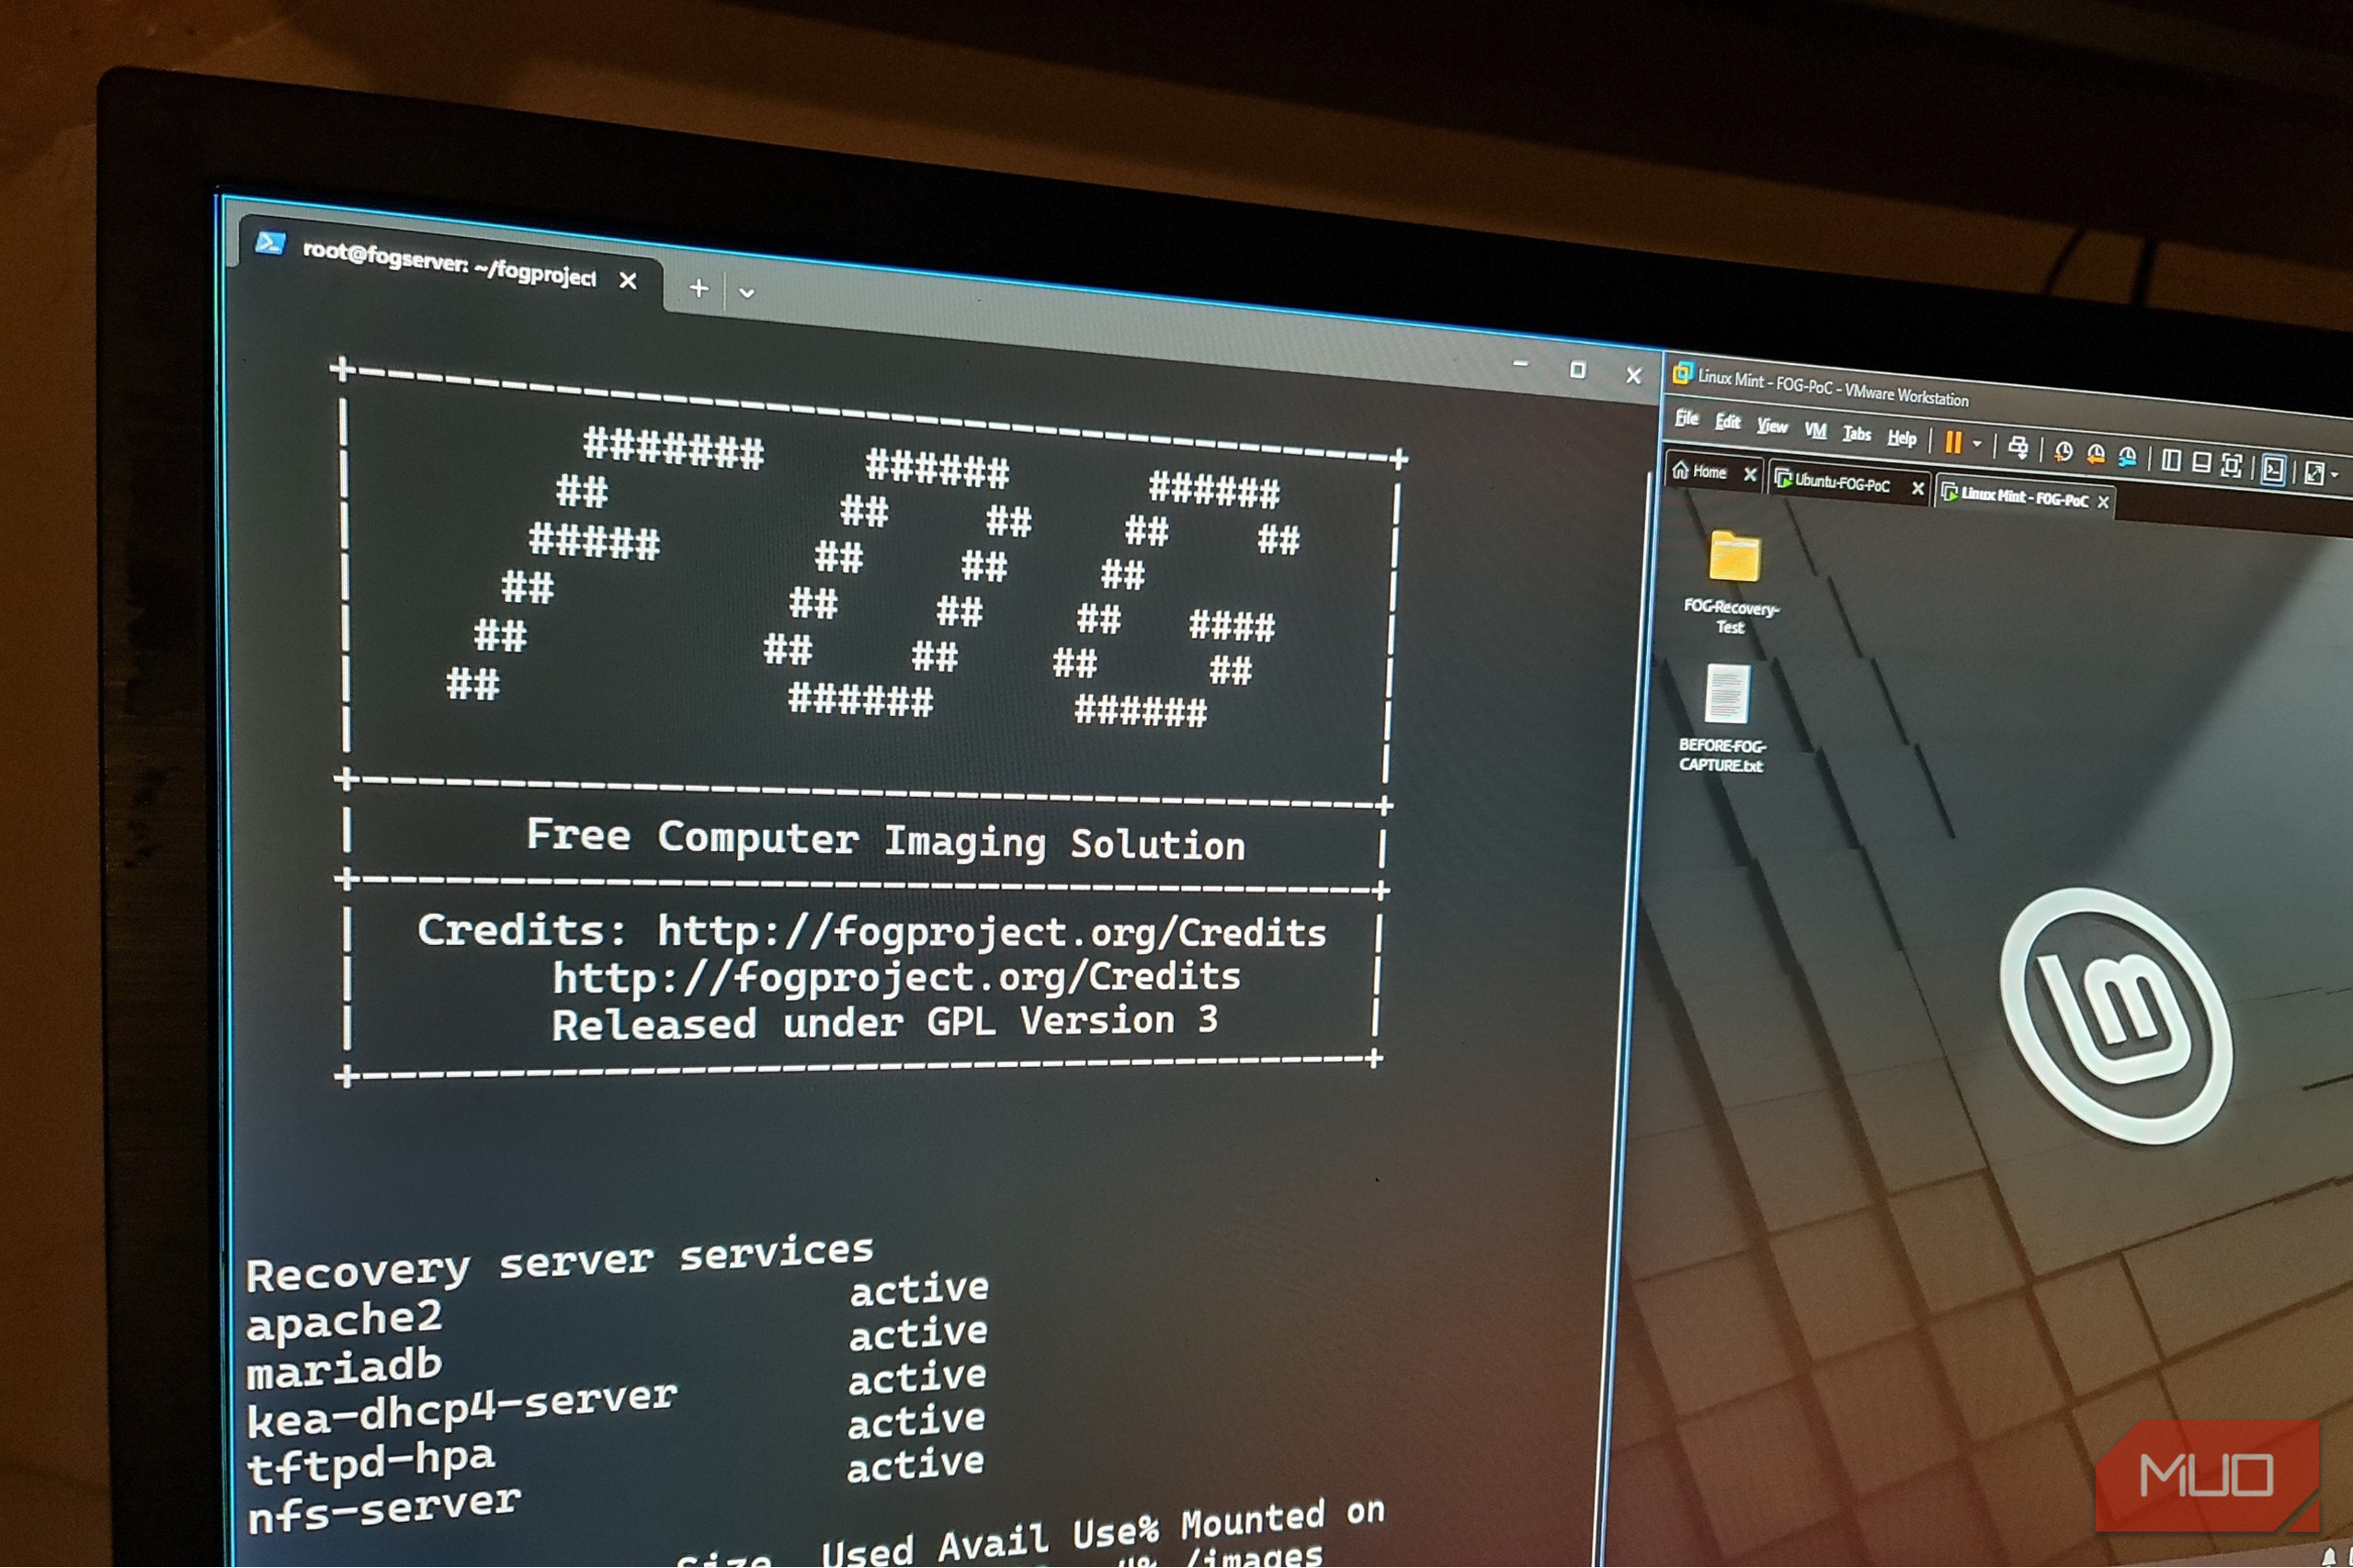
All it takes is one bad configuration change to turn a working homelab server into an entire evening spent reinstalling an operating system and rebuilding. VMware ESXi can give my virtual machines an escape hatch, but what about physical PCs? USB recovery tools can work, but they still depend on finding the right drive and whether I remembered to clone the hard drive. FOG, or Free Open-Source Ghost, offers a much better option. It’s a self-hosted imaging server that boots computers over the network with PXE and stores their complete disk images centrally. Before letting it anywhere near my real hardware, I built a proof-of-concept version inside a VMware Workstation hypervisor and captured a configured UEFI Linux Mint machine, deliberately broke it beyond repair, and restored the supposedly dead PC in under 16 seconds. I built the whole recovery network inside VMware An isolated VMnet kept FOG’s DHCP server away from my real network My laptop only has 16GB of RAM, so I’m not exactly drowning in compute to throw at this sandbox. The FOG server ran Ubuntu Server 24.04 LTS with two vCPUs and 2 GB of RAM. I gave the VM a 20 GB vDisk, then added an 80 GB drive mounted at /images and made it persistent with fstab. sudo mount /dev/sdb1 /images sudo nano /etc/fstab LABEL=fog-images /images ext4 defaults 0 2 The Linux Mint box used another 4 GB of RAM, keeping the complete two-VM lab at a fairly manageable 6 GB. Networking needed a bit more care than the hardware. I created VMnet7 as a host-only network and disabled VMware’s DHCP server on it. The FOG server had one NAT adapter for downloading packages and the second adapter connected to VMnet7. I assigned 192.168.77.2/24 to that second interface, ens34 . I set the Windows Virtual Host Adapter to 192.168.77.1 so I could access the FOG dashboard from my laptop. FOG works through PXE, or Preboot Execution Environment. PXE allows a computer’s firmware to start from the network before its OS takes over and the system loads. In my lab, Kea DHCP supplied the address and boot-server details, TFTP delivered iPXE, and iPXE launched FOG’s imaging environment in memory while NFS (Network File System) took care of the disk image. This fancy setup is how FOG can recover a drive that no longer boots. It’s also the reason for the VMnet7 network, because if the FOG network isn’t isolated, PXE will receive its IP address from my LAN’s DHCP server. FOG 1.5.10.2254 installed everything just fine, including:
- Dashboard
- Database
- Certificates
- Storage
- TFTP
- NFS Kea DHCP ended up being an annoying gotcha. Its configuration file was installed correctly, yet the service wouldn’t open even with a validation command: sudo kea-dhcp4 -t /etc/kea/kea-dhcp4.conf I found the answer to Kea’s troubles in the kernel log, where AppArmor had denied Kea permission to open its own configuration directory. The folder had restrictive permissions and only belonged to _kea:_kea , even though the daemon started as root. That ownership mismatch tripped AppArmor even though the configuration file itself was readable. I fixed this by making root the owner while leaving_kea as the permitted group: sudo chown root:_kea /etc/kea sudo chmod 750 /etc/kea Once this was fixed, Kea validated the 192.168.77.0/24 subnet and bound itself to ens34 . FOG Project is a free, self-hosted computer imaging and management platform. It uses PXE network boot to capture, store, and deploy system images without local recovery media.
- Price
- Free and open-source
- Developer(s)
- The FOG Project Community UEFI PXE captured Mint without a recovery drive FOG copied the used blocks instead of cloning every empty gigabyte My Linux Mint VM test client had a modest 32GB disk. I configured VMware to use UEFI and gave the VM one network adapter, set to VMnet 7. After installing the OS, I temporarily moved that adapter to VMnet8 NAT so it could install updates and a handful of applications, then moved it back to VMnet7. Before capture, I created a few files to act as proof that the OS had been restored correctly:
- BEFORE-FOG-CAPTURE.txt
- recovery-proof.txt
- A unique marker “PHOENIX-7714”
- An SHA-256 checksum of the recovery file. sha256sum recovery-proof.txt | tee recovery-proof.sha256 Writing into recovery-proof.txt: 907147bbf68be8a7e86341bb5c1c989ba2d64d03085cfe0d05ccb312307b45e5 recovery-proof.txt I then restarted the VM into firmware, which requested an address from Kea. Kea returned 192.168.77.2 as the boot server and supplied the correct UEFI boot file. TFTP loaded iPXE, and iPXE opened the FOG menu where I selected Quick Registration and Inventory. This added the VM using its virtual network card’s MAC address, all without requiring a recovery agent to be installed. In the FOG dashboard, I associated that host with a Linux image named linux-mint-golden . Its configuration was set to:
- Use Single Disk – Resizable
- Every partition selected
- Partclone as the image manager
- Zstandard for compression I scheduled the image capture for “immediate” and network-booted the VM again. There, FOG skipped its menu and launched Partclone automatically. The source disk was 32GB, but FOG didn’t copy the empty sectors. Partclone actually read the used blocks from the filesystem, while FOG compressed and stored them under /image/linux-mint-golden . The image capture process took less than one minute at a transfer rate of 7.12 GB/min and used only 14.5GB. The completed image consumed only 3.0GB. Give the FOG server a separate disk mounted at /images. That way, large image files stay off the OS disk, making it much easier to expand, replace, or back up the image store later. I broke the bootloader, and FOG put everything back The machine went from unbootable to its exact captured state in 16 seconds To prove the recovery system worked, I needed something needing recovering. So, I started destroying the VM with innocent changes first, like changing the wallpaper and deleting the proof files. Then I moved on to creating a failure that would prevent Mint from helping its own recovery. findmnt showed me that /dev/sda1 was the mounted FAT32 EFI system partition, so it had to go. Mint’s primary UEFI loader was located in /boot/efi/EFI/ubuntu and its fallback loader occupied /boot/efi/EFI/BOOT . I renamed both directories inside the VM: sudo mv /boot/efi/EFI/ubuntu /boot/efi/EFI/ubuntu.broken sudo mv /boot/efi/EFI/BOOT /boot/efi/EFI/BOOT.broken I then flushed the pending writes and rebooted. VMware’s UEFI firmware no longer found a working local bootloader and failed. Instead of starting Mint, it fell through to the network adapter and returned to FOG. The VM was now broken in a way that would normally send me into a panic looking for installation media. From FOG’s dashboard, I created a deploy task for the registered host. That button definitely deserved extra attention, because accidentally creating another capture task would have replaced the working image with the broken one. On the next PXE boot, FOG detected the pending deployment and skipped its normal menu. It recreated the partition table and EFI partition, then Partclone restored Mint’s filesystem, applications, settings, and files from the linux-mint-golden image. The entire deployment finished in just under 16 seconds. I never once used a Mint ISO, recovery USB, reinstall process, or cheated with a VMware snapshot. Mint just booted from its local disk, with everything restored, as if nothing had even happened. The proof files BEFORE-FOG-CAPTURE.txt and recovery-proof.txt had been returned, and both .broken bootloader directories had disappeared. The saved checksum provided the strongest evidence yet: cd ~/Desktop/FOG-Recovery-Test && sha256sum -c recovery-proof.sha256 It returned: recovery-proof.txt: ok All the original UEFI directories were back, the exact file contents matched, and Mint booted normally. Watching the desktop reappear exactly as captured made FOG feel like a genuine undo button. FOG is an undo button, but it’s not a backup Whole-disk recovery is fast, disruptive, and only as current as the last image FOG well and truly earned the undo-button description, but it did require substantially more infrastructure than an ordinary backup would. My proof-of-concept alone needed:
- An Ubuntu server
- Separate image storage
- Working DHCP
- TFTP
- iPXE
- NFS
- Web dashboard
- A separate network or VLAN Rolling this out isn’t something I can do in a few minutes. Imaging itself is also disruptive. FOG has to reboot the client into its own environment so it can capture filesystems. That means the installed operating system must be offline. The proof-of-concept lab was also an ideal environment. In my physical homelab, I’ll need to deal with drivers, firmware, network adapters, and Secure Boot. The 16-second deployment, therefore, is a best-case sandbox result. In reality, a restore on a physical machine will depend on disk speed, image size, and network bandwidth. FOG is also not an incremental backup. FOG can schedule captures, but another capture of the same assigned image overwrites the existing files. However, you can overcome this by renaming the image in the web dashboard to create a manual version history. So, yes, there are limits, but in my opinion, they don’t erase the payoff. One FOG server can hold known-good images for multiple machines, and a broken client doesn’t even need a functioning operating system. I only need working network firmware and access to the FOG recovery server to reverse whatever silly change I made that broke the machine in the first place. I will roll out FOG on a physical host, leaving FOG available on the network, but will task my OpenWRT router with providing ordinary addresses, gateways, DNS, and PXE options 66 and 67. I’ll use FOG for golden images and deliberate pre-upgrade recovery points before making any major changes to my servers. The experiment was meant to decide whether FOG would have a place in my homelab. After watching an unbootable Linux PC restore itself in 16 seconds, I’ve decided it does.