Summary
I recently researched this very setup online, but most AI results, forum replies, and the official Starlink instructions suggested it wasn’t possible. My Starlink mesh node that came with my Starlink Mini kit supposedly needed a wired connection back to the dish before its Ethernet port could serve wired clients.
That was a problem because my 120-year-old home has 20-inch walls made of solid stone. Wi-Fi could cross the distance, but drilling through those walls was beyond my expertise and simply not an option.
Out of curiosity, I onboarded the mesh node and plugged in my Ethernet cable anyway, and it immediately worked. It turned Starlink’s wireless mesh into a perfectly good network socket to connect my wired devices without running cable across the house.
The Starlink node became my remote Ethernet socket
Wireless backhaul carried the network through walls I was not willing to drill
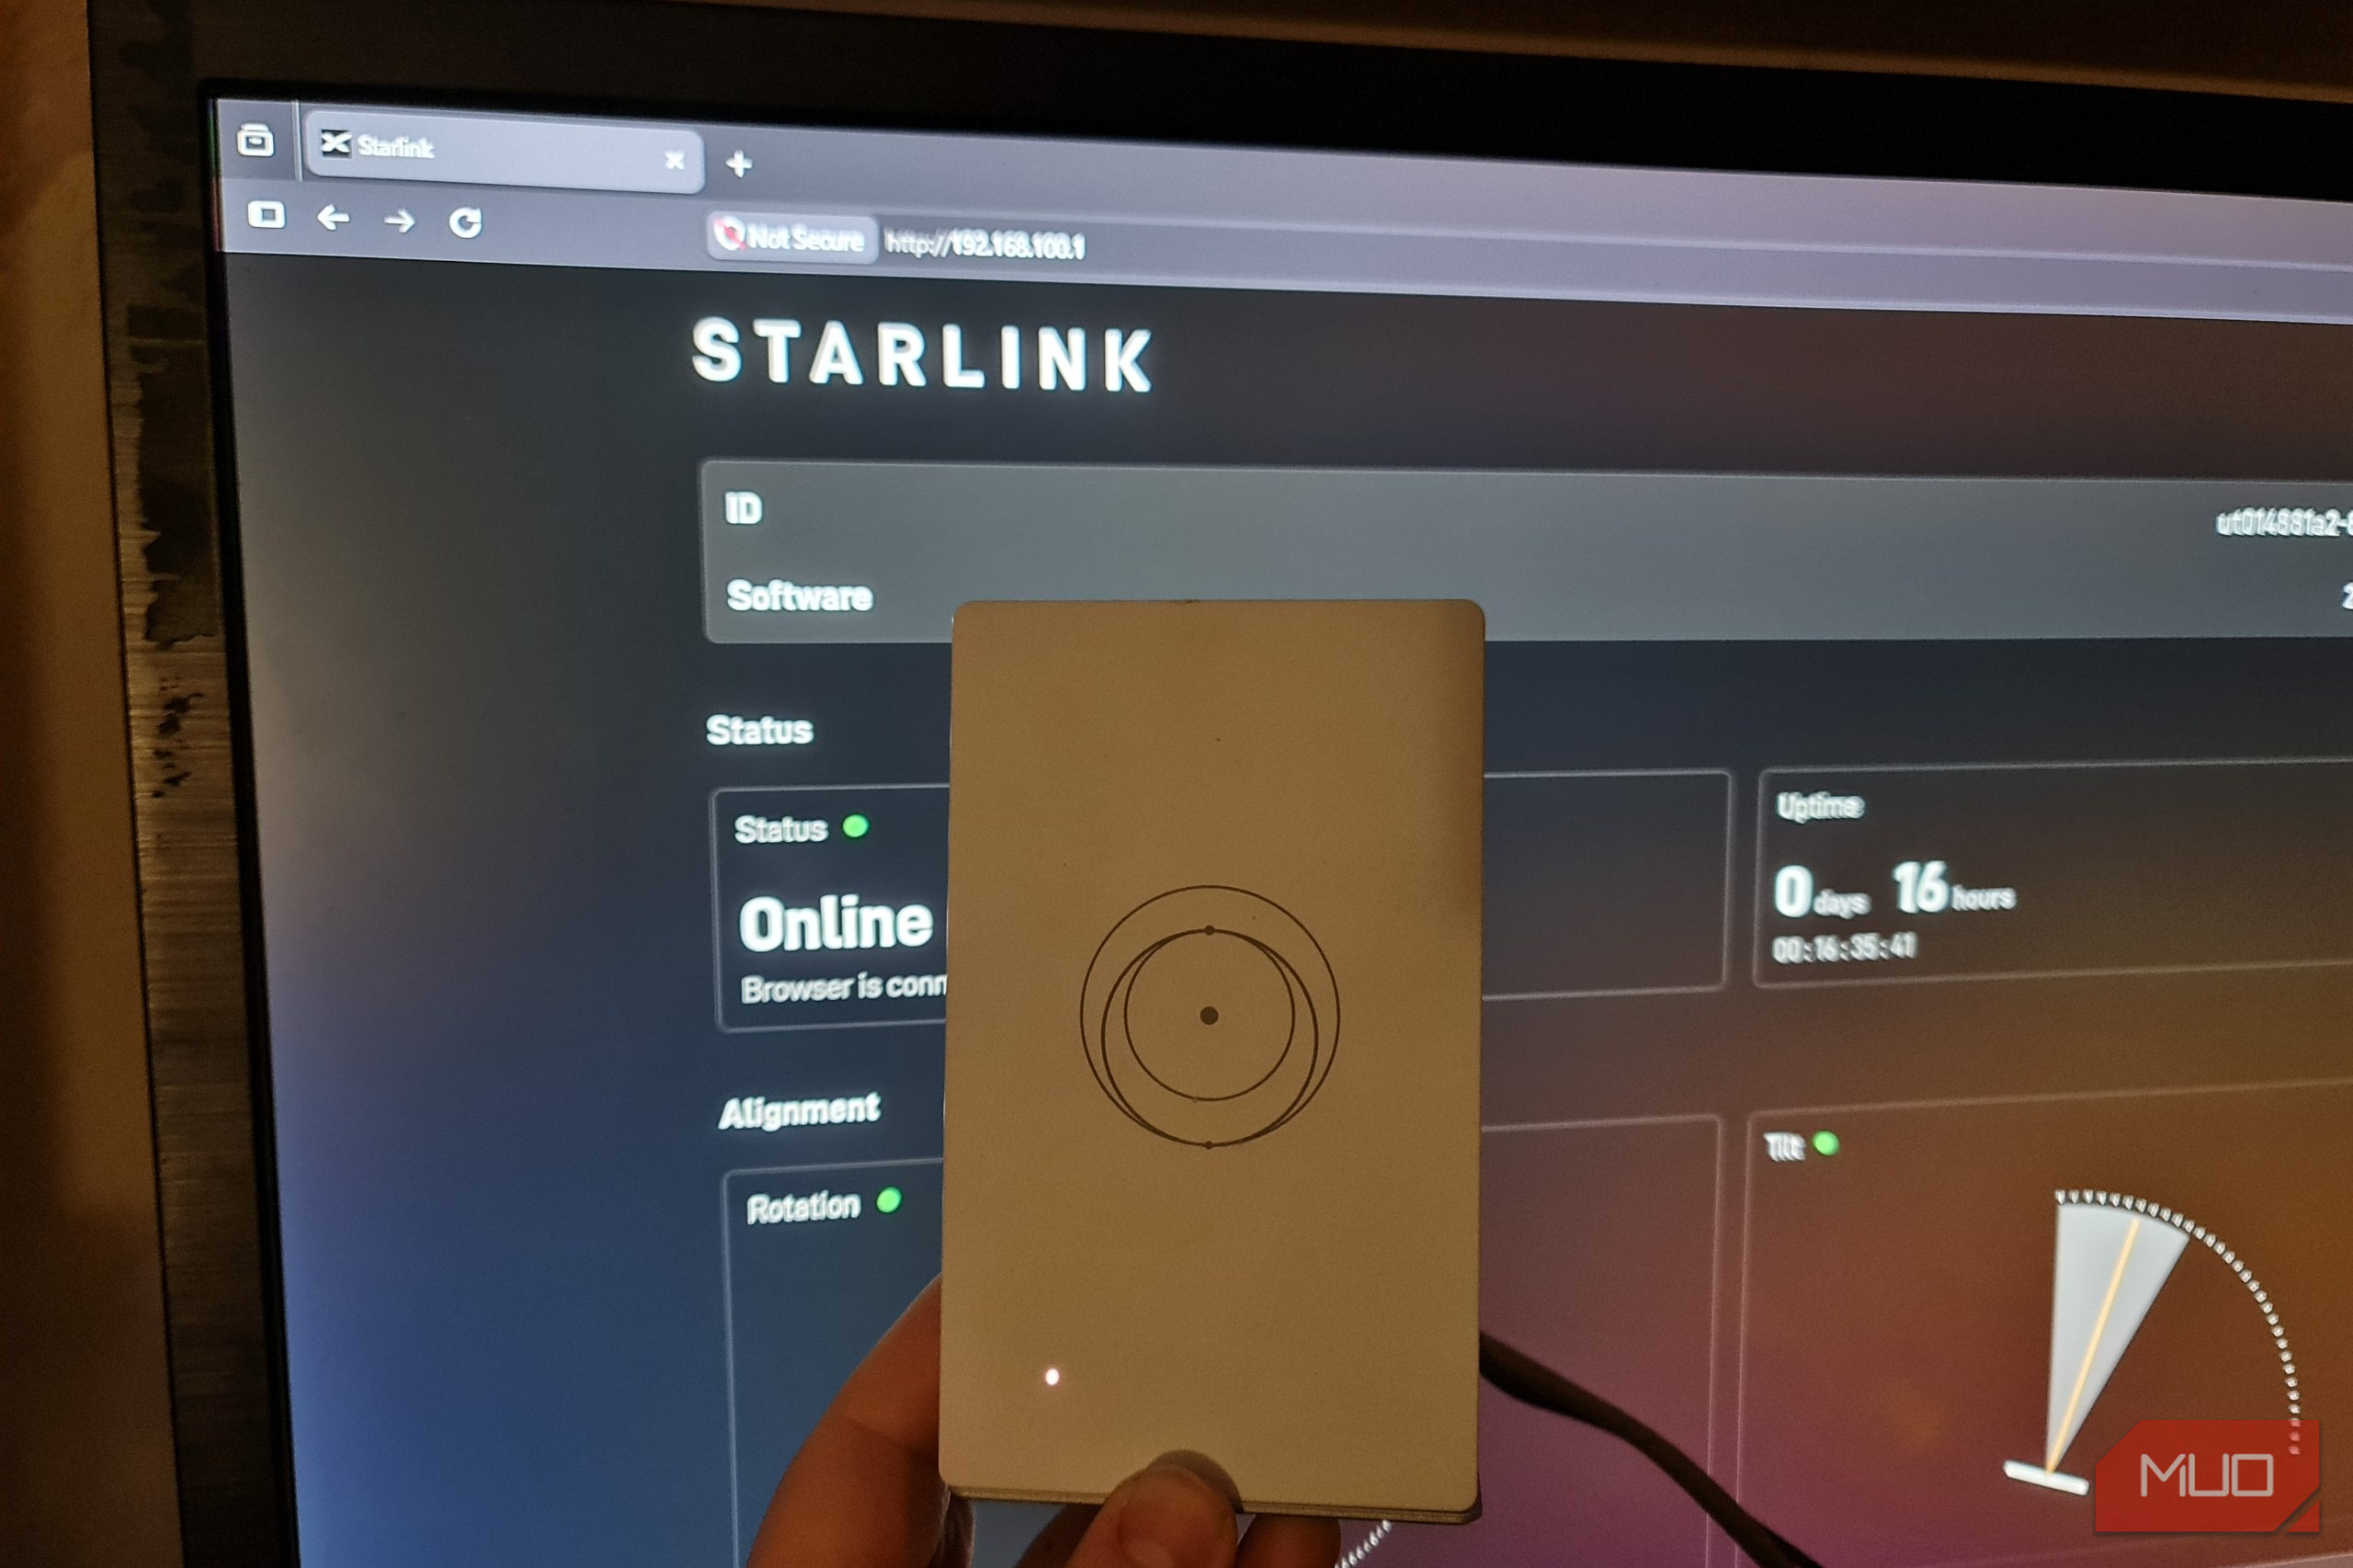
 My room has its own Starlink Mini powered by an external power socket. It remains my router and internet gateway, so I don’t need to rebuild the network around any extra hardware. I factory reset the UTR-251 Router Mini, placed it within range, and connected only the power.
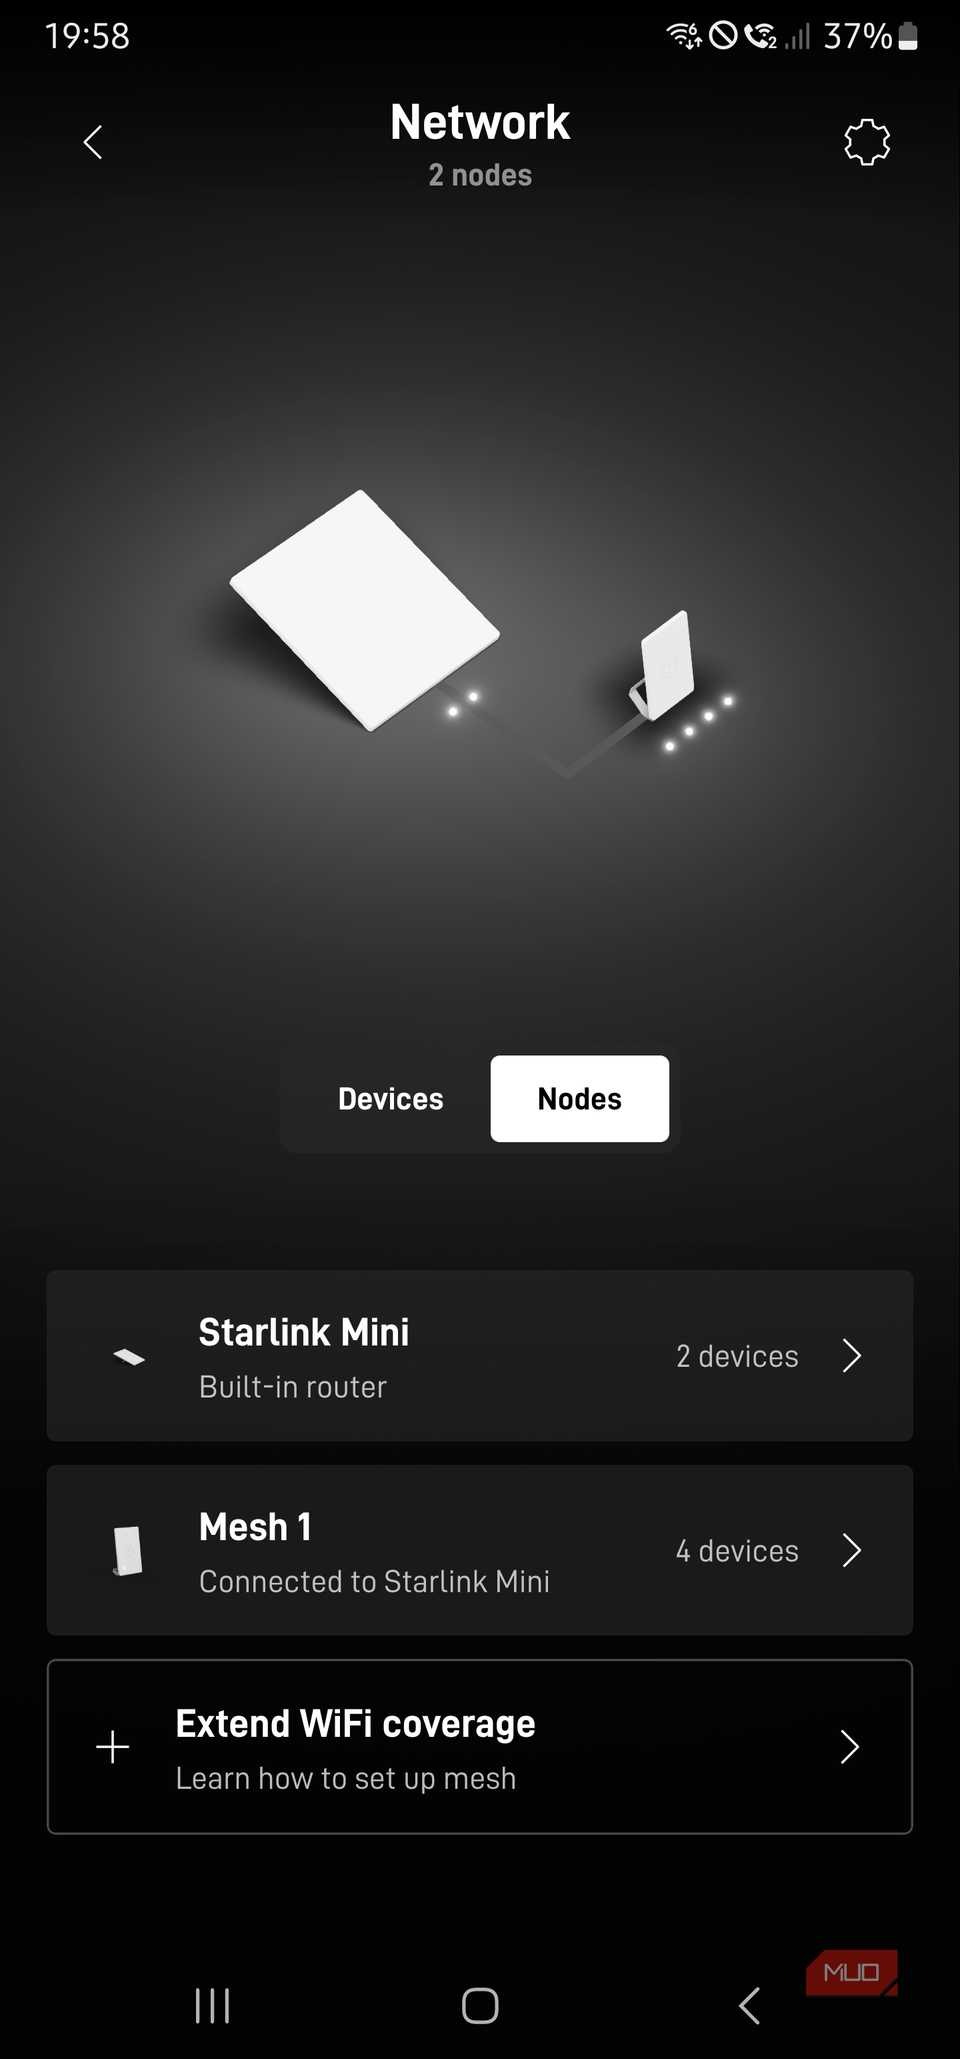
Soon after, the device appeared in the Starlink app as a mesh node and offered to pair it. I accepted the prompt, watched it join, and that was all the setup it needed.
The node adopted the Mini’s existing SSID and began broadcasting it in my room. There wasn’t a second Wi-Fi network to configure, nor was there any competing DHCP or manual routes to create. My phone and laptop used the mesh node, since its signal was significantly stronger than the wireless access point the Mini created. At this point, the node’s LAN bridge port exposed the same network to anything connected by my Cat5e cable.
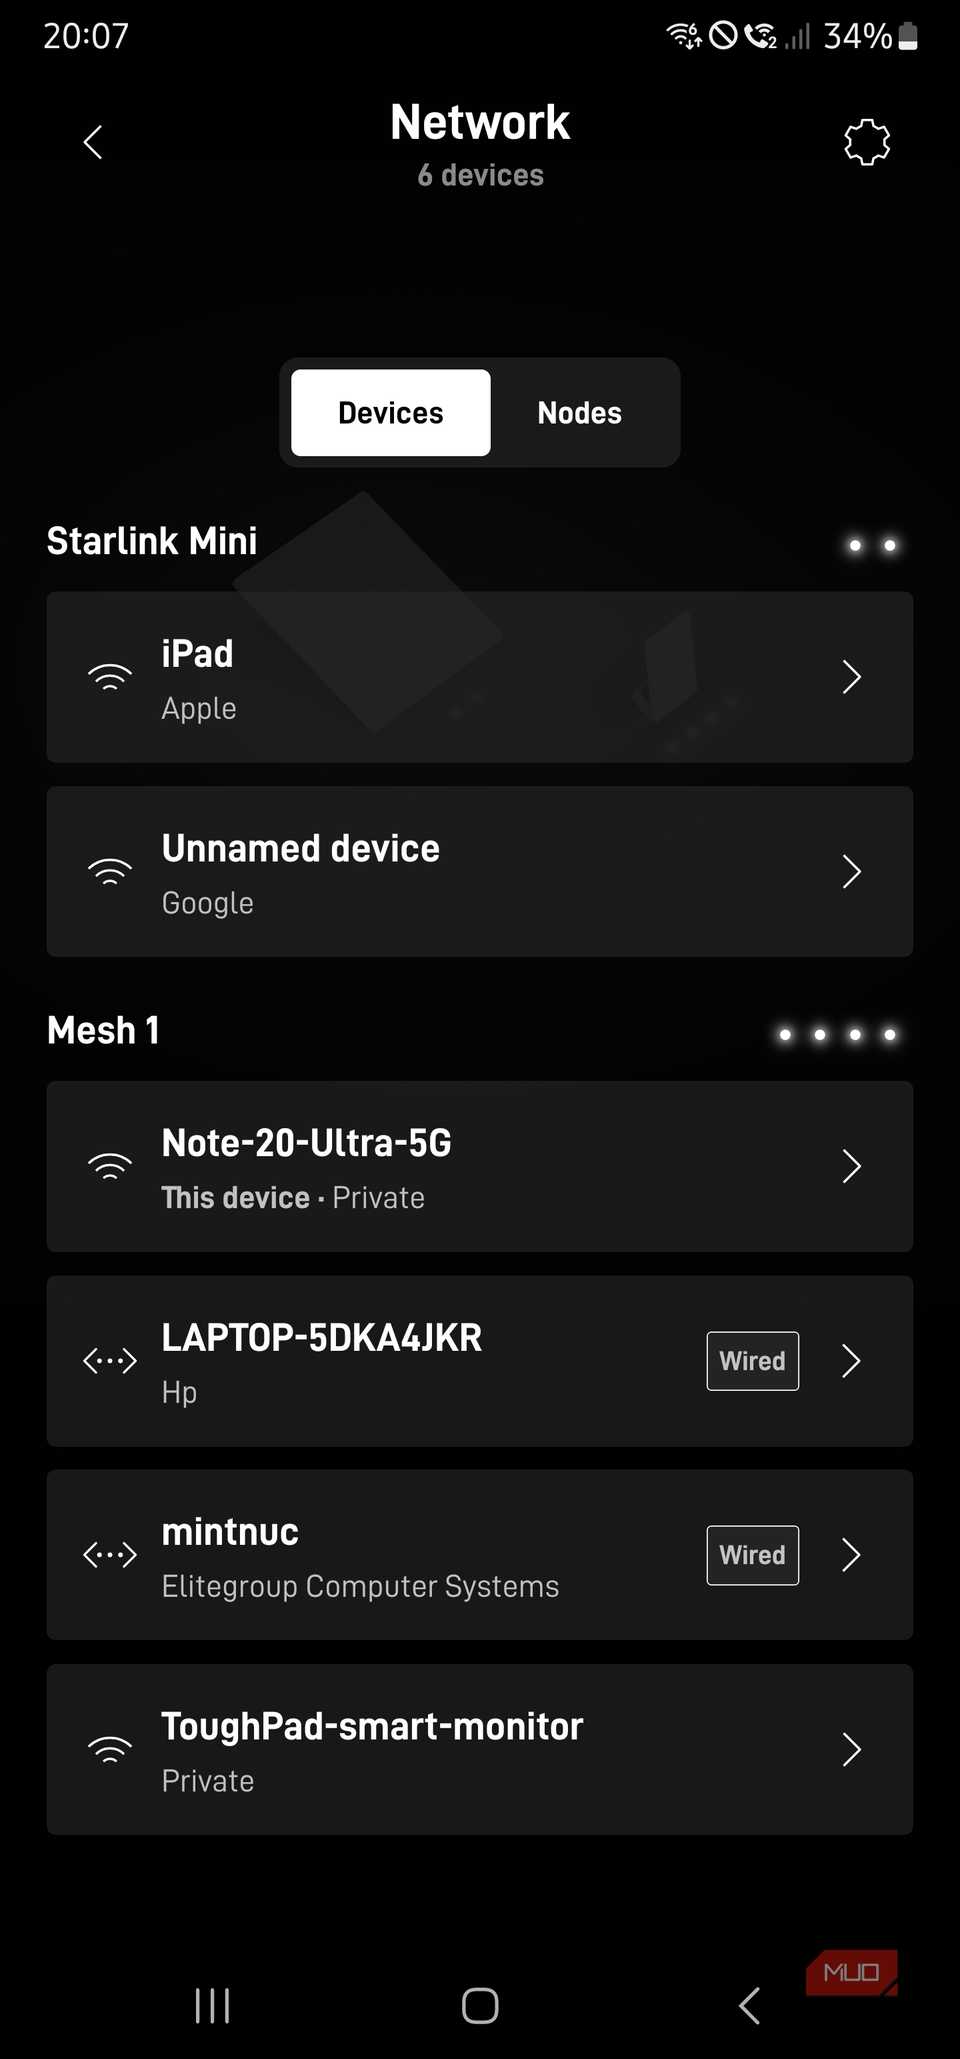
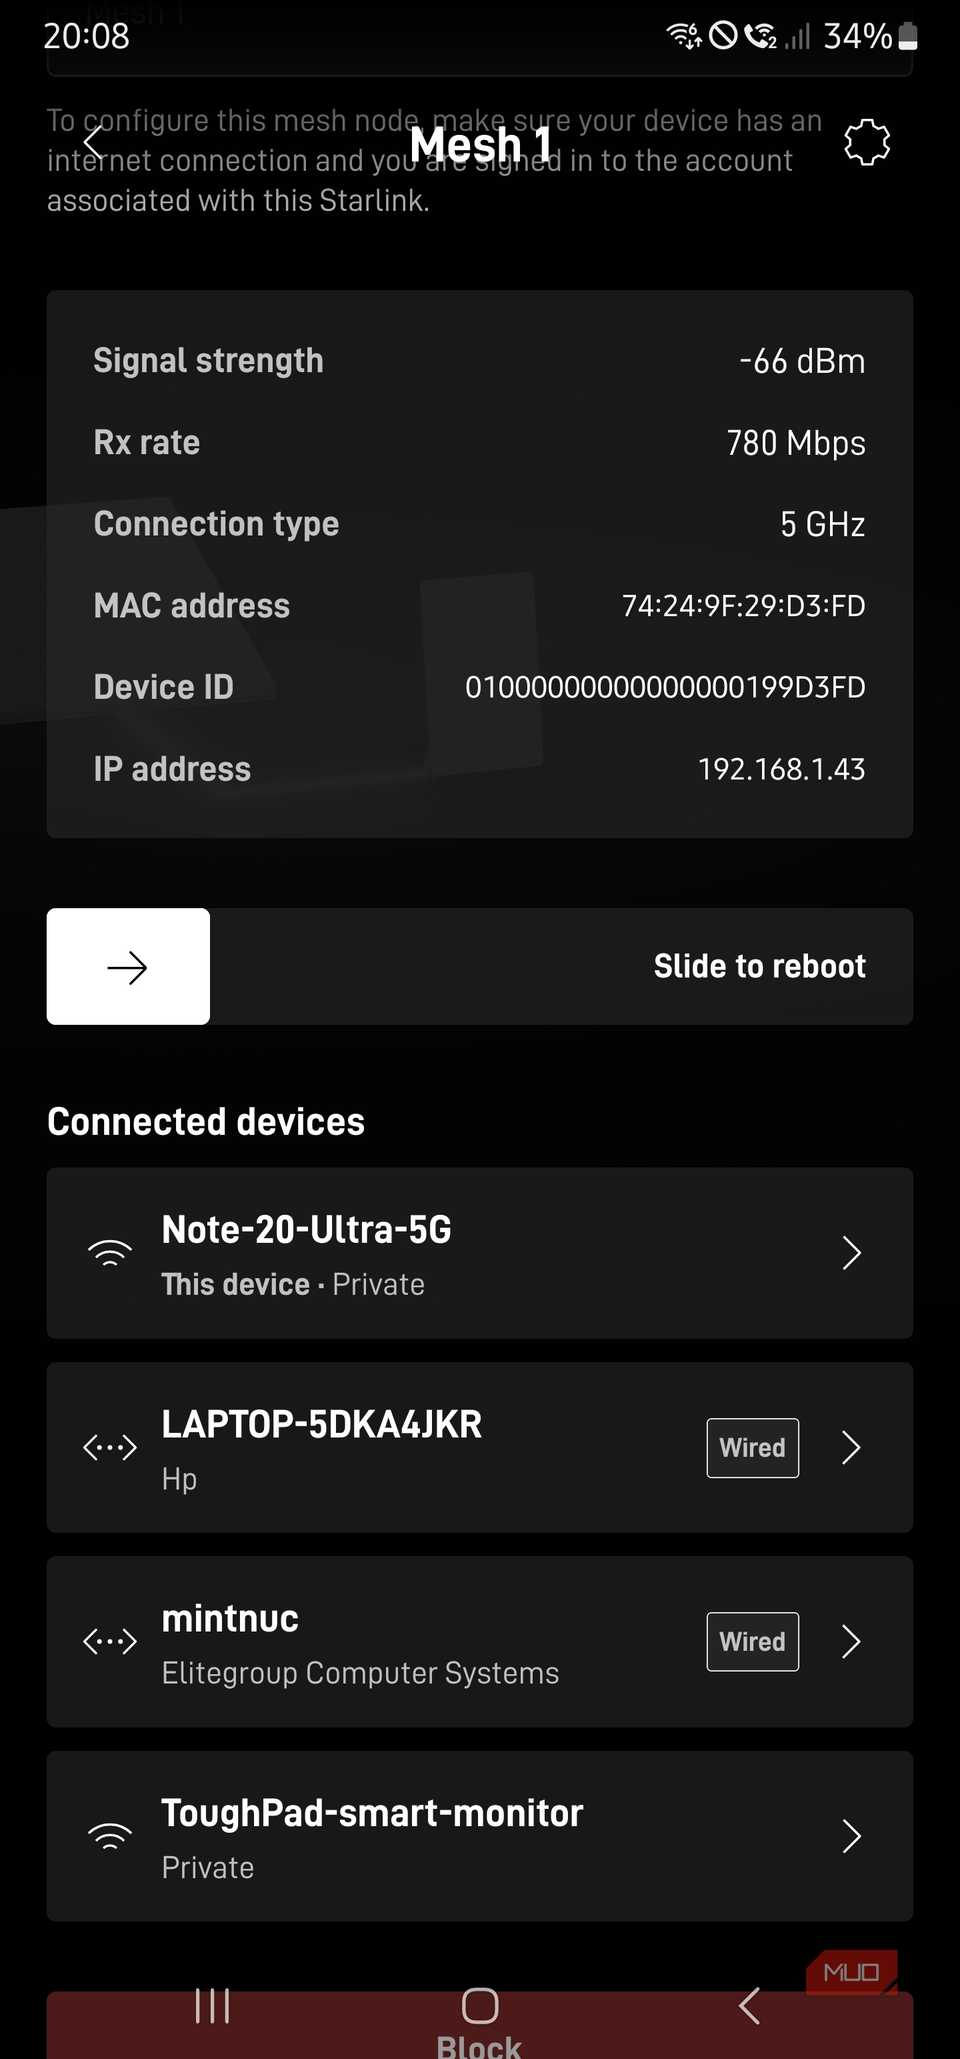
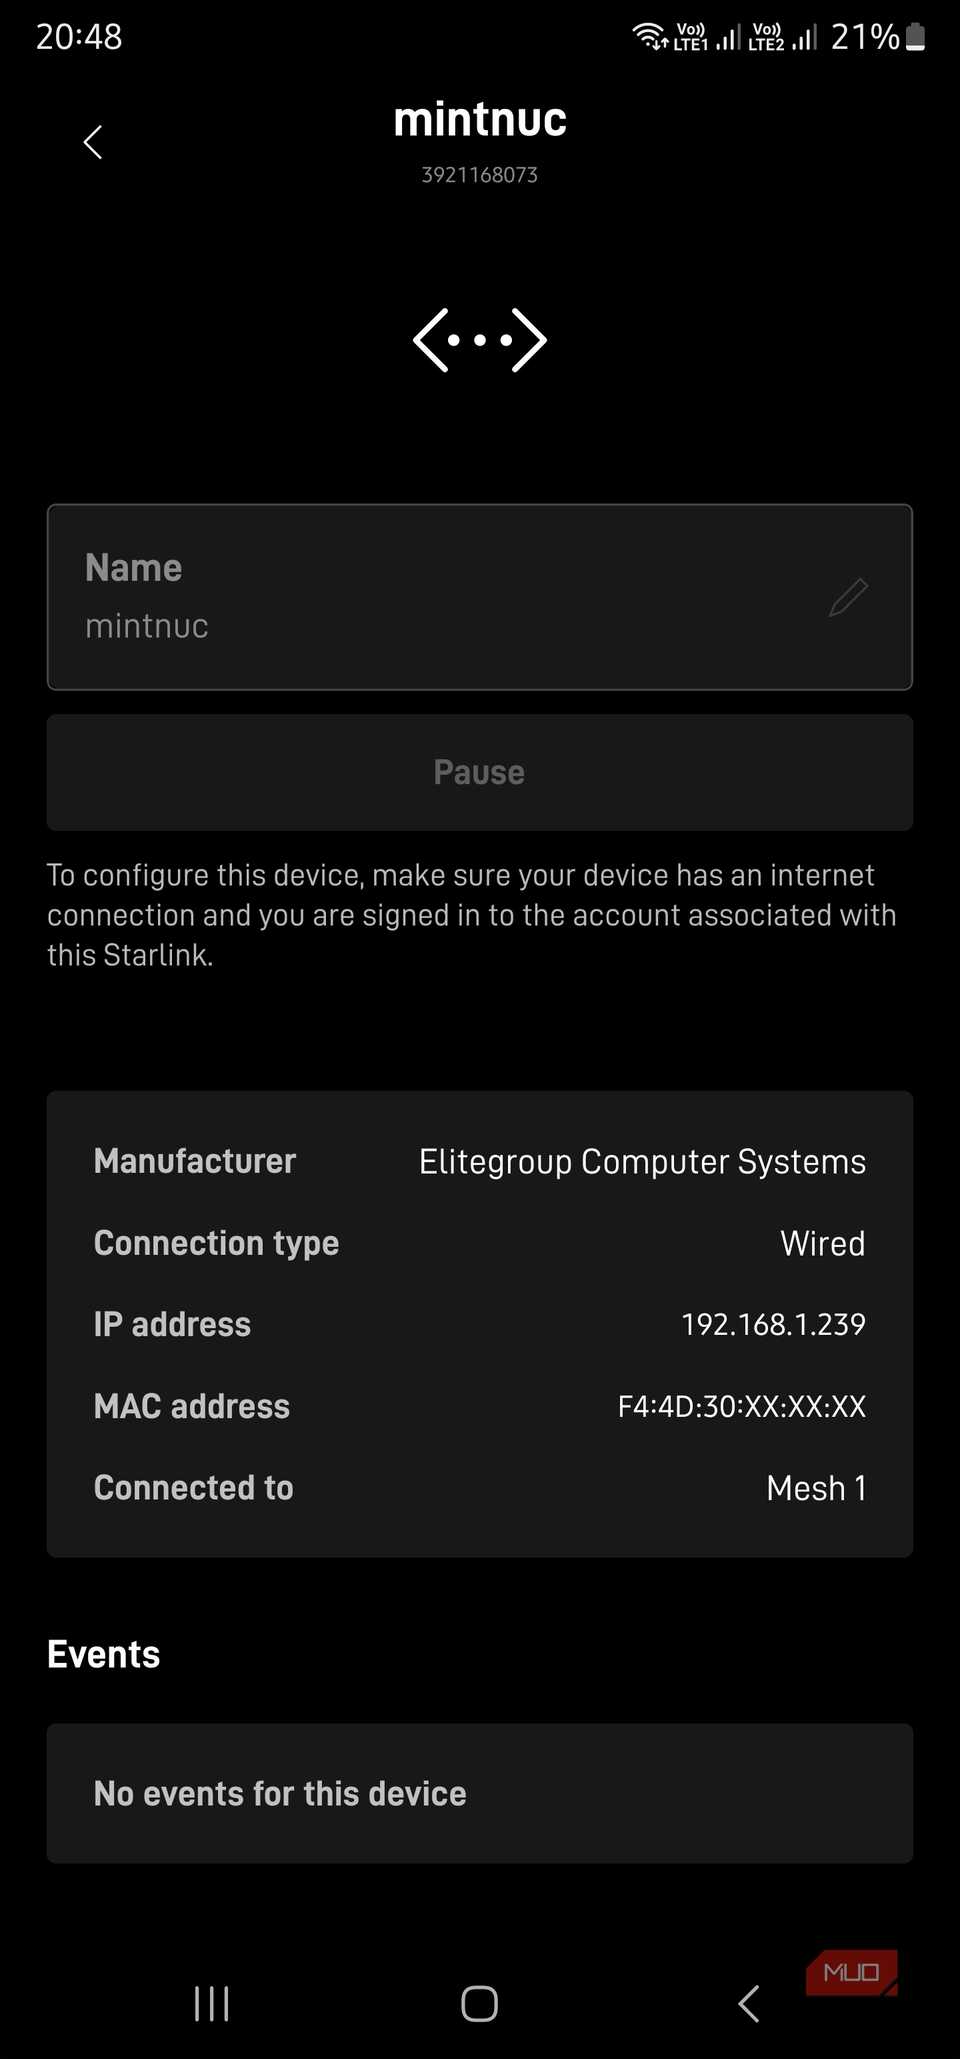
The Starlink app removed any doubt as to what was happening. Its network map showed that the Mini was wirelessly connected to the UTR-251, with both wireless and wired clients listed below, designated by Wi-Fi and wired icons. Despite the warnings and advice I had found online, the port didn’t require wired backhaul to become active.
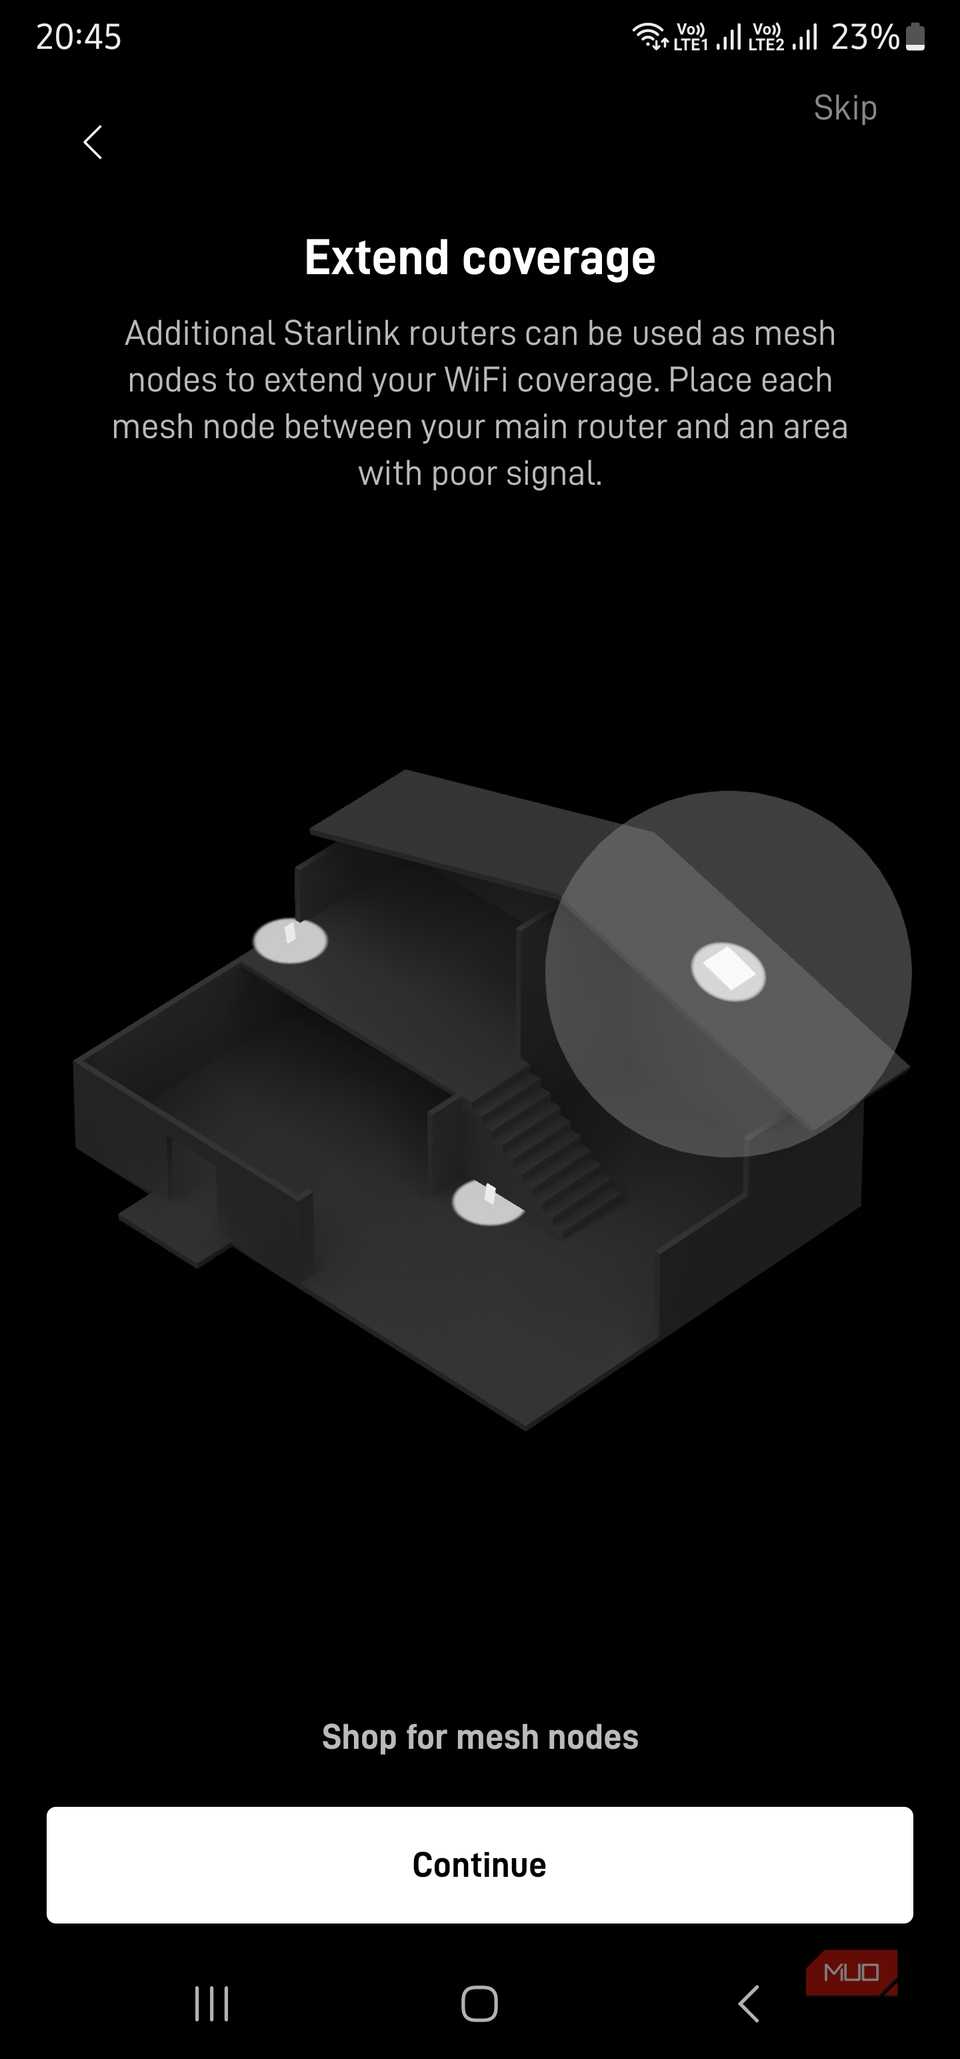
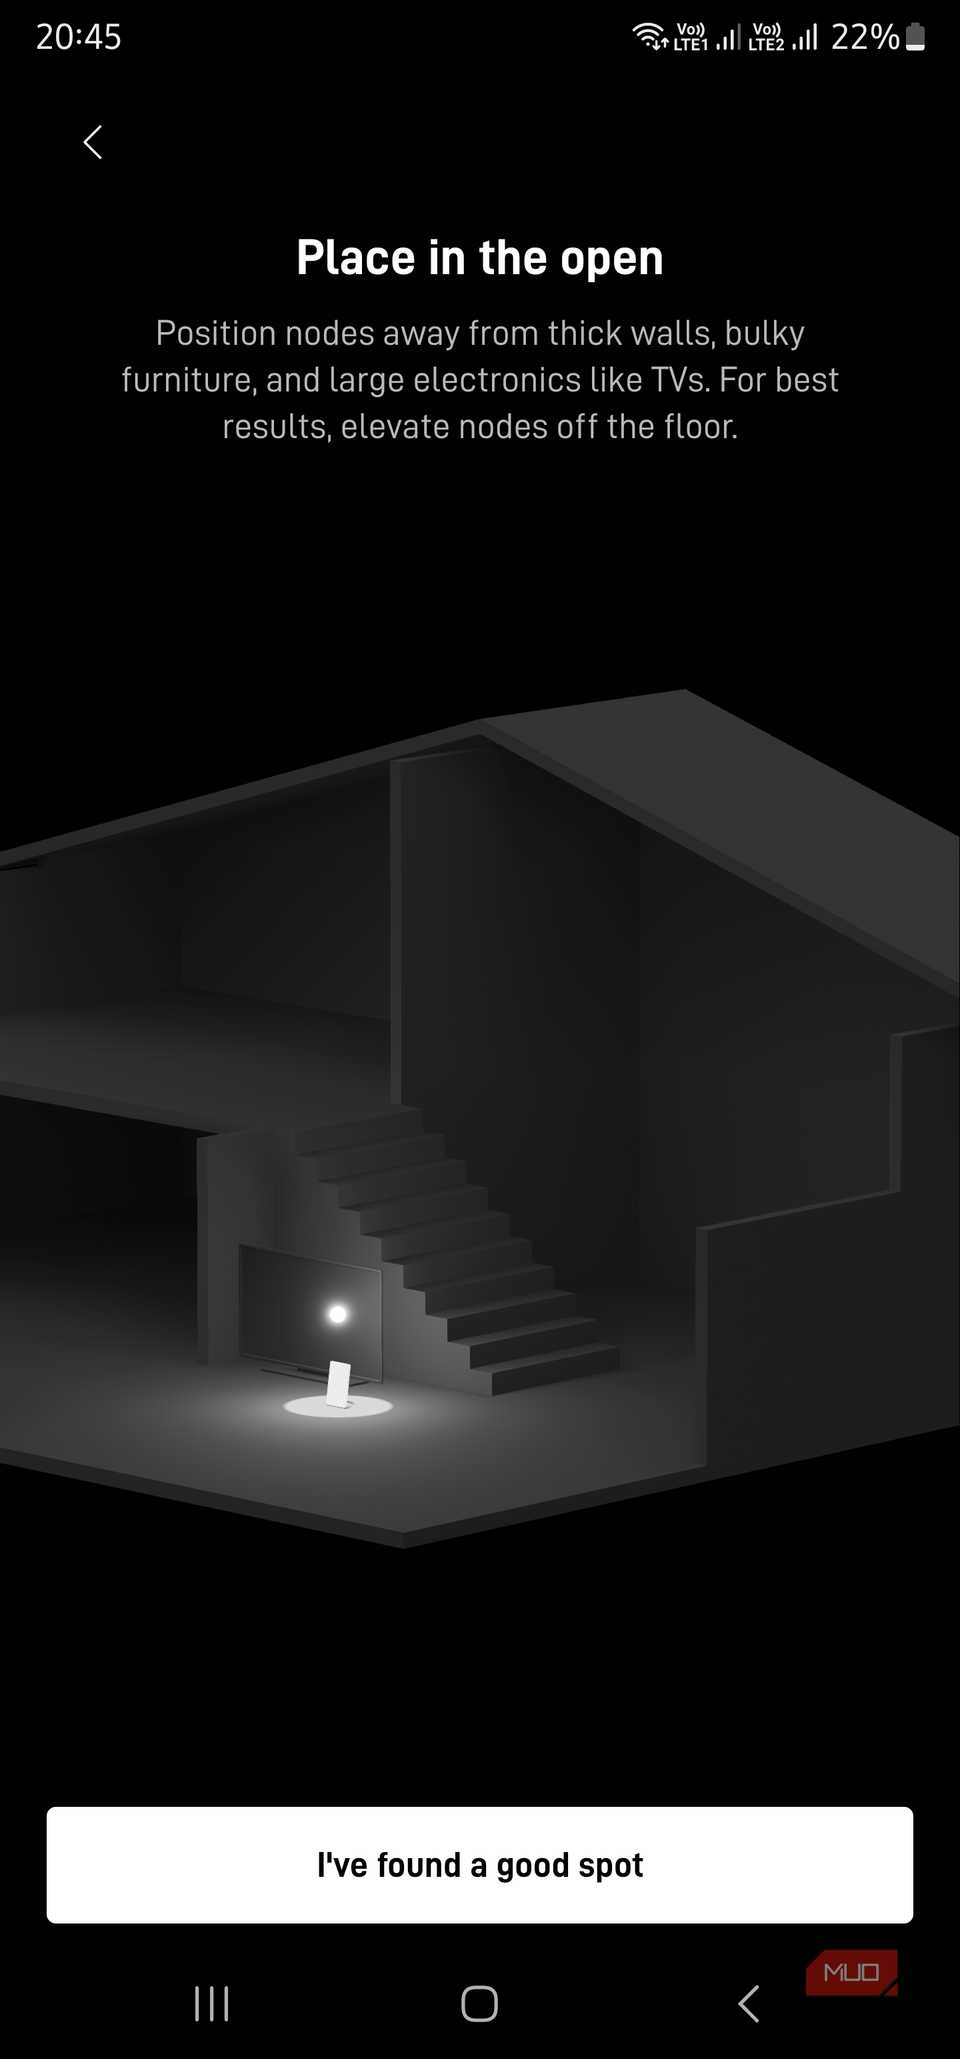
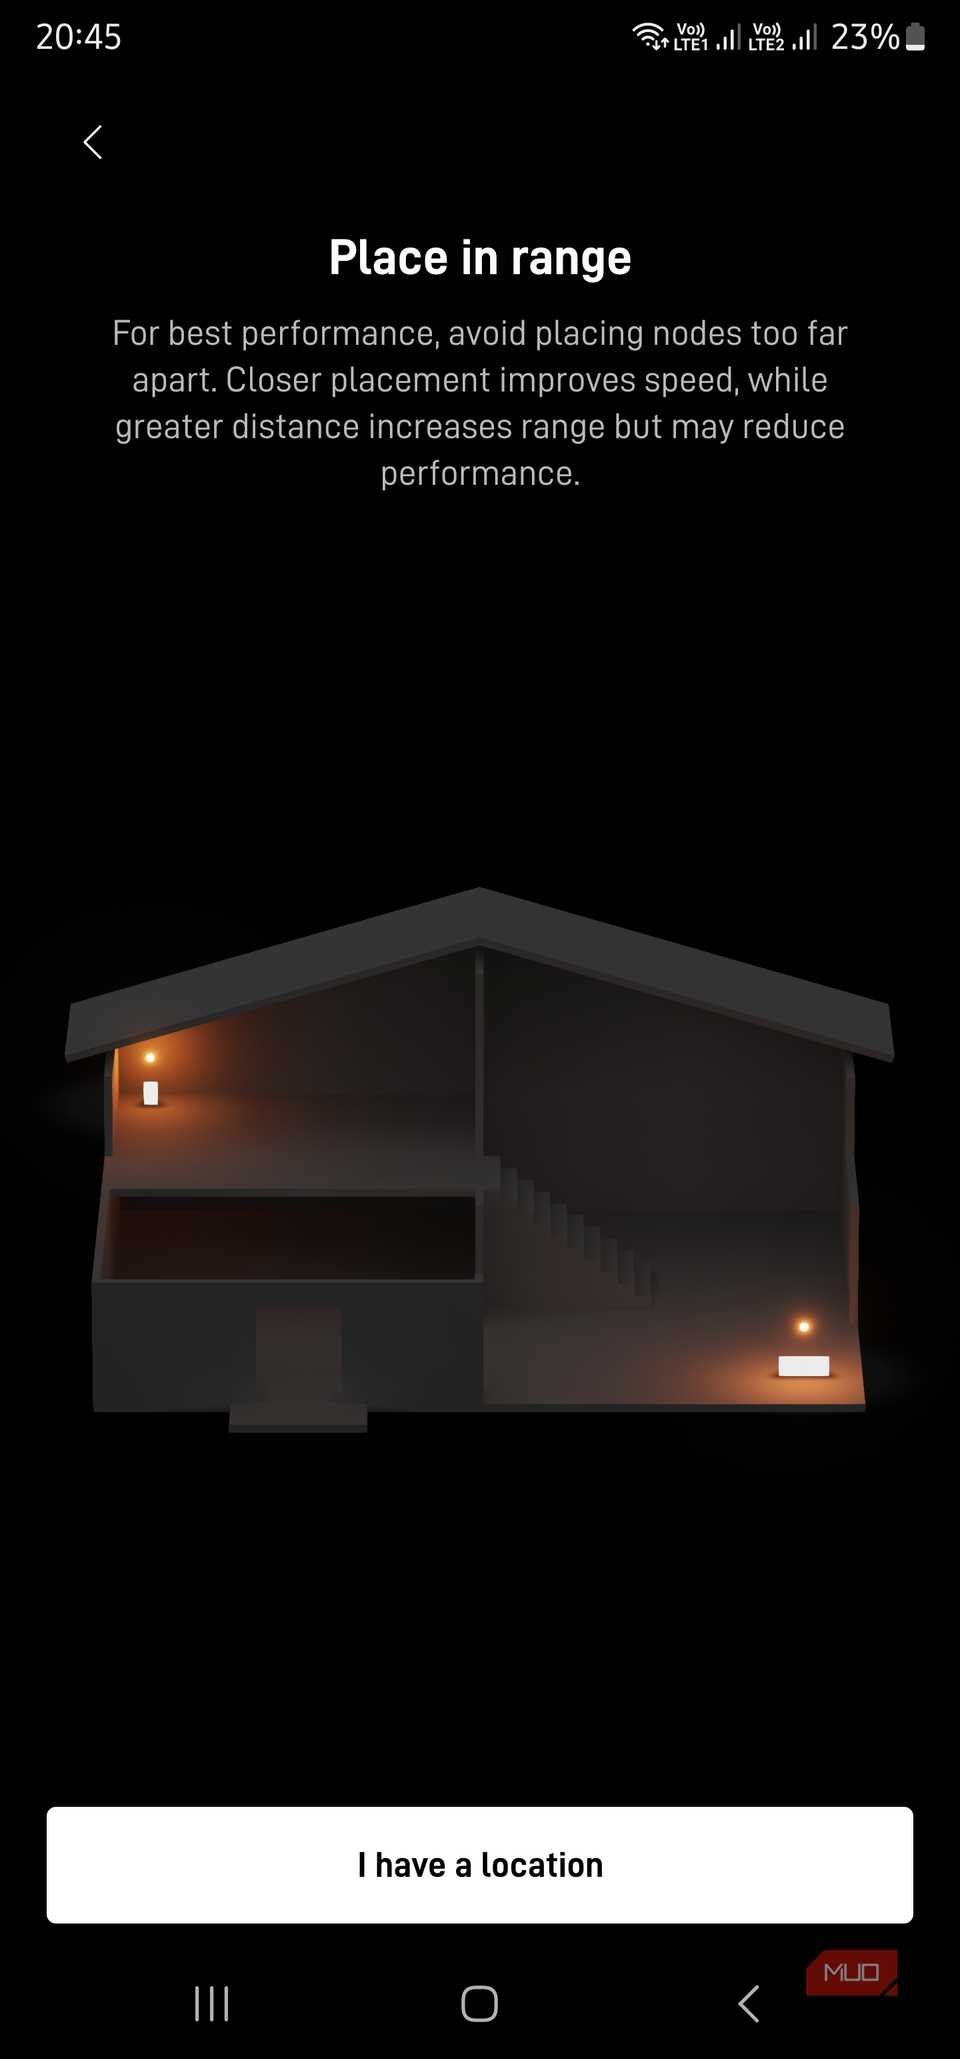
Placement of the mesh node was still important because it had 20 inches of solid stone to get through. I couldn’t hide it neatly because I could only get full performance from one point in the room, above my desk. Still, it was much easier than drilling through those walls.
My room has its own Starlink Mini powered by an external power socket. It remains my router and internet gateway, so I don’t need to rebuild the network around any extra hardware. I factory reset the UTR-251 Router Mini, placed it within range, and connected only the power.
Soon after, the device appeared in the Starlink app as a mesh node and offered to pair it. I accepted the prompt, watched it join, and that was all the setup it needed.
The node adopted the Mini’s existing SSID and began broadcasting it in my room. There wasn’t a second Wi-Fi network to configure, nor was there any competing DHCP or manual routes to create. My phone and laptop used the mesh node, since its signal was significantly stronger than the wireless access point the Mini created. At this point, the node’s LAN bridge port exposed the same network to anything connected by my Cat5e cable.
The Starlink app removed any doubt as to what was happening. Its network map showed that the Mini was wirelessly connected to the UTR-251, with both wireless and wired clients listed below, designated by Wi-Fi and wired icons. Despite the warnings and advice I had found online, the port didn’t require wired backhaul to become active.
Placement of the mesh node was still important because it had 20 inches of solid stone to get through. I couldn’t hide it neatly because I could only get full performance from one point in the room, above my desk. Still, it was much easier than drilling through those walls.
 Starlink UTR-251 Mini Router
- Coverage
- 2.4 Ghz, 5Ghz, Wi-Fi6
- What’s Included
- Router, Power supply
One Ethernet port connected the entire room
An ordinary switch turned the mesh node into more than a one-device workaround
The UTR-251 has two Ethernet ports. The one marked with the Starlink symbol is its WAN port that accepts wired backhaul from the main router, or in my case, the Mini itself. The other port is a LAN port that can feed another mesh node — at least according to the official instructions.
Because my UTR-251 received its backhaul wirelessly, its WAN port remained empty, and the LAN port was theoretically available for a switch or a wired client.
In my room, I have an Intel NUC acting as a home theater PC. Rather than connect it straight to the mesh node’s LAN port, I ran it and the NUC directly into a cheap unmanaged network switch.
Here’s how the basic layout looked:
Starlink Mini → Wireless mesh → UTR-251 LAN port → Ethernet → L2 switch → wired clients
The switch didn’t create any new networks or assign addresses. It just forwarded Ethernet frames onto the target device’s NIC. The Mini remained responsible for DHCP, so wired and wireless clients stayed on the same network. All the wired clients, including the media PC, appeared in the Starlink app without any additional configuration.
My Intel NUC serves as a media center for my old TV. It’s also positioned where it experiences significant Wi-Fi signal loss as it tries to penetrate all that stone and water that make up the walls. So, using its built-in Ethernet adapter with the UTR-251 mesh node meant I could finally watch YouTube without buffering. It also meant that other wired-only devices could finally join the network via the remaining switch ports.
The UTR-251 continued broadcasting the same SSID for phones and other wireless devices, on the same channel. A single, well-placed node therefore gave the room better Wi-Fi coverage and several usable Ethernet connections. That was far more useful than attaching only a single device to its LAN port.
The last few meters of Ethernet were still fast
The wireless backhaul costs some speed, but not enough to matter here
Speed test results looked a little backward. Wi-Fi produced a higher download speed, while Ethernet held a small upstream advantage:
|
Connection |
Download |
Upload |
|
Ethernet through mesh node |
189.55 Mbps |
45.12 Mbps |
|
Wi-Fi through mesh node |
226.27 Mbps |
43.92 Mbps |
I ran both speed tests within minutes, with the devices side by side. Wi-Fi was 36.72 Mbps faster downstream, while Ethernet led by 1.20 Mbps upstream. That doesn’t prove the node slowed Ethernet down, because Starlink tends to fluctuate with capacity and congestion.
Both connections ultimately depended on the wireless backhaul between the UTR-251 and the Starlink Mini. Ethernet ended at the mesh node, so plugging in a cable did not create a continuous wired path back to the router.
The Starlink Mini itself makes placement awkward because the dish is also its wireless access point. A clear view of the sky therefore takes priority over placing Wi-Fi in the center of the house. The very thick stone walls also compound the problem. Dense masonry reflects and absorbs radio energy, and moisture retained by old stone also adds attenuation.
Even across that hostile path, the NUC reached 189.55Mbps. That’s more than enough to cover streaming, browsing, and updates.
This is Ethernet where I need it, not Ethernet everywhere
The bridge avoids my walls, but it cannot escape the limits of Wi-Fi
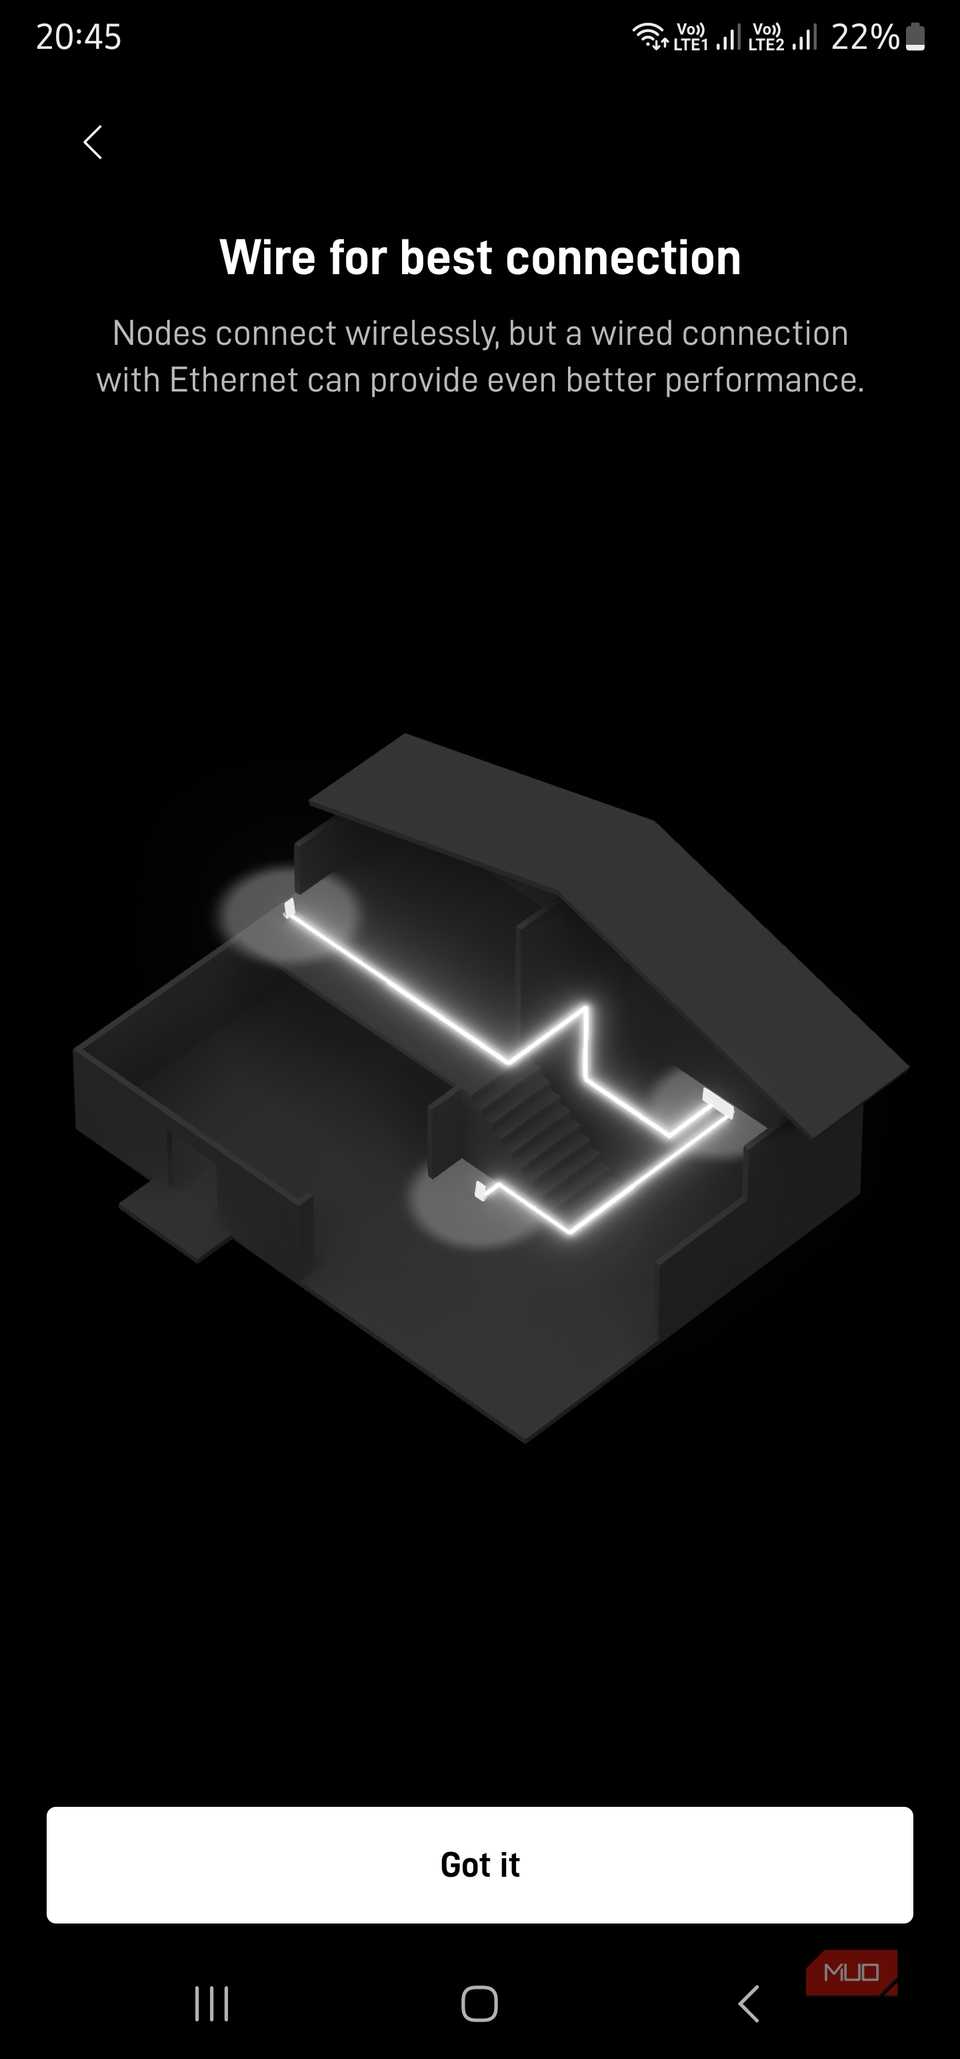 This setup doesn’t turn a wireless mesh into end-to-end Ethernet. Every downstream client will share that bandwidth and wireless backhaul. Network performance also depends heavily on placement, interference, and those darn stone walls.
A proper cable run would offer much lower latency and gigabit speeds without the mesh consuming airtime on the same channel. If I had the chance to wire the house with Ethernet, I’d do it without hesitation.
My bridge delivered 190 Mbps to my wired devices, which is far beyond what my NUC needs. The UTR-251 also improved the Wi-Fi coverage in the room, while still remaining part of the Starlink network.
I can’t pretend this is the same as Ethernet everywhere. It provides the useful part of Ethernet where I need it, and means no alterations to a 120-year-old, heritage-listed house. Most importantly, the walls are still intact.
This setup doesn’t turn a wireless mesh into end-to-end Ethernet. Every downstream client will share that bandwidth and wireless backhaul. Network performance also depends heavily on placement, interference, and those darn stone walls.
A proper cable run would offer much lower latency and gigabit speeds without the mesh consuming airtime on the same channel. If I had the chance to wire the house with Ethernet, I’d do it without hesitation.
My bridge delivered 190 Mbps to my wired devices, which is far beyond what my NUC needs. The UTR-251 also improved the Wi-Fi coverage in the room, while still remaining part of the Starlink network.
I can’t pretend this is the same as Ethernet everywhere. It provides the useful part of Ethernet where I need it, and means no alterations to a 120-year-old, heritage-listed house. Most importantly, the walls are still intact.