Summary
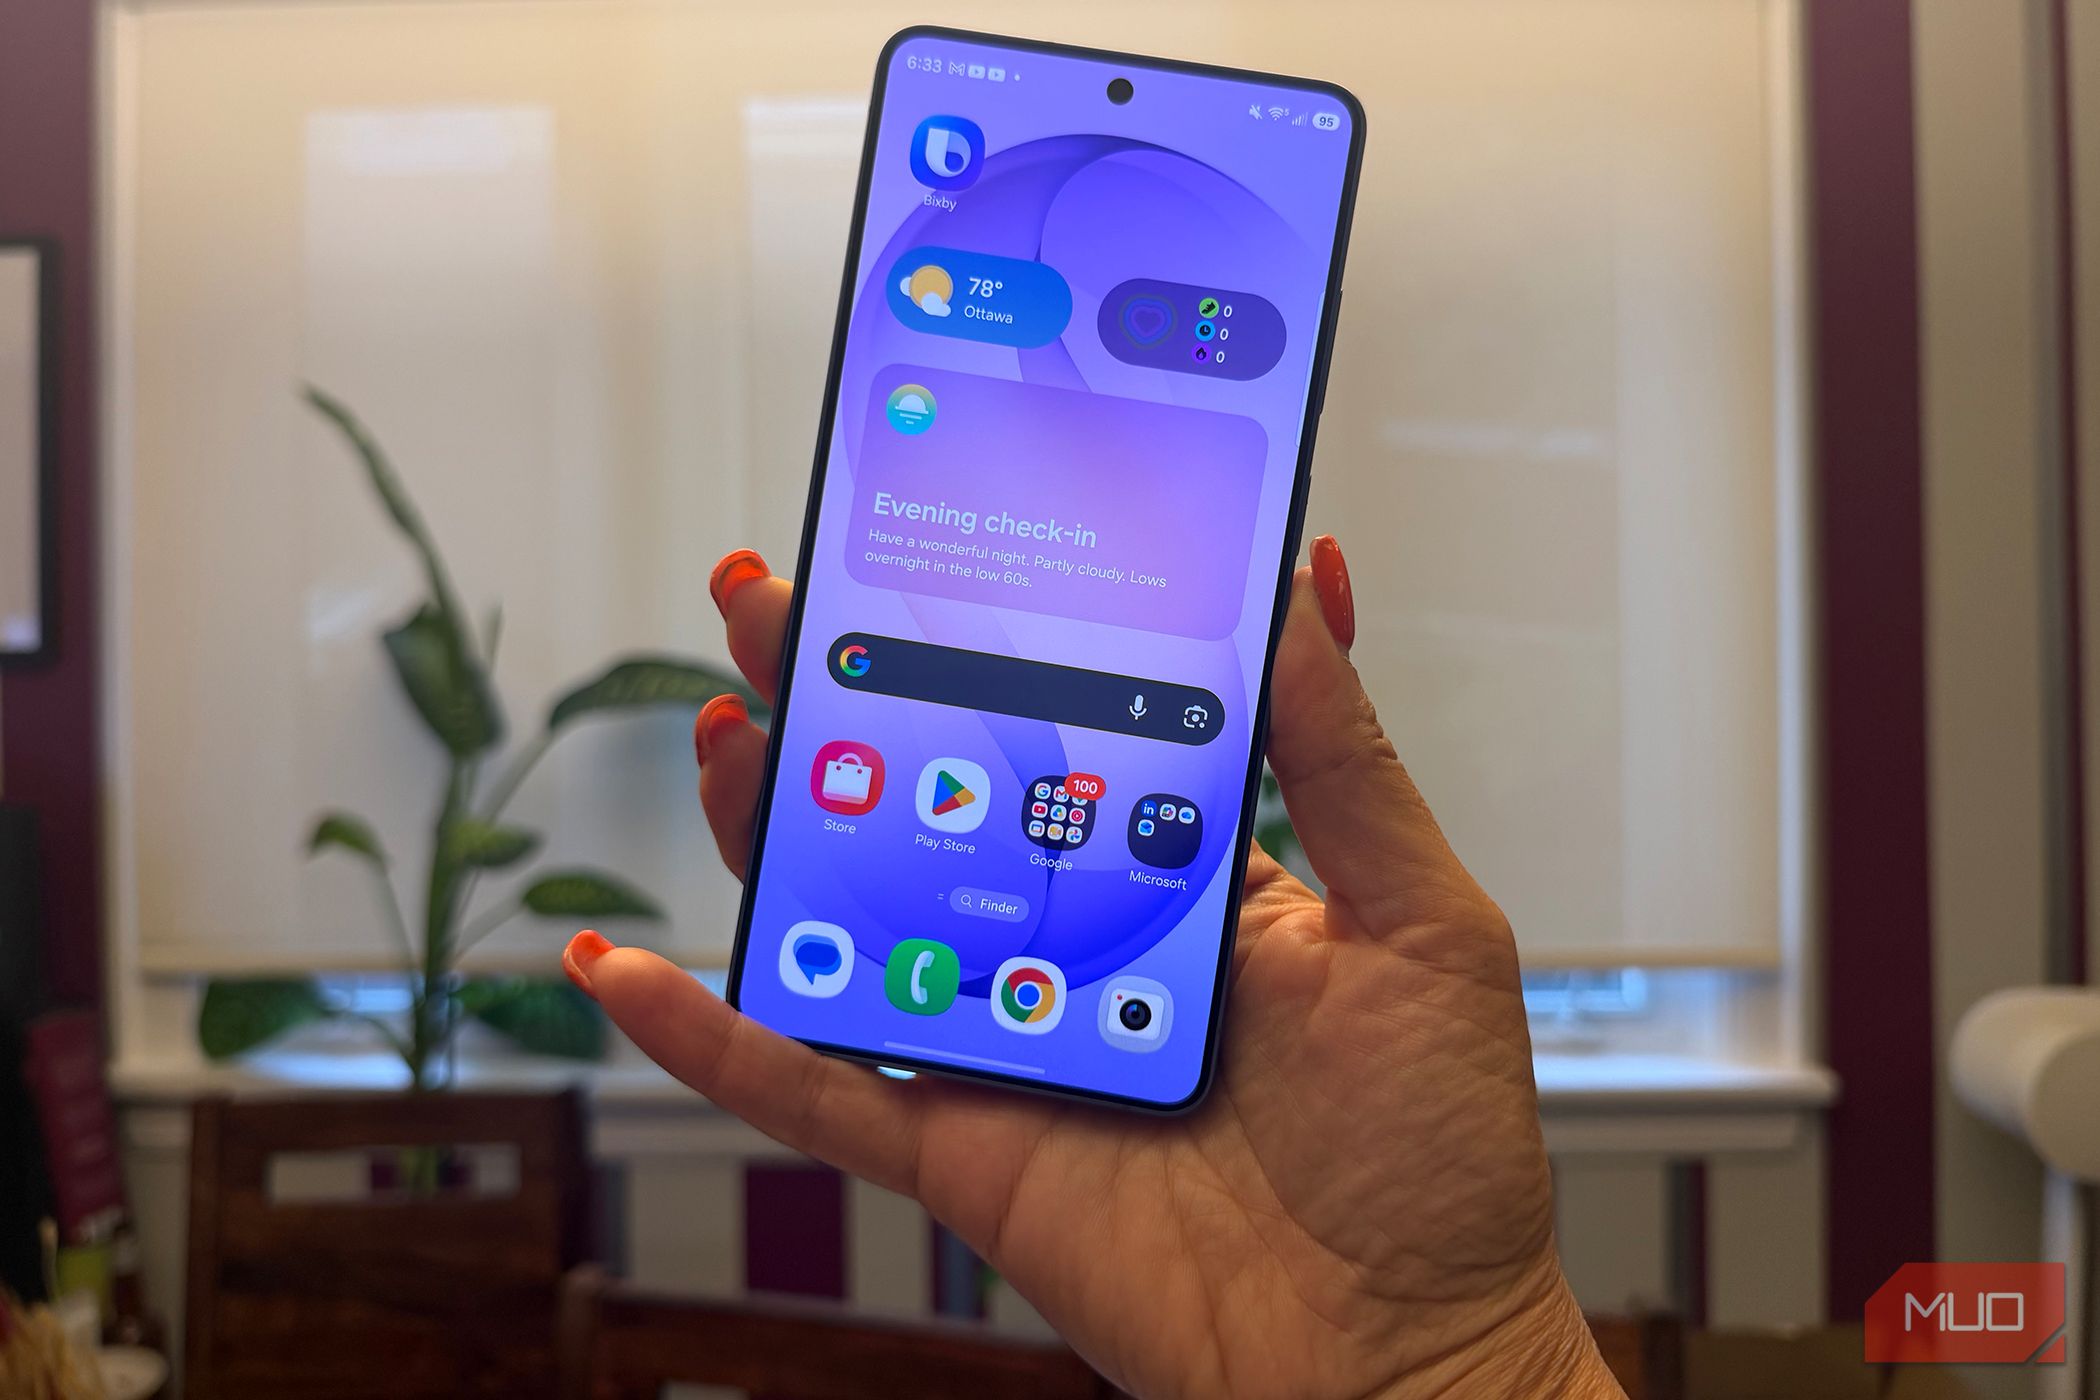
The first thing I do every time I get a new Android phone is change a few key settings. These improve the user experience and make the transition much smoother. While every manufacturer has a different take on the UI, the key mechanics are similar. So, you should be able to make these changes on your own phone, just as I do every time I set up a new device. Switching to Dark mode for a pleasant viewing experience Enabling this feature saves battery life Using Dark mode on an Android handset, especially if it packs an AMOLED screen, feels just right. It illuminates key elements such as icons, text, and buttons, making them stand out more and stripping the screen of bright white backgrounds. Not only does the interface look better, but it also improves the battery life. Enabling this option also reduces eye strain, especially if you use your phone at night with the lights switched off. Since I started using this feature, there has been no going back. You can set up Dark Mode in a few simple steps.
- Go to the Settings app on your Android handset.
- Tap on Display.
- Select the Dark theme option. Android devices also allow you to schedule Dark mode, but since I use the feature 24/7, I have not had a chance to test it. The first thing to go is the default wallpaper Android gives you plenty of customization options If I’m going to use an Android phone as my daily driver, I want it to look the way I want it to. One of the first things I changed was the default wallpaper. While most devices provide you with at least some built-in customization options, the extent varies depending on the model and UI. If you are using a Pixel, Google’s Wallpaper & style menu can be used to change the wallpaper, system colors, icon styles, and more. Similarly, Samsung gives you Galaxy Themes, which offer features to change wallpapers, icons, and the color design. Vivo, for instance, lets users customize icon styles, choose wallpapers, and even hide app names. I have found myself switching to custom wallpapers from third-party sources if the phone’s built-in wallpaper library wasn’t to my taste. You can also download wallpaper apps such as Backdrops and Waller, which are good options. Checking model-specific audio features Turn on Dolby Atmos or its equivalent This is one of the most important settings for me personally. When setting up a device, I make it a point to check if it supports any audio-specific features such as Dolby Atmos. On Samsung devices, Dolby Atmos supports different modes such as Auto, Movie, Music, and Voice, with each designed for a different type of content. I usually leave it on Auto, unless I feel the device is not detecting the media accurately. Different manufacturers offer different features. For instance, compatible Vivo devices come with Audio Super Resolution, Pixel handsets offer Google’s Adaptive Sound feature, and most devices offer at least some form of equalizer. Schedule Do Not Disturb as per your schedule Take control of your notifications On most, if not every, Android device, you get some iteration of the Do Not Disturb feature. You can also customize which notifications, calls, or people can bypass the setting and reach you. I normally use this setting before bed, so I don’t get disturbed by random calls, messages, and notifications. While the exact names of the options may differ slightly, the process is more or less the same on most Android phones. For the best results, spend some time configuring it properly, and it will function smoothly in the background. Enable your device to switch to higher refresh rates Higher refresh rates may hamper battery life Most modern flagship and mid-range phones offer 120Hz refresh rates, while some gaming-focused models push that even higher. Every device handles this setting differently, but you’ll generally find an option to either lock the display to its highest refresh rate or let the phone automatically switch to the highest rate when appropriate.
- Open the Settings app on your Android device.
- Tap on Display.
- Search for the refresh rate option and tap on it. Different phones may name it differently.
- Select Adaptive, Dynamic, or the highest available number (e.g., 120Hz or 90Hz). If your phone supports the Adaptive refresh rate feature or an equivalent, use it. It balances smoothness with battery consumption rather than forcing the display to run at its maximum refresh rate capacity at all times. A few small changes make a big difference These days, smartphones have almost become an extension of ourselves. So, it is best to tweak the settings around what we appreciate and what we don’t. One of the best things about Android smartphones is the customization options. What this means is that you and I could have the same device with a completely different look, feel, and user experience. It is best to spend some time figuring out the visual elements and features that you like and then tweak the required settings accordingly.