Summary
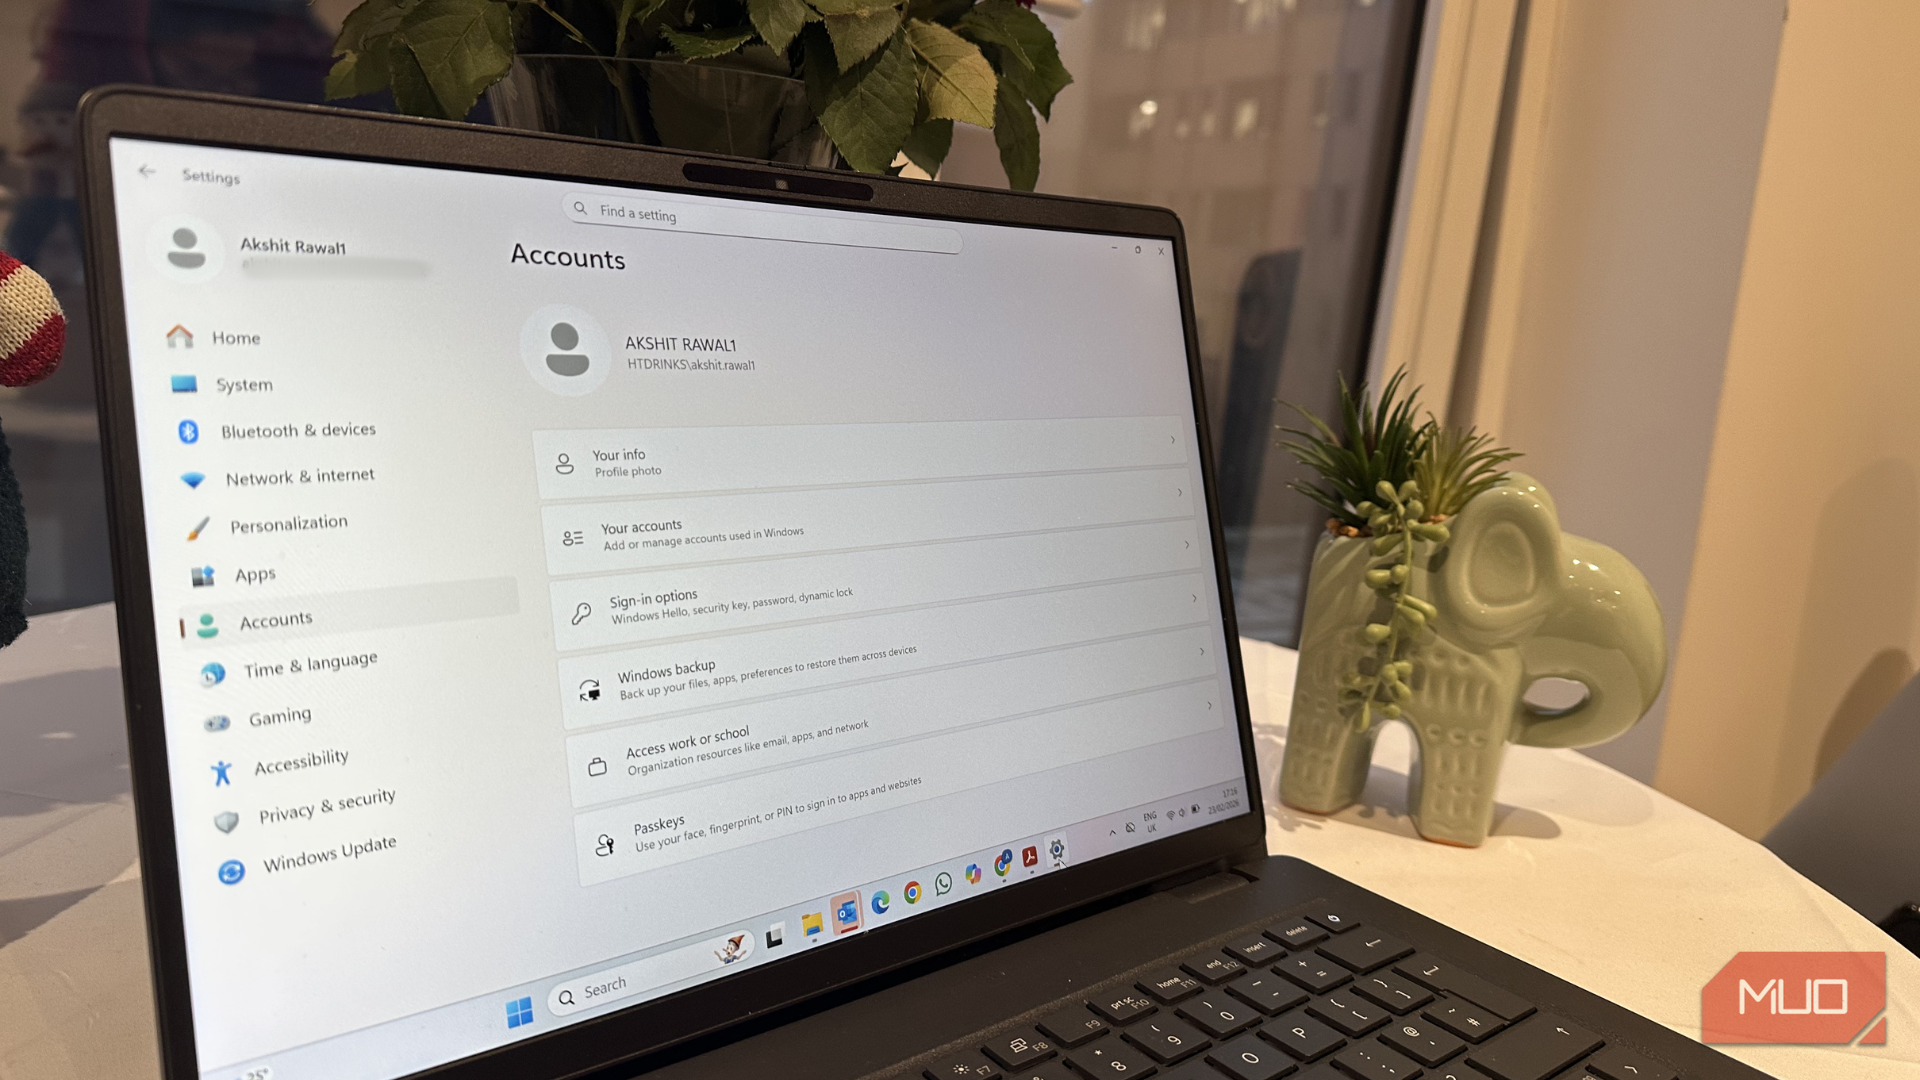
I felt covered after enabling the backup options Windows 11 offered. But my confidence diminished when I couldn’t find a Windows Backup option that gave me a separate, restorable copy of the Windows installation itself if my PC stopped booting. Armed with a free tool, I was able to close this gap, and it’s worth checking out if your entire backup is centered around Windows’ built-in backup options. Windows Backup wasn’t backing up the Windows I wanted back What Windows Backup and point-in-time restore had actually protected I opened the Settings app and navigated to Accounts > Windows Backup, then studied what it covered. At first glance, I was satisfied to see my files, themes, and Wi-Fi details were all tied to my Windows account. These were things it will hand back when I set up a new PC. However, it dawned on me that all I’d be getting is a clean Windows with my files and settings restored. The backup wasn’t preserving the Windows installation I’d tuned over the course of several months. It had in some ways treated my PC as disposable. Point-in-time restore is turned on by default on my computer, and it sounds closer to what I’d want. The restore points take a local snapshot of the system, including the OS, apps, settings, and local files at a specific moment. On my system, I had three restore points, but it’s worth checking yours today. Point-in-time restore is on by default on Windows Home and unmanaged Pro PCs with an OS volume of 200GB or larger. However, those restore points sit on the same SSD as Windows. The default retention is about 72 hours, and there’s no supported way to export them as a separate image. So effectively, the feature that looks closest to the installation I wanted to preserve is still tied to the same SSD as Windows. This realization begged a simple question: if this SSD died tonight, where is the copy that wouldn’t die with it? Building a copy that outlives the SSD A system image on an external drive, made with Hasleo Backup Suite Free To answer that question, I needed to make the kind of backup that was missing: an external image of my Windows installation. On Windows 11 there is still an old imaging tool hiding in Control Panel under Backup and Restore (Windows 7). But I didn’t want to build around it because Microsoft has deprecated and no longer maintains System Image Backup. So I decided to use the free version of Hasleo Backup Suite. I first created a file called BEFORE-BACKUP.txt on the system to serve as a marker of what I was backing up. The steps for using Hasleo were quite simple:
- Click New Backup and select System Backup.
- Choose your destination from the Destination dropdown and click Proceed. For the destination, I picked an external SSD, because creating a backup on the same SSD as Windows would create the same problem I was trying to solve. When I selected System Backup, Hasleo automatically selected the partitions it needed for the Windows installation. The entire process took about 47 minutes for this specific system. The result of this system backup is equivalent to having one frozen copy of that day’s PC. This includes Windows, apps, settings, and files. | What I measured | Result | |---|---| | Backup time | 47 minutes | | Verification | Passed | That verification line is Hasleo’s verification check. Passed means the created backup file is readable. What I did not know yet was how restorable it was. So I needed to put it to the test. Restoring with no Windows The test that decides whether the image is worth anything Before something really broke, I needed to be sure that I could restore from the backup I had just created. It was important to test the restore process while the PC still worked. If not, I may only be relying on false hope. I created a file called AFTER-BACKUP.txt on the system. This file was not included in my backup, and served as a marker to determine whether the restore brought back what I actually had in my backup. For my test, the restore was almost as simple as the backup itself:
- Select the Restore option in Hasleo Backup Suite.
- Click Browse Image to Restore, then select the newly created backup image, and click Next.
- Select the restore location and click Next, then click Proceed. After the restore completed, the system rebooted, and here’s what I found: | What I checked | After restore | |---|---| | BEFORE-BACKUP.txt (made before the image) | Present | | AFTER-BACKUP.txt (made after the image) | Gone | | Installed apps | Back | | Settings | Back | | Obvious missing items | Nothing notable | The image filled the gap left by Windows Backup Windows Backup and a system image answer different questions, and for the longest time I’d only been asking one. | What went wrong? | What gets you back? | |---|---| | Recent bad update or driver | | | Deleted or overwritten file | OneDrive or a file backup | | New PC or Windows reinstall | Windows Backup | | Windows won’t start, drive still alive | Point-in-time restore, if a usable restore point exists | | SSD dies | System image stored elsewhere + recovery media, restored to a replacement drive | | Theft, fire or ransomware hits the PC and the backup drive | Off-site or offline copy | While using an image, it’s important to understand that it’s only as current as the last run. In my testing, that was why AFTER-BACKUP.txt vanished when I restored. You still need a file backup for recent files if you want to preserve them. However, my main problem was that I had nothing stored outside the machine that could put this Windows installation back the way it was. I had solved it using a free tool.