Summary
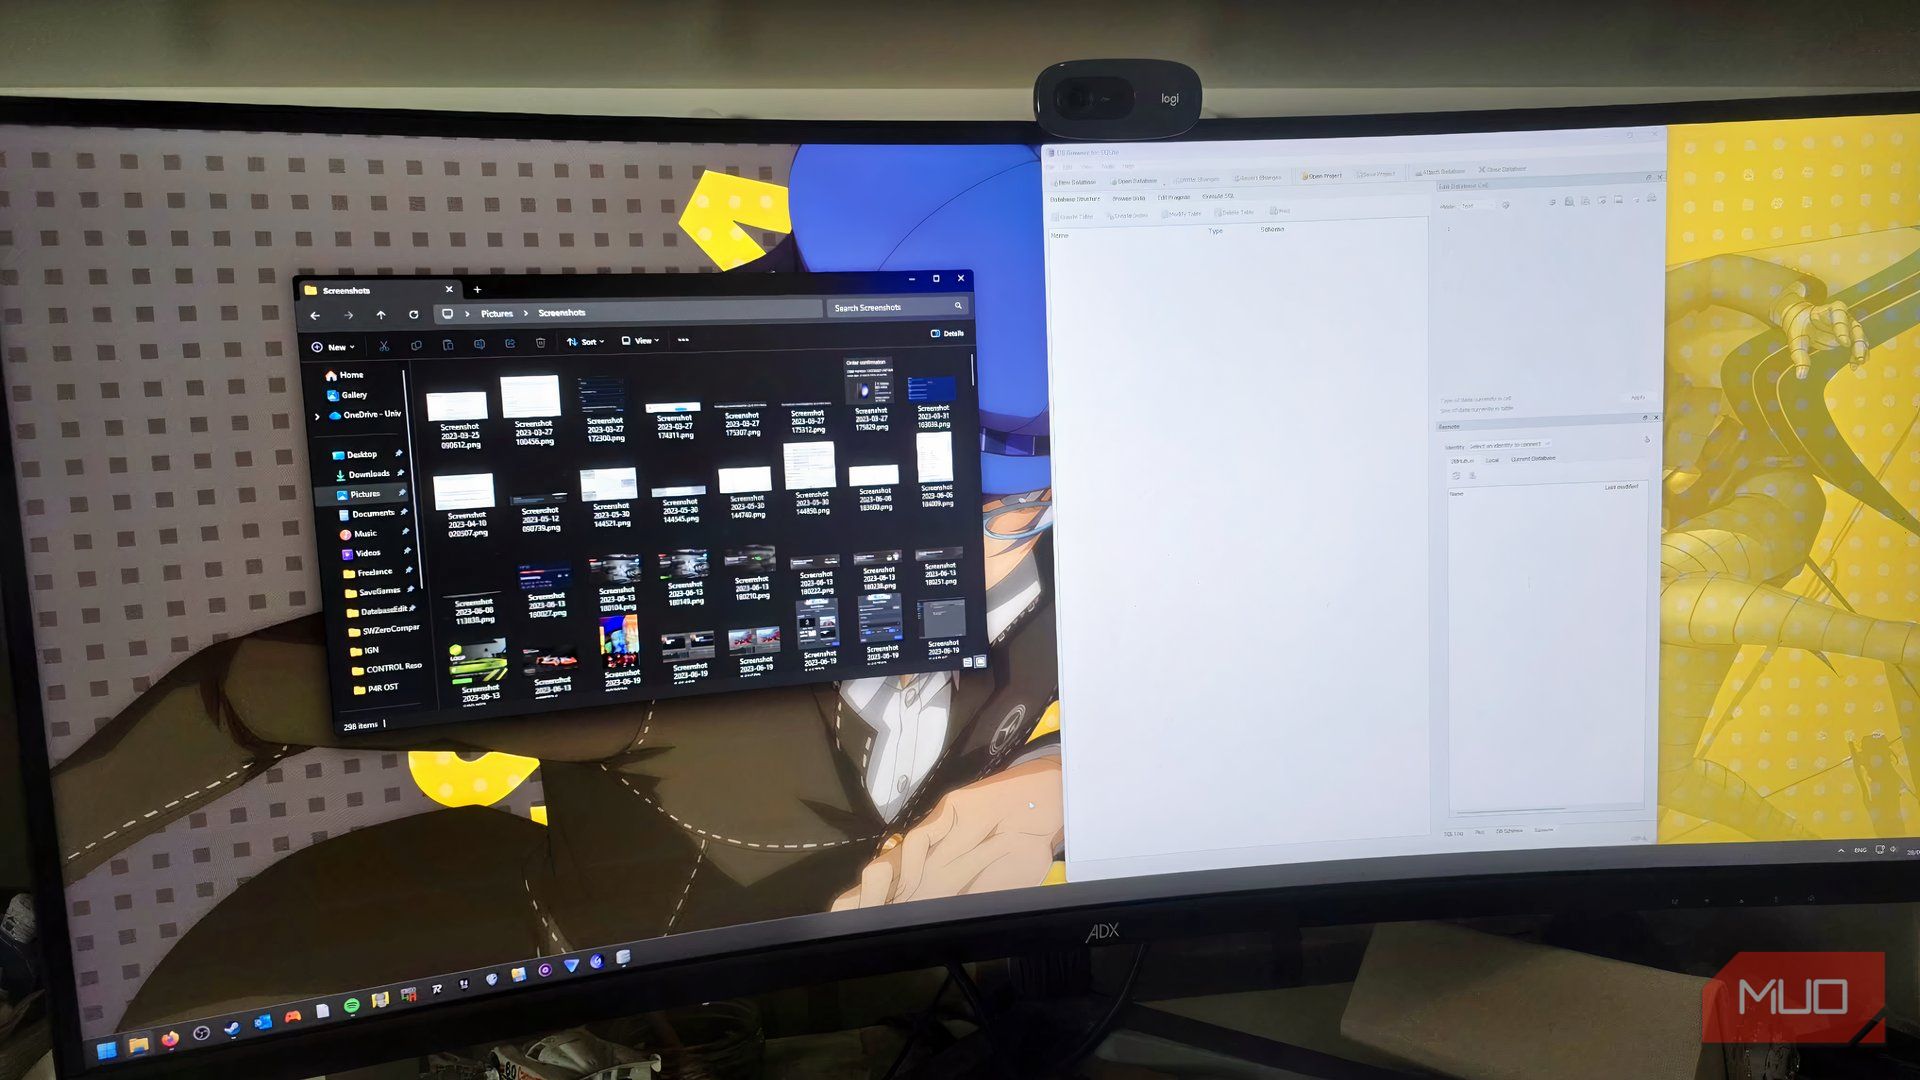
When you delete a photo from your computer, empty your Recycle Bin, and clean up your hard drive, you might, understandbly, think that your image is gone for good. However, a viral post from X user Ayzacoder is a stark reminder that your photos might not be as private as you thought. Here’s how this performance feature works Ayzacoder claims that this isn’t a fault, but a feature intended to improve performance. However, as security-aware users have pointed out, these remaining artefacts can lead to unexpected privacy risks. When you browse folders with many images in File Explorer, Windows automatically creates small preview icons so you can view your pictures without opening them one by one. To speed up the process the next time you visit the folder, the operating system stores the compressed previews in several hidden database files. The main culprit is a file called thumbcache_256.db, along with other database files such as thumbcache_32.db, thumbcache_96.db, and thumbcache_1024.db, found deep in your user profile folder. A very small thumbnail (for example, a 32×32 thumbnail) can sometimes contain enough visual information to identify a person or place, depending on image content, compression, and viewing conditions. Here’s how to clean up and protect your privacy Since standard cleanup tools can only clear a bit of these areas, you’ll need to do some manual work to remove these hidden databases. Bad news — because caches can accumulate, this is more of a maintenance task than a one-and-done thing. And it doesn’t just apply to your thumbnails either. Ayzacoder outlines in a thread all the areas this caching feature can impact your privacy. To check and clear your thumbnails by pressing Windows + R, typing %LOCALAPPDATA%\Microsoft\Windows\Explorer, and then pressing Enter. You may need to enable hidden files and close File Explorer (or restart the Explorer process) before deletion; some files may be in use. To clear the cache, open the Windows Start menu, type cleanmgr to launch Disk Cleanup, choose your C: drive, select Thumbnails, then click OK. If you want to remove your launched applications cache, press Windows + R and enter C:\Windows\Prefetch. Alternatively, you can turn off the tracking of recent files through Folder Options in File Explorer. Press Windows + V to view your active clipboard history, click the three dots to clear everything, and navigate to Settings > System > Clipboard to disable history entirely if you prefer maximum privacy. Although these diagnostic caches help keep your desktop quick and responsive, it’s important to understand where your data is stored so that when you delete something, it’s permanently removed. Remember: clearing local caches does not remove cloud copies.