Summary
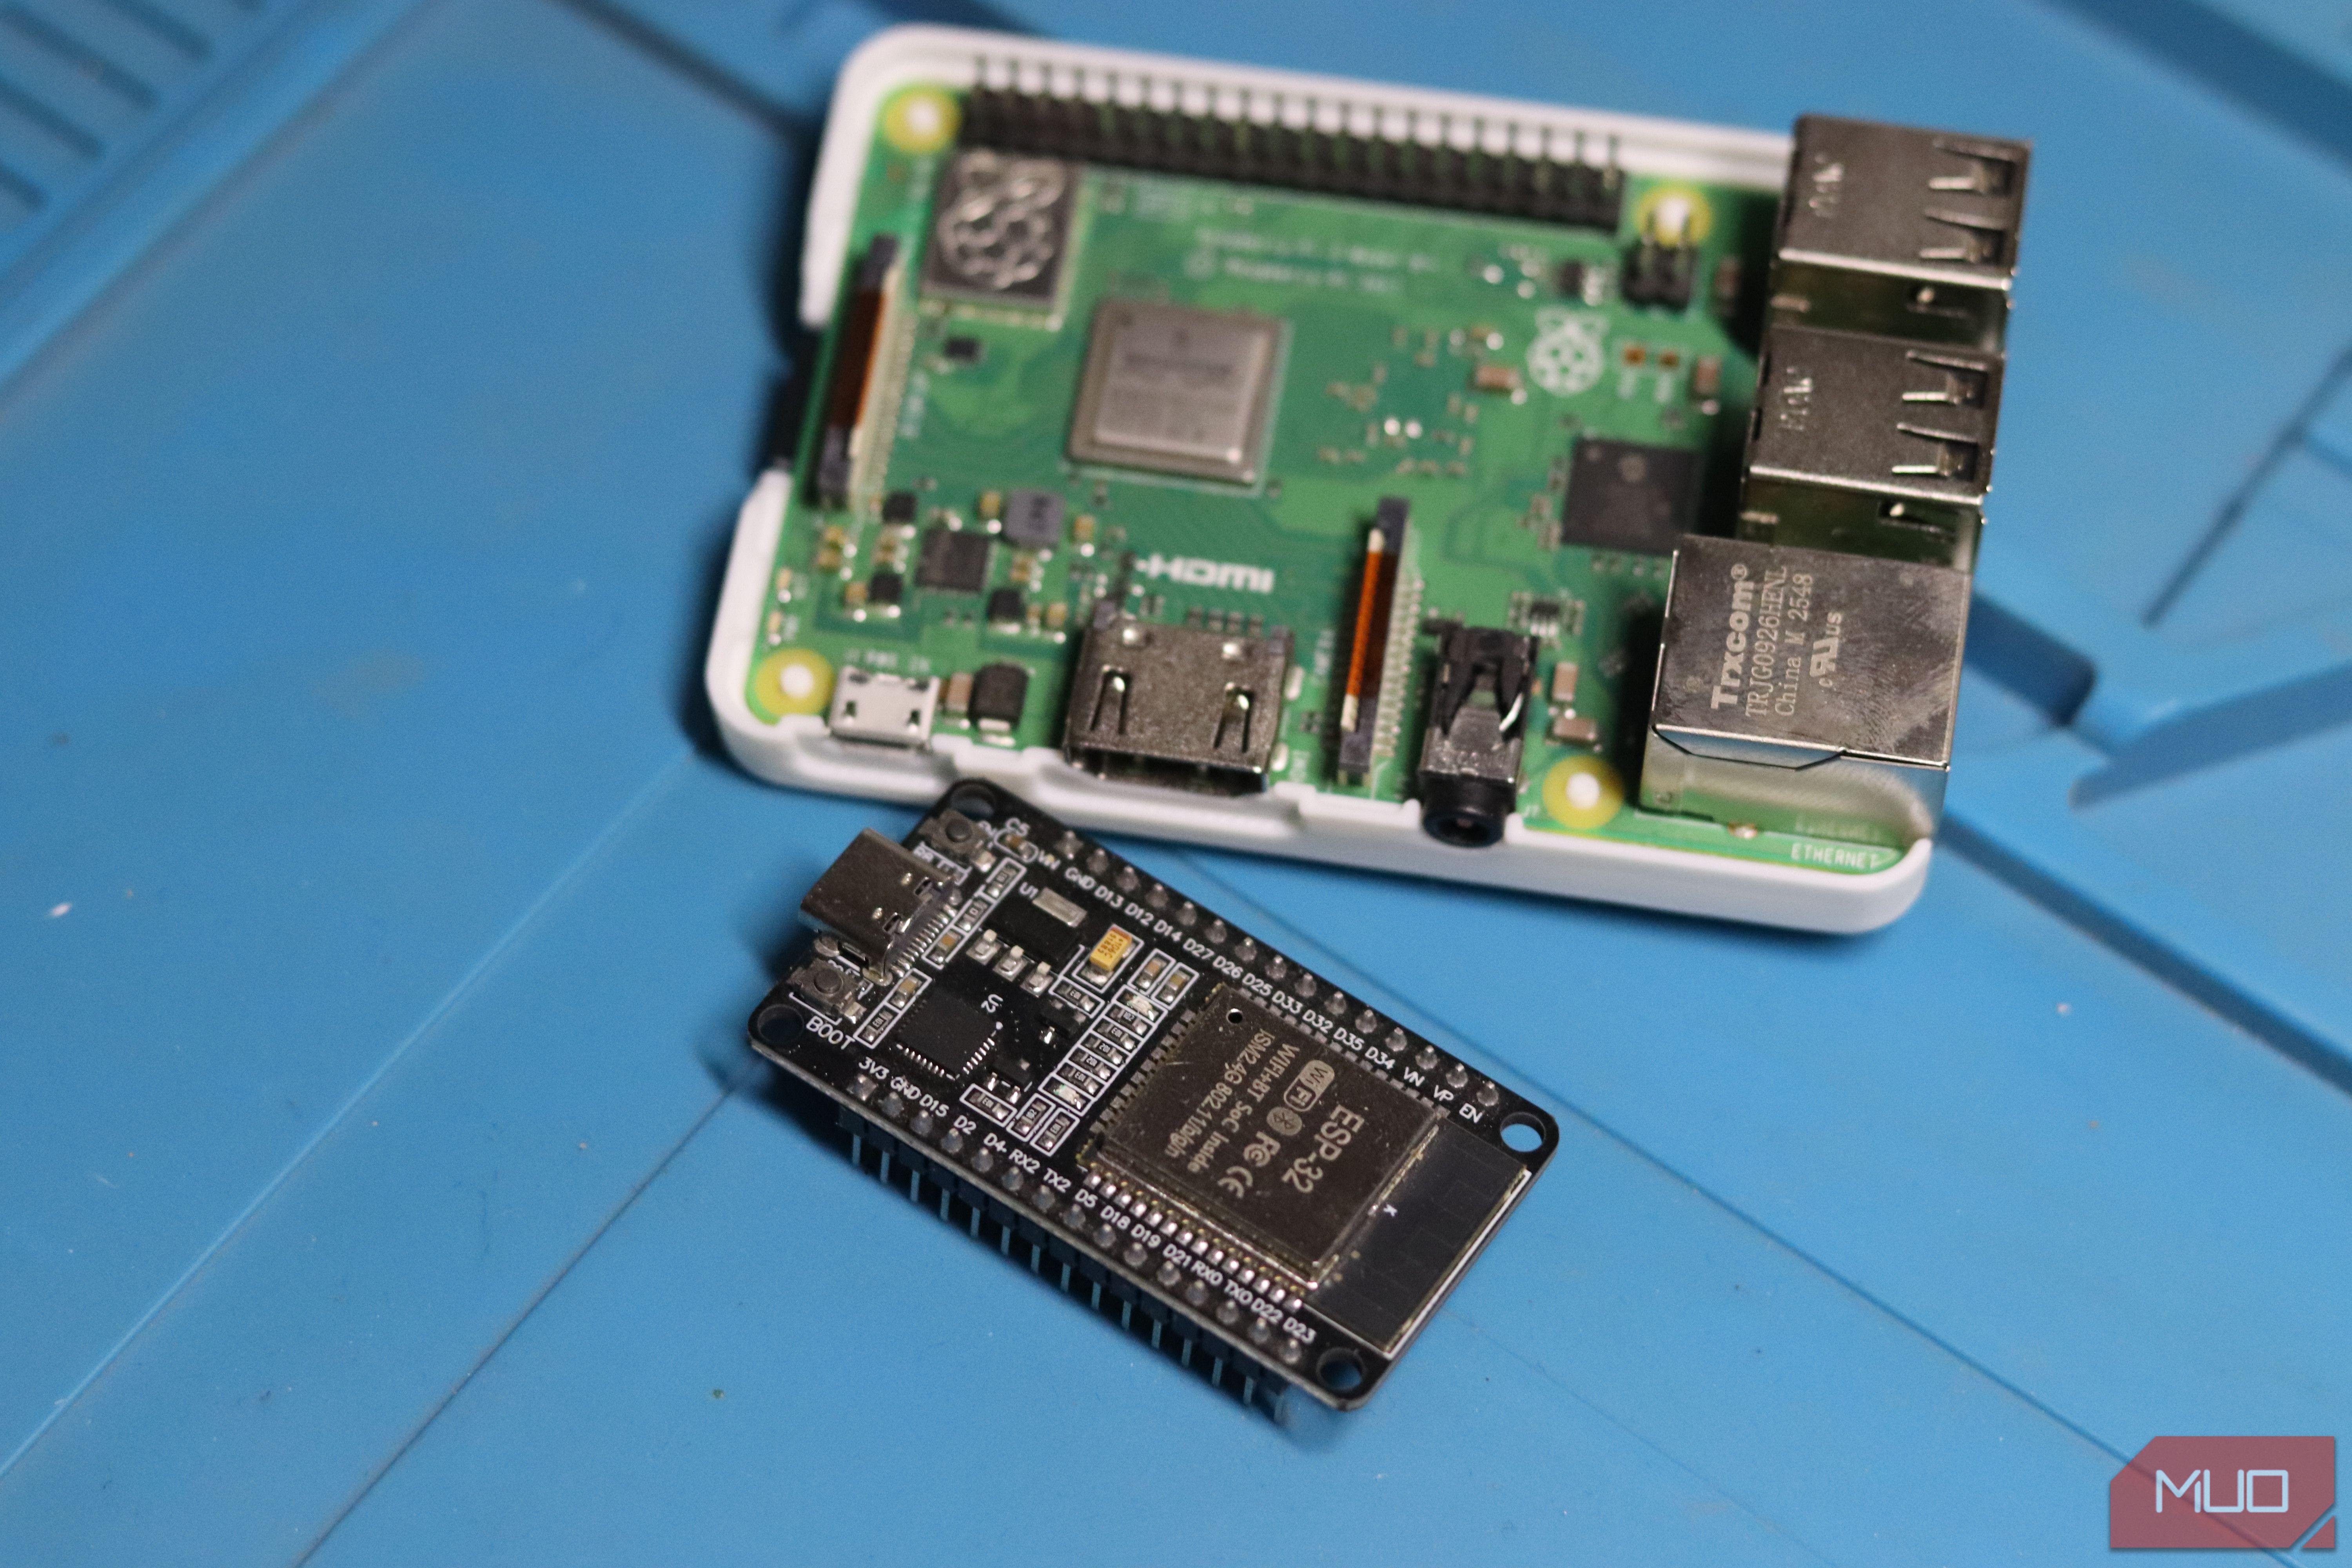
A free weekend is enough time to turn a spare Raspberry Pi or inexpensive ESP32 board into something genuinely useful. There are tons of projects that are compact enough to finish, or at least reach a satisfying first version before the weekend is over, yet open-ended enough to keep improving later. As an added bonus, they favor local control, reusable hardware, and software that doesn’t become useless when a cloud service changes its terms. So if you’ve got a spare board lying around, now is the time to put it to good use. Start with a Pi home server, because everything else plugs into it Imager preconfigures SSH, hostname, and network before the first boot A Raspberry Pi home server is the best starting point because it can become the foundation for several future projects. Flash 64-bit Raspberry Pi OS Lite with the Raspberry Pi Imager, configure a hostname and SSH key before writing the card, and run the Pi headlessly over Ethernet. Imager can preconfigure the network, user account, hostname, and remote access, so the initial setup doesn’t require a keyboard or monitor. After updating the system, install Docker and organize each application in its own Compose directory. Start small with one service you’ll actually use such as AdGuard Home for network-wide DNS filtering, Syncthing for device-to-device file synchronization, or Uptime Kuma for monitoring other machines. A Pi 4 or Pi 5 is a sensible choice, and an external USB SSD is preferable to relying on a microSD card for write-heavy services. Assign the server a DHCP reservation, keep configuration files backed up, and expose nothing directly to the internet until you understand authentication, updates, and reverse proxies. A USB webcam and Frigate make a surprisingly capable camera Get the live feed working before turning detection on Another Raspberry Pi project that’s rather easy to do but extremely useful is building your own local AI security camera. Connect a spare USB webcam to a Raspberry Pi and run Frigate in Docker for a privacy-conscious camera that processes video locally. Identify the camera with v4l2-ctl, check its supported resolutions with FFmpeg, pass /dev/video0 into the container, and use go2rtc to restream it internally. Frigate’s documentation recommends this workflow for USB webcams and advises getting the live feed working before enabling detection. For a weekend build, use one low-resolution detection stream. 720p at roughly 5FPS is a practical target, and enable recording only after detection is stable. Frigate strongly recommends hardware-accelerated object detection rather than its CPU detector. A Pi 5 can use supported Hailo hardware, while older Raspberry Pi examples commonly used a USB Coral. There is one thing to keep in mind though. Frigate’s face recognition requires a CPU with AVX and AVX2 instructions, which a Raspberry Pi’s ARM chip doesn’t have, so it isn’t a realistic Pi feature. Treat this build as local person detection, not face or identity recognition, and you’ll end the weekend with a realistic, useful security camera rather than an overloaded Pi. An ESP32 voice satellite that keeps your voice at home A 5. The ESP32 acts as a satellite that captures the wake word and sends the audio to a local LLM running via Ollama for processing. It’s important to choose the right ESP32 here, as not all of them will support this task. Connected to the ESP32 is an INMP441 I2S mic and a MAX98357A I2S amplifier board. For the speaker, I salvaged a small 4Ω speaker from a broken Bluetooth speaker, and since I wanted some visual feedback for my voice assistant, I added an 8x8 WS2812B LED matrix. The exact cost of the parts will vary based on where you are, but it shouldn’t be more than $15. Teach your dumb air conditioners to hold a temperature A DHT22, a few buttons, and cheap Tapo plugs I wanted a device that could control the ACs in my bedroom and office to maintain a specific temperature, as well as provide a quick physical button I could use to control lights without having to fiddle with my phone or Home Assistant on my PC. Additionally, I also wanted to monitor the print status on both my 3D printers. The answer? An ESP32 hooked up to a DHT22 temperature and humidity sensor and a few push buttons connected to my Home Assistant instance. The ACs are controllable via Home Assistant courtesy of a few cheap Tapo P110 smart plugs, and Home Assistant automations take care of the rest. Make your LED strip announce what you’d otherwise miss Blinks for finished prints, doorbells, and dead internet If you’ve got a regular LED strip lying around, you can connect it to an ESP32 and make a smart lighting strip. Better yet, if you connect it to your Home Assistant instance, your smart LED strip can become an indicator for all sorts of different events around your house. I’ve set up mine with help from various Home Assistant automations to blink in certain colors when my 3D printers are done with a job, when the doorbell rings, or when my internet times out. An internet outage alarm might sound like a networking project, but it doesn’t fix, boost, or reconfigure the network. It simply makes a failure impossible to miss. Pick the project you’ll still use on Monday Get a basic version working, then refine it over time These projects prove that a productive weekend doesn’t require expensive gear or a complicated workshop. With an ESP32, a Raspberry Pi, and a few other spare components, you can build devices that solve everyday problems while keeping control in your hands. Start with the project that matches what you already use, whether that is Home Assistant, an unused webcam, or a spare LED strip. Do not worry about making it perfect on the first attempt. Get a basic version working, document your wiring and configuration, then refine it over time. The best DIY projects are the ones you keep using long after the weekend ends.