Summary
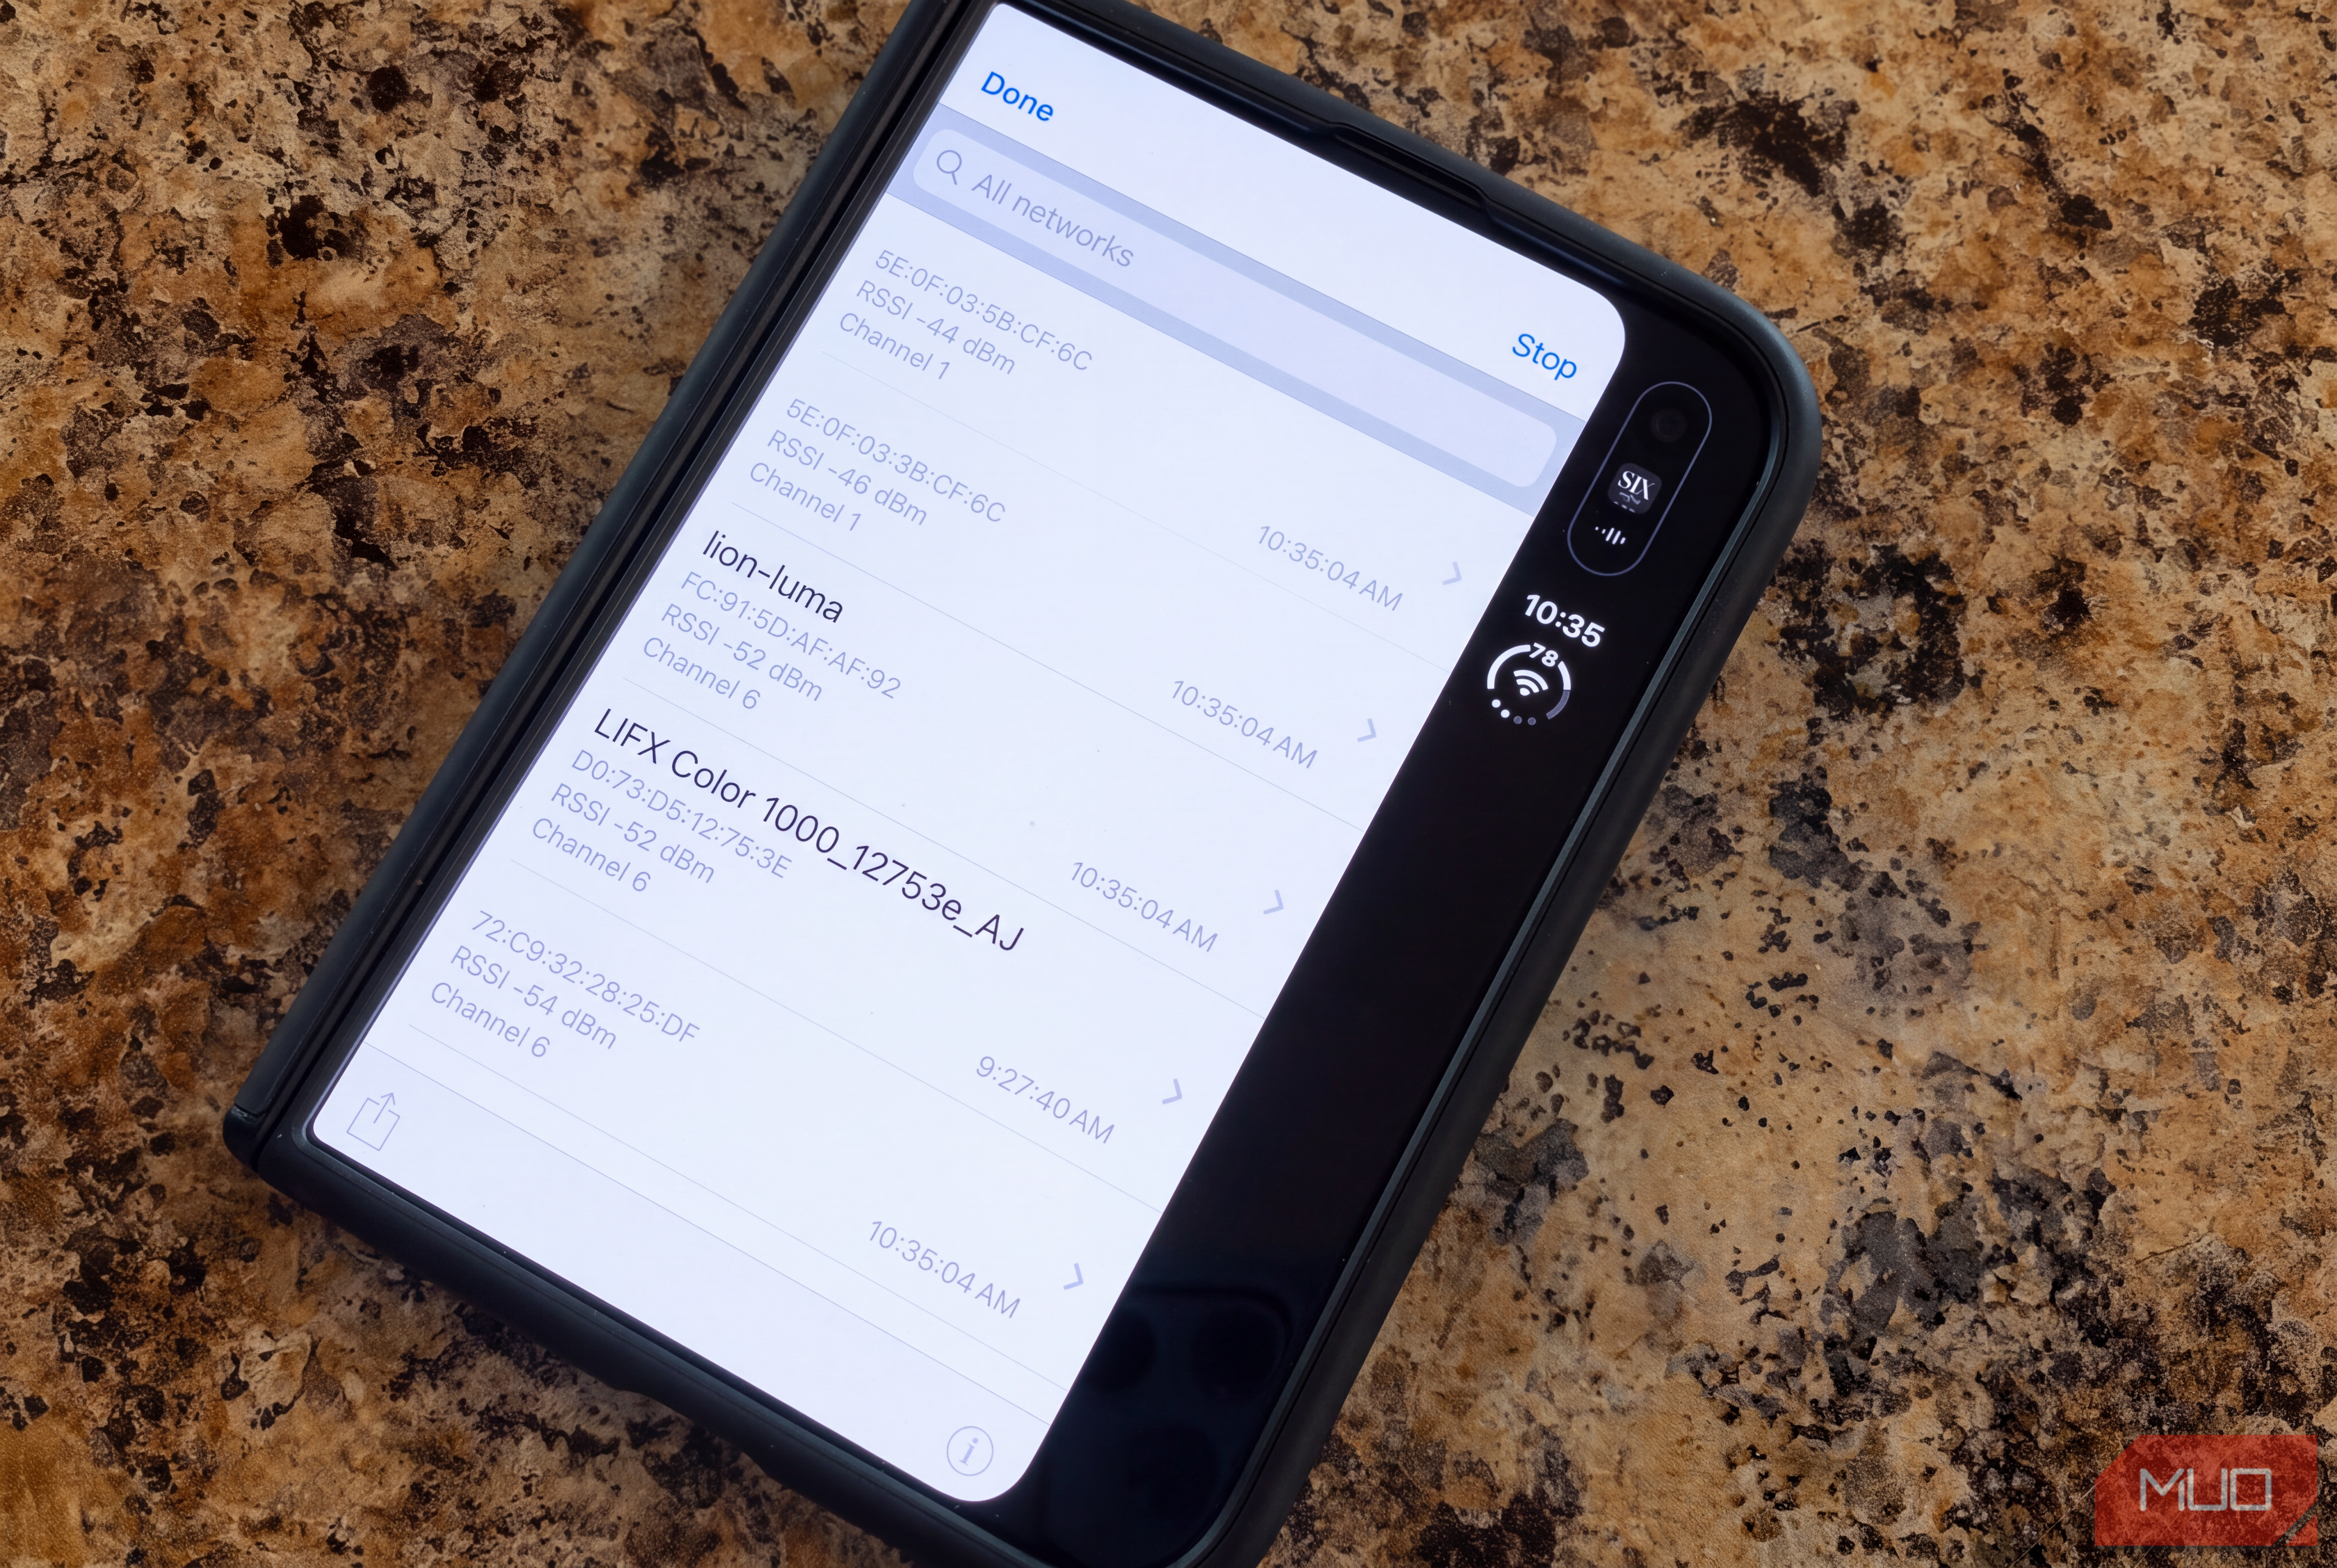
For as long as I can remember, the Wi-Fi in my home office has been unreliable. The smart speaker on my desk drops offline, and my Roku stalls to buffer more than I’d like. I run a Google Nest Wi-Fi mesh system (not Google WiFi), so I’d assumed weak spots like this were a thing of the past. The ever-practical Google Home app saw no problem. Every check I ran came back green. Apple, it turns out, hides a Wi-Fi scanner inside one of its own apps, so I switched it on and walked the house with my brand-new iPhone Duo, writing down the signal in each room. Half an hour later, I had my answer. One Nest Wi-Fi unit needed to move about three feet, and the other belonged on the floor directly below my office. Google Home’s Wi-Fi tests can miss a weak room The mesh test checks your Nest units, not the spot where you actually sit Google gives you two diagnostic tools for Nest Wi-Fi. You’ll find a speed test and a mesh test by opening the Google Home app and tapping Home > Wi-Fi > Points > Test mesh. You need at least two units for it to show up. The test checks the link between your router and each point and labels it a good or weak connection. Google’s help page says a weak link there makes that point more prone to interference and can slow down every device connected to it. That’s useful. It just measures the wrong end of the problem for me. It doesn’t tell you what your phone sees at your desk, or which unit your laptop has latched onto. The app does send alerts about weak signals, but the bar is low. According to Google, a network insight only pops up when a point’s average signal stays below -77 dBm for 24 hours. A room that hovers in the -60s and low -70s never trips that alarm, even though it’s weak enough to make a smart speaker flaky. There’s another wrinkle. Nest Wi-Fi doesn’t let you pick a channel. Each unit automatically chooses its own 2.4GHz channel based on how busy the airwaves look, with no manual override, a limitation Nest owners have complained about on Google’s community forums for years. On a traditional router, people mostly use an analyzer to pick a quieter channel. With Nest, I used it to decide where the hardware should sit. How to turn on the hidden Wi-Fi scanner on your iPhone AirPort Utility does what most App Store analyzers can’t iPhone owners have little choice here. iOS doesn’t let third-party apps survey nearby networks the way Android apps can, so most “Wi-Fi analyzer” apps in the App Store only report on the network you’re already connected to. The workaround comes from Apple. AirPort Utility was built to manage Apple’s discontinued AirPort routers, but it also contains a scanner that works with any network, including Nest Wi-Fi. It’s free and off by default. To turn it on, install AirPort Utility, then open Settings > Apps > AirPort Utility and toggle on Wi-Fi Scanner. Open AirPort Utility and a Wi-Fi Scan button appears in the top-right corner. Tap it, then tap Scan. The results are bare-bones. Each network you can see gets a row with its name (SSID), BSSID, channel, and signal strength (RSSI). There are no graphs. The scan refreshes every few seconds and keeps going until you tap Stop, or you can use the slider to cap it at up to 60 seconds. You can also share the results via AirDrop, Mail, or Copy, making it easy to dump each room’s readings into a note. One housekeeping tip: go back to Settings and turn the Wi-Fi Scanner off when you’re finished. Leaving it running costs battery. How to find Wi-Fi dead zones with an iPhone My third-floor office kept slipping into the -70s My method was simple. I stood in the middle of each room, waited for the readings to settle, and noted three things: my network’s signal strength in dBm, the channel, and which Nest unit was strongest from that spot. AirPort Utility lists each unit separately by its BSSID, the hardware address of each access point, so you can tell your router from your points even though they all share one network name. AirPort Utility reports signal strength as a negative number, which takes a minute to get used to. The closer the number is to zero, the stronger the signal. A reading near -50 dBm is about as good as you’ll see in a normal room. Networking folks generally want -67 dBm or better for streaming and video calls. I treated anything in the -70s as a warning sign, and by -80 dBm I’d expect devices to start falling off the network. I started on the third floor, in my home office. My MacBook Air lives there, along with a smart TV and that troublesome smart speaker. The scanner showed the problem within seconds. The signal swung between -65 dBm and -75 dBm, repeatedly crossing the -67 dBm line. No wonder the speaker kept disconnecting and the Roku stalled now and then. Every other room I checked looked fine. Since the weak spot was limited to the office, the Google Home app had no reason to flag it. The Nest unit nearest the office simply wasn’t covering it well. Where to place Nest Wi-Fi points for better coverage Google’s own placement rules led me to two simple moves Before moving anything, I read through Google’s placement guide for Nest Wifi. A few of its recommendations lined up exactly with what the scanner was showing me:
- Keep units within two rooms of each other. Google says each point should go about halfway toward the area that needs coverage, no more than two rooms from the router or another point.
- Don’t put a point in the dead zone itself. If a far-off area is weak, Google suggests placing the point partway toward it, between the weak spot and the nearest unit.
- Get units up and out in the open. Google recommends placing units on a shelf or TV stand rather than on the floor, and it specifically warns against placing them near walls, doors, and even aquariums. Units also work better when they can see each other.
- Expect to move more than one. Because points depend on each other, Google notes that fixing one weak point sometimes means moving a different unit. I made two changes. First, I moved the Nest Wi-Fi unit nearest the office by about three feet. Yes, that’s all. The office readings jumped to an average of -20 dBm to -30 dBm. Then I moved a second unit on the second floor to a spot directly below the home office. That put it in a straight vertical line with the office instead of off to one side, which is about as close as you can get to Google’s line-of-sight advice when floors are involved. After that move, the office averaged -10 dBm to -20 dBm. Each time I moved a unit, I went back into Google Home and ran the mesh test again. Then I opened AirPort Utility and walked the same route through the house, finishing at my desk. A good mesh rating only tells you the router and points are talking to each other clearly. My MacBook and TV don’t sit next to a Nest unit, so I focused on reading from my chair. What an iPhone Wi-Fi analyzer can’t tell you A strong signal won’t explain slow speeds or outside interference A phone scanner only sees Wi-Fi. It won’t flag a microwave, a baby monitor, or anything else pumping noise into the 2.4GHz band. It also can’t tell you whether your internet plan is the bottleneck. There’s one catch with AirPort Utility. It shows signal strength, but it can’t tell you how fast anything loads. Those can disagree. A room might look good in the scanner and still give you slow downloads; in that case, Wi-Fi probably isn’t to blame. Your internet plan or the line into the house is the more likely culprit. A quick speed test from that room will tell you, either in the Google Home app or at Speedtest.net, and it’s worth doing before you move any hardware. The scanner’s readings also shift while you watch. Hold the phone at a different angle, or stand so your body is between it and the closest Nest unit, and the dBm figure changes. I waited in each room until the numbers stopped jumping around. Then I wrote down the value that came up most often. Finally, AirPort Utility is a snapshot tool. It won’t log signal over time or build a heat map of your house. For a single problem room, that’s plenty. If you’re troubleshooting an entire house with lots of walls and floors, a laptop-based survey tool will give you more to work with. Small moves, big signal gains For years, I thought my office was just a bad Wi-Fi room, and I almost bought another Nest unit to fix it. I’m glad I didn’t. AirPort Utility cost me nothing, the walk-through took about half an hour, and both fixes were as simple as unplugging a unit and plugging it back in somewhere else. Since then, the smart speaker in the office has stayed online, and the Roku hasn’t buffered once. The first move still gets me. I shifted that unit three feet, and the office readings climbed out of the -70s. If your Google Home app says everything’s fine, but one room keeps acting up, go stand in that room with the scanner running. Write down what you see where you actually sit. Then use Google’s two-room rule and its advice about getting units up off the floor to decide which unit to move first.