Summary
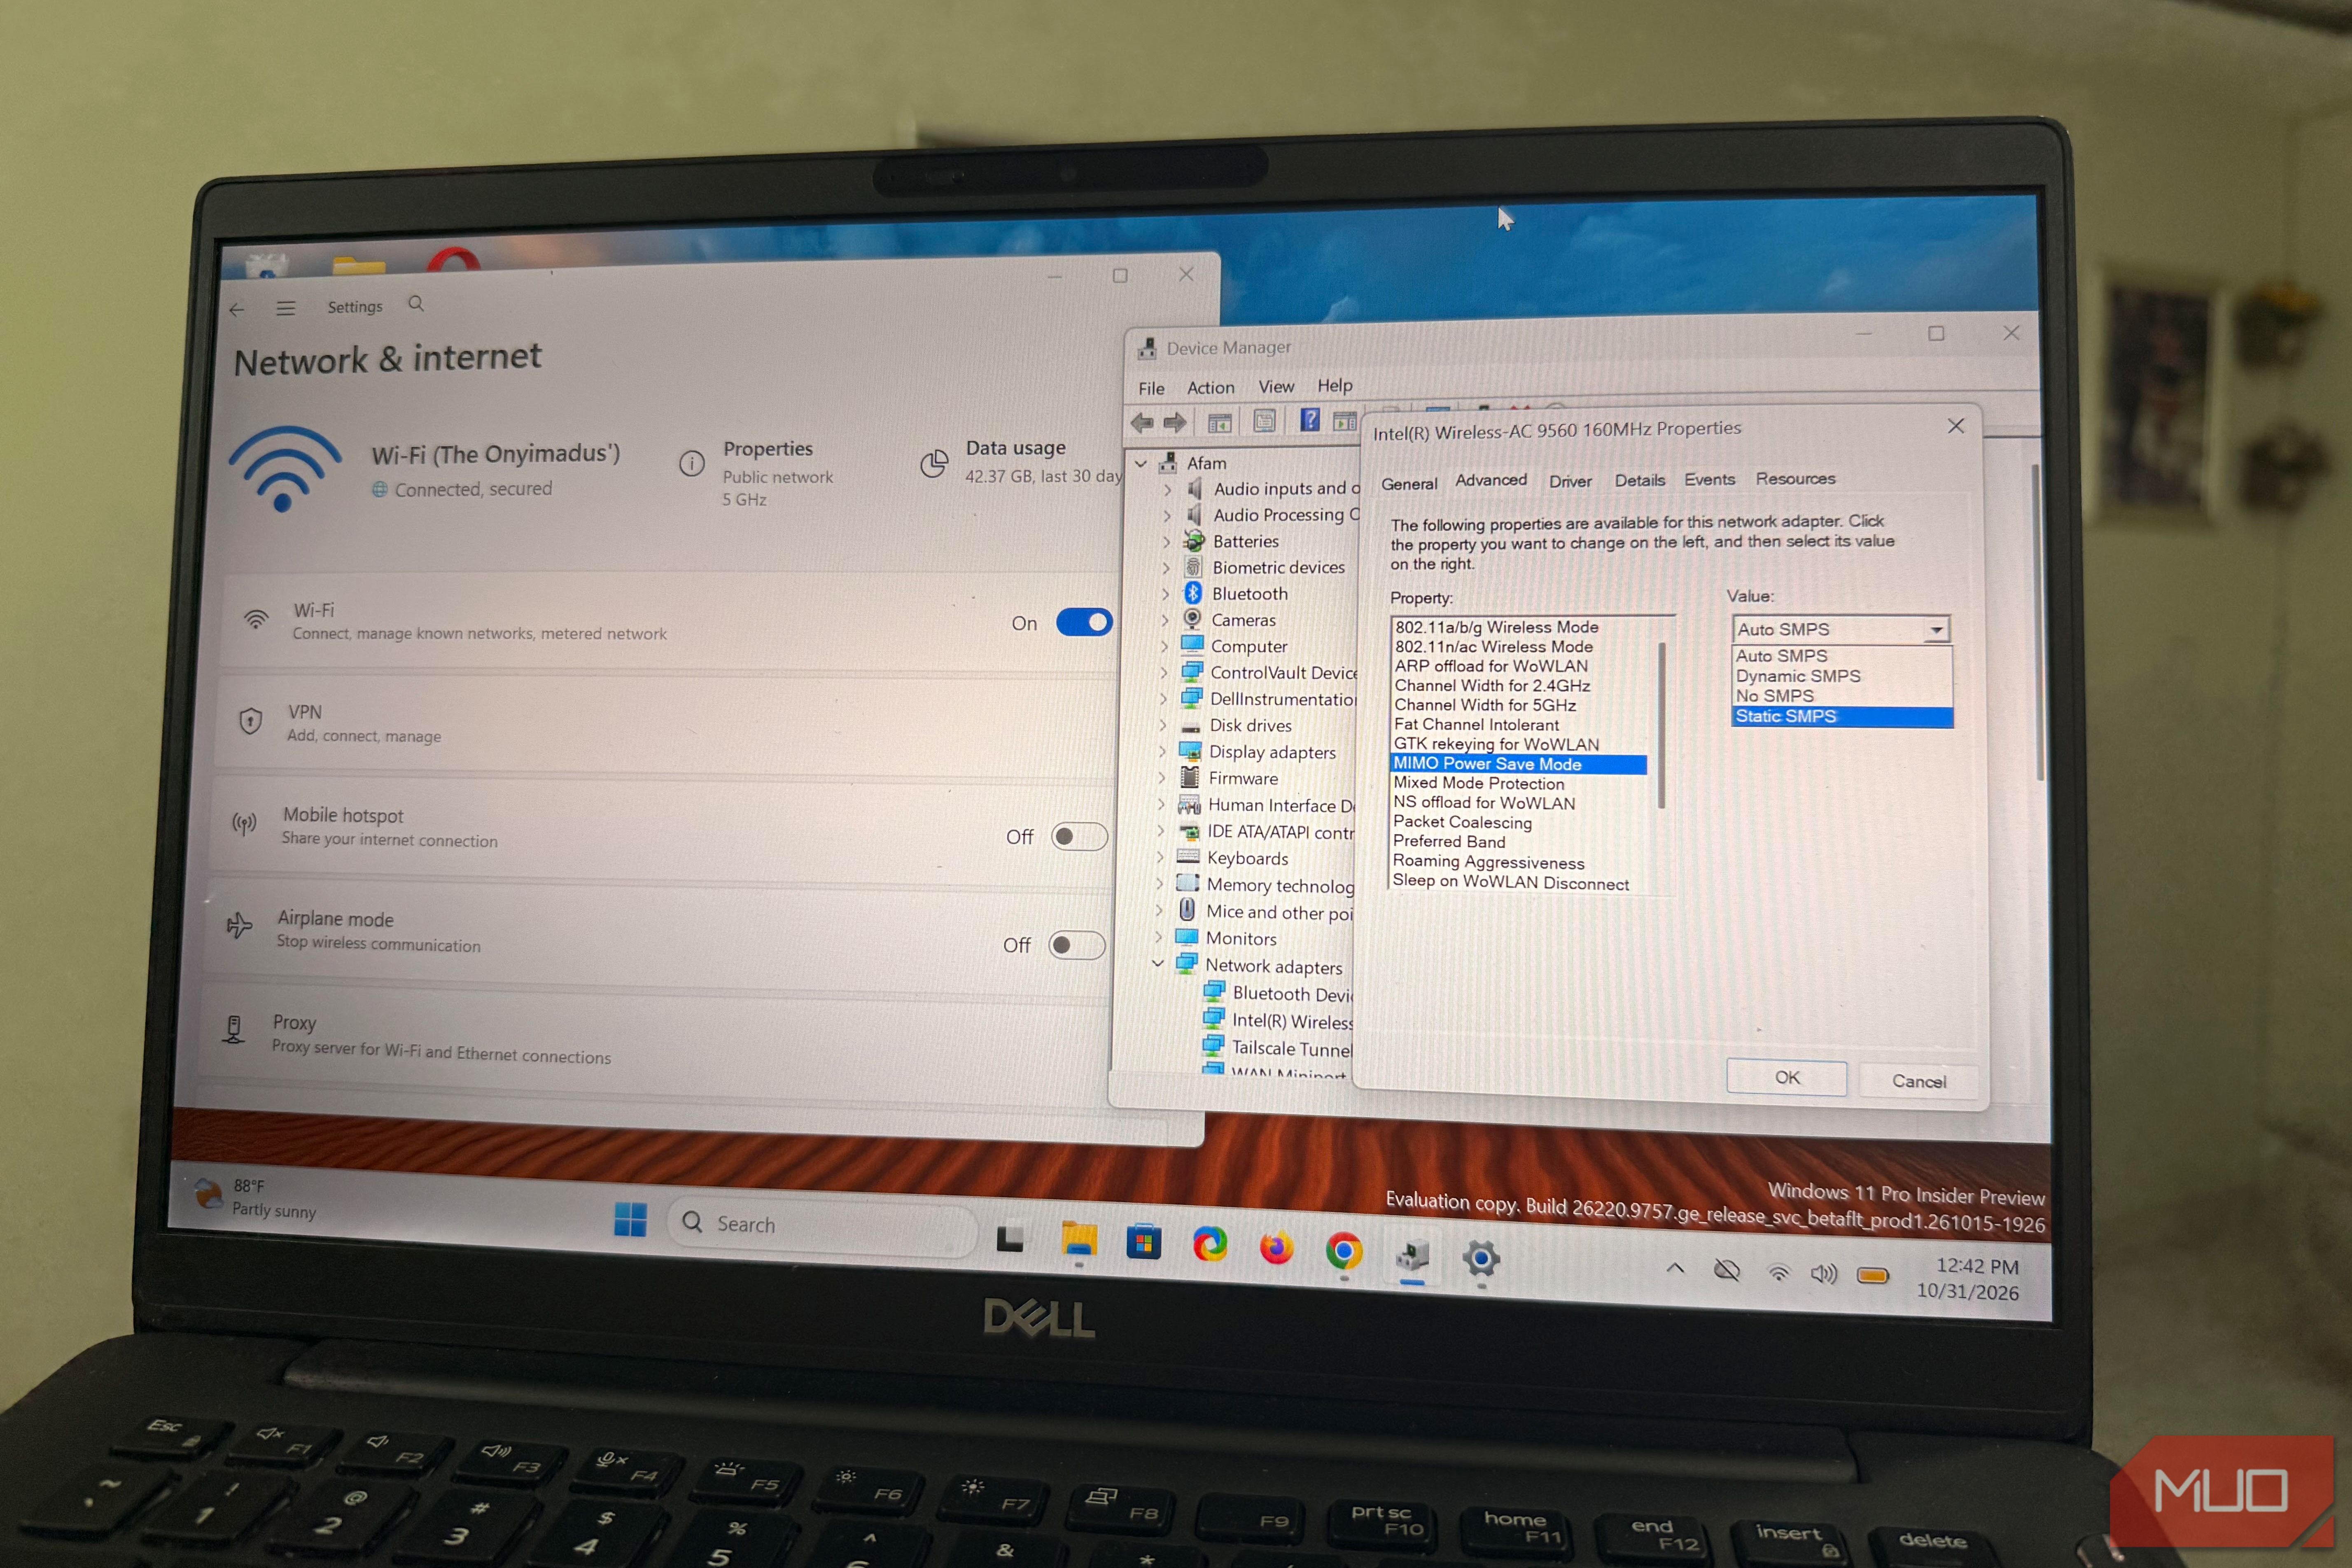
The router is an easy fall guy whenever my Wi-Fi misbehaves, and my quick fixes are mainly generic: reboot it and dig through the admin page. I often find nothing because the real culprit is my laptop on the other end of the connection. There are a handful of Wi-Fi adapter settings that Windows buries in a tab you probably never open. Making a few small changes there has fixed more network problems than fiddling with my router ever did. To find these settings, press Win + X and select Device Manager. Expand Network adapters, right-click your wireless adapter, and select Properties. Preferred Band Pick the Wi-Fi band your laptop sticks to Within your wireless adapter’s Properties window, click the Advanced tab. The Preferred Band is included in the Property list. This driver option decides which Wi-Fi band your computer will favor. By default, it’s set to No Preference, which lets the adapter choose without favoring a particular band. You can switch it to Prefer 2.4GHz band or Prefer 5GHz band. Newer adapters may also offer Prefer 6GHz band. I used to dig through my router’s admin page, splitting and renaming bands until the problem went away. But it takes just a few seconds to do it on the laptop. Here’s the rule of thumb: choose 5GHz if you are close to the router and want speed, 2.4GHz when you work from a more distant room. The 5GHz band typically fades faster through walls. I generally try the other band when one feels crowded, since Intel describes the setting as a way to avoid interference from microwaves and neighbors’ networks. Preferred Band isn’t always as useful, especially with some routers that broadcast separate network names for the different bands. In these cases, you can already choose which one to connect to from Windows’ Wi-Fi menu. Roaming Aggressiveness Decide when your laptop gives up on a weak signal Also on the same page is Roaming Aggressiveness. It controls how weak a signal gets before the laptop looks for a different access point. The default on Intel is Medium, and on certain laptops the feature is called Roaming Sensitivity, with the number of levels depending on the driver. On a mesh network, Roaming Aggressiveness is the first thing I check, because laptops often hold on to the first access point they join. You may walk to a different part of the house and calls may start to freeze, even though there’s a better and closer node sitting idle. If you raise the setting by a step, the laptop starts searching earlier. This isn’t a problem you can solve by rebooting your router, since it’s not the one holding on to a specific connection. Dell recommends setting it to Highest to fix slow or dropping Wi-Fi. No option is automatically better; you’d have to test and see what works for you. But change one step at a time and observe; give each change about a day before you judge it. Transmit Power Set how loudly your laptop talks back You can set how strongly your laptop sends its signal back to the router. The property is called Transmit Power. By default, it’s set to Highest on my Dell computer. For busy areas with several other wireless devices, Intel encourages setting it to the lowest level that still maintains good communication quality. When some rooms get weak Wi-Fi, the instinct is to raise the router’s transmit power. This overlooks the fact that your laptop also has to send data back to the router. It affects how well the computer maintains a connection at range, and impacts upload performance and video calls. Downloads don’t benefit much, since that data comes from the router, which typically transmits at a higher power than your laptop. This setting won’t make websites load faster. Here’s the rule of thumb: Leave it at Highest if your home is big or the router is far away. Drop the level one step at a time and observe in an apartment block where a dozen networks overlap. It’s best to treat this as an experiment, reverting to the default if there isn’t a noticeable difference. MIMO Power Save Mode Wake the antennas your laptop leaves idle MIMO Power Save Mode is also referred to as SMPS (Spatial Multiplexing Power Save), and allows the computer to keep only one antenna awake. This is a feature that helps save power. With modern adapters, several antennas may be used at once. It’s like having extra lanes on a road: idling most of them can reduce speed if the router doesn’t handle it well. The options for this setting are Auto SMPS, Dynamic SMPS, Static SMPS and No SMPS. By default, it’s set to Auto SMPS on Intel, allowing the adapter to decide. Dynamic keeps a single active antenna, forcing the router to wake the others up before sending data. Static keeps one active, and blocks MIMO traffic from the router. Every antenna stays on when set to No SMPS. On some older access points, there may be some compatibility issues, so if pairing a newer laptop with an older router results in a strong signal but strange, slow speeds, change to No SMPS. The symptom picks the setting You don’t have to randomly start changing any Wi-Fi settings. If something isn’t broken, trying to fix it may create problems. I recommend allowing the symptoms to decide what settings need tweaking. | Symptom | Setting | Try | |---|---|---| | Laptop is slow while your phone has a good connection | Preferred Band | Prefer 5GHz up close | | Calls freeze as you move around | Roaming Aggressiveness | Increase by one step for mesh setups; decrease by one step if you experience frequent drops | | Choppy uploads, full bars | Transmit Power | Test one step down | | Slow with a strong signal on an old router | MIMO Power Save | No SMPS | Of course, some issues must be fixed at the router, but these laptop Wi‑Fi settings have been the most valuable for me.